In this guide, we’ll walk through the steps of setting up a DMARC (Domain-based Message Authentication, Reporting, and Conformance) record for your domain in cPanel. DMARC, SPF and others help protect your domain from email spoofing and phishing attacks. By ensuring email authentication quarantining or disallowing unauthorised senders.
Setting Up a DMARC Record in cPanel
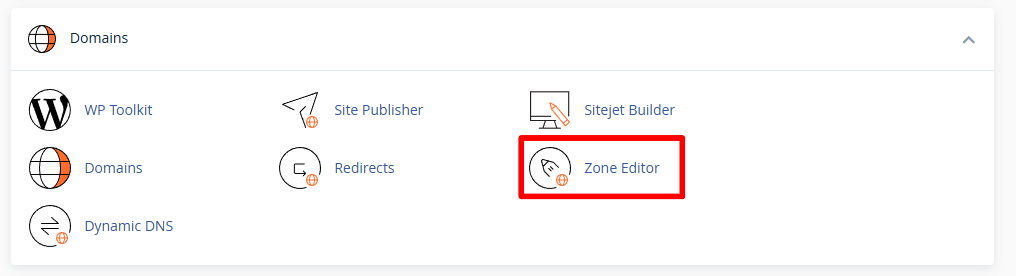
1. First up log in to your cPanel account and Navigate to the Domains section.

2. Afterwards, click on DNS Zone Editor to manage the DNS settings for your domain.
3. Moving on, find the domain for which you want to set up the DMARC record and click Manage.
4. DMARC records are stored as TXT entries in the DNS zone. So from here click on Add a Record and select TXT.
5. Now populate the fields with the following example DMARC record, replacing domain.tld with your domain and the email addresses to your email.
Type: Select TXT.
Name:
_DMARC.yourdomain.tldValue: v=DMARC1; p=none; rua=mailto:youremail@domain.tld; ruf=mailto:youremail@domain.tld; fo=1Change the p=none value to change how failed checks are treated – quarantined or rejected.
TTL: Can be left as the default value.
6. Once you’ve entered the information, click on the Add Record button to save your changes.
7. Finally check the status and verify the published record by using an external checker – For instance MXToolbox or similar.

Ready to get started?
Launch your website with our reliable cPanel hosting with unlimited bandwidth and expert support.
Get cPanel Hosting