White-label branding lets you present cPanel as your own service rather than a third-party tool. Your clients see your logo, colours and contact details throughout their control panel, which reinforces your brand identity and builds trust in your hosting business.
You will customise cPanel branding through WHM’s Customization interface. This lets you upload logos, adjust colour schemes, set a favicon and modify footer links. Once configured, every client account on your reseller hosting displays your branding automatically.
Before you begin
- You need root or reseller access to WHM.
- We recommend preparing your logo files and brand colours before starting.
Access the Customization tool
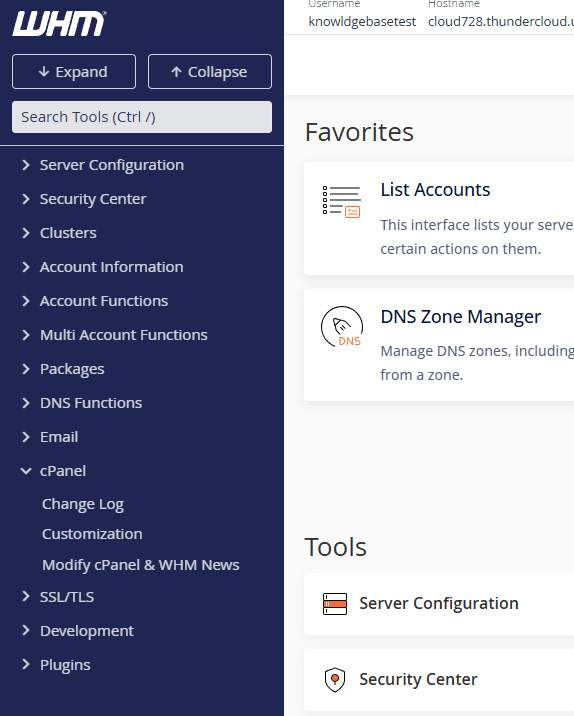
The Customization interface controls all cPanel branding settings. You will find it in the cPanel section of WHM’s sidebar.
- Log in to WHM.
Access your WHM interface atyourdomain.co.uk:2087replacing yourdomain.co.uk with your actual domain name. - Open the cPanel section.
In the left sidebar, click cPanel to expand the menu. Alternatively, type “Customization” into the search box at the top of the sidebar. - Click Customization.
This opens the branding interface where you configure all visual elements your clients see in cPanel.
Configure branding elements
The Customization interface organises branding options into five tabs. You will work through each tab to upload your assets and configure your brand identity.
Upload logos
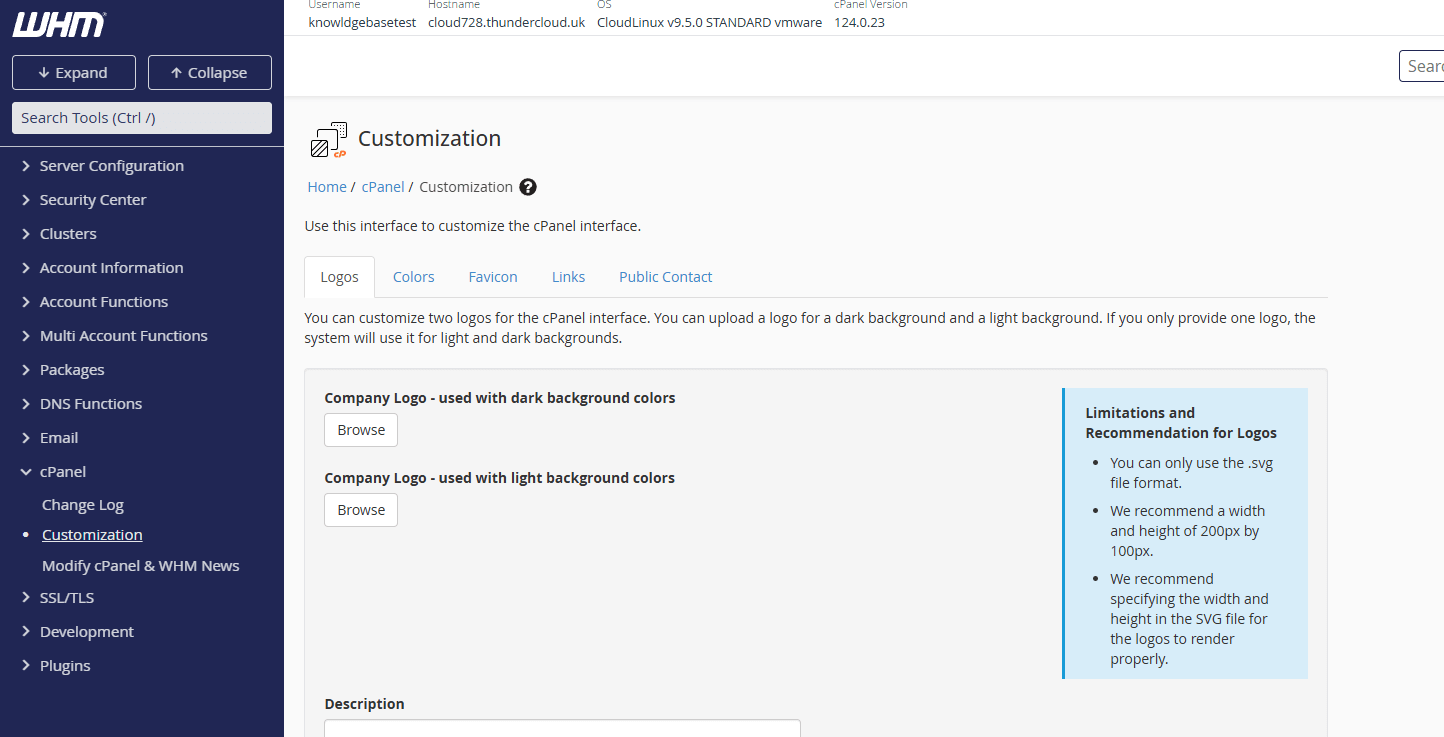
The Logos tab lets you replace cPanel’s default branding with your own logo files. Your logo appears in the cPanel header and login screen.
- Click the Logos tab.
This displays upload fields for different logo positions. - Upload your logo files.
Click Choose File next to each logo type and select your prepared image. We recommend PNG files with transparent backgrounds for the best appearance. - Save your changes.
Click Save at the bottom of the page. Your logos now appear in all client cPanel accounts.
Adjust colour schemes
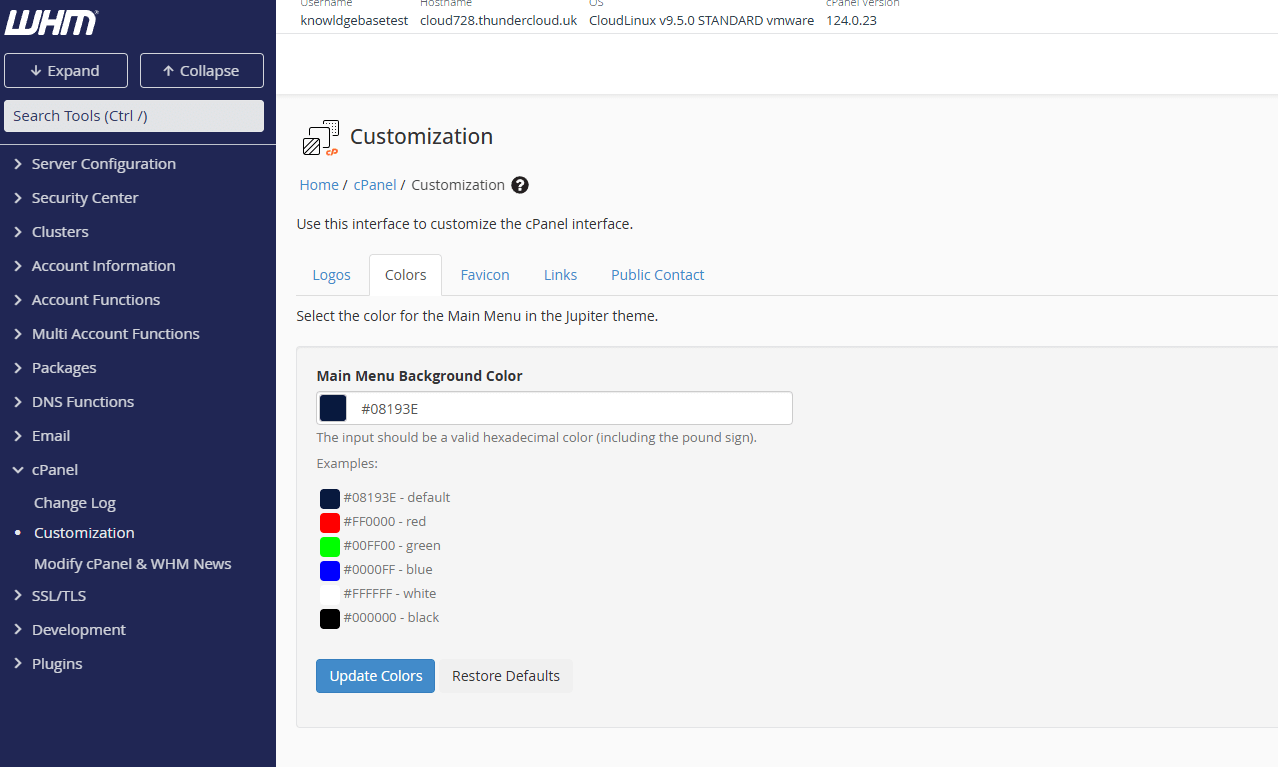
The Colours tab controls the colour palette throughout cPanel. This lets you match cPanel’s interface to your brand guidelines.
- Click the Colours tab.
This displays colour pickers for different interface elements. - Set your brand colours.
Click each colour field and enter your hex colour codes or use the colour picker. Preview your changes in the sample interface on the right. - Save your colour scheme.
Click Save to apply your colours across all client accounts.
Set a favicon
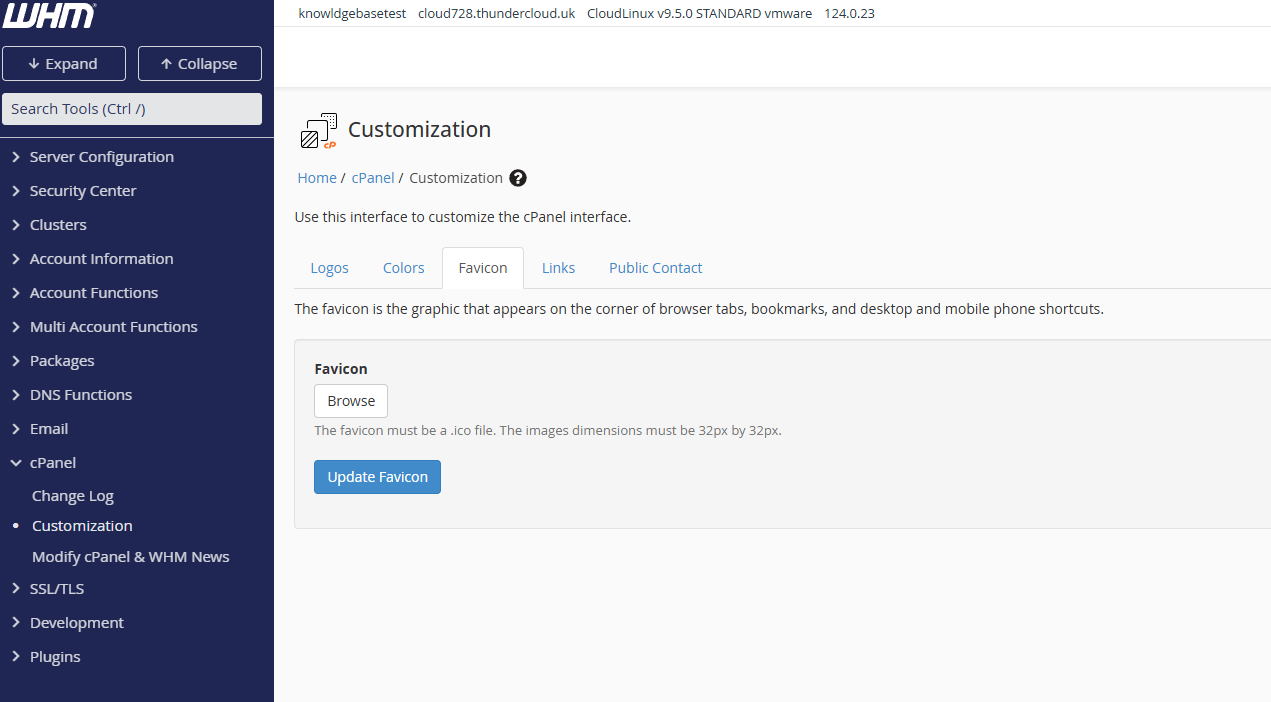
The Favicon tab lets you upload a small icon that appears in browser tabs when clients access cPanel. This reinforces your brand even when multiple tabs are open.
- Click the Favicon tab.
This displays the favicon upload field. - Upload your favicon.
Click Choose File and select your favicon image. Use a 16×16 or 32×32 pixel ICO or PNG file for best results. - Save your favicon.
Click Save. Your favicon now appears in browser tabs when clients use cPanel.
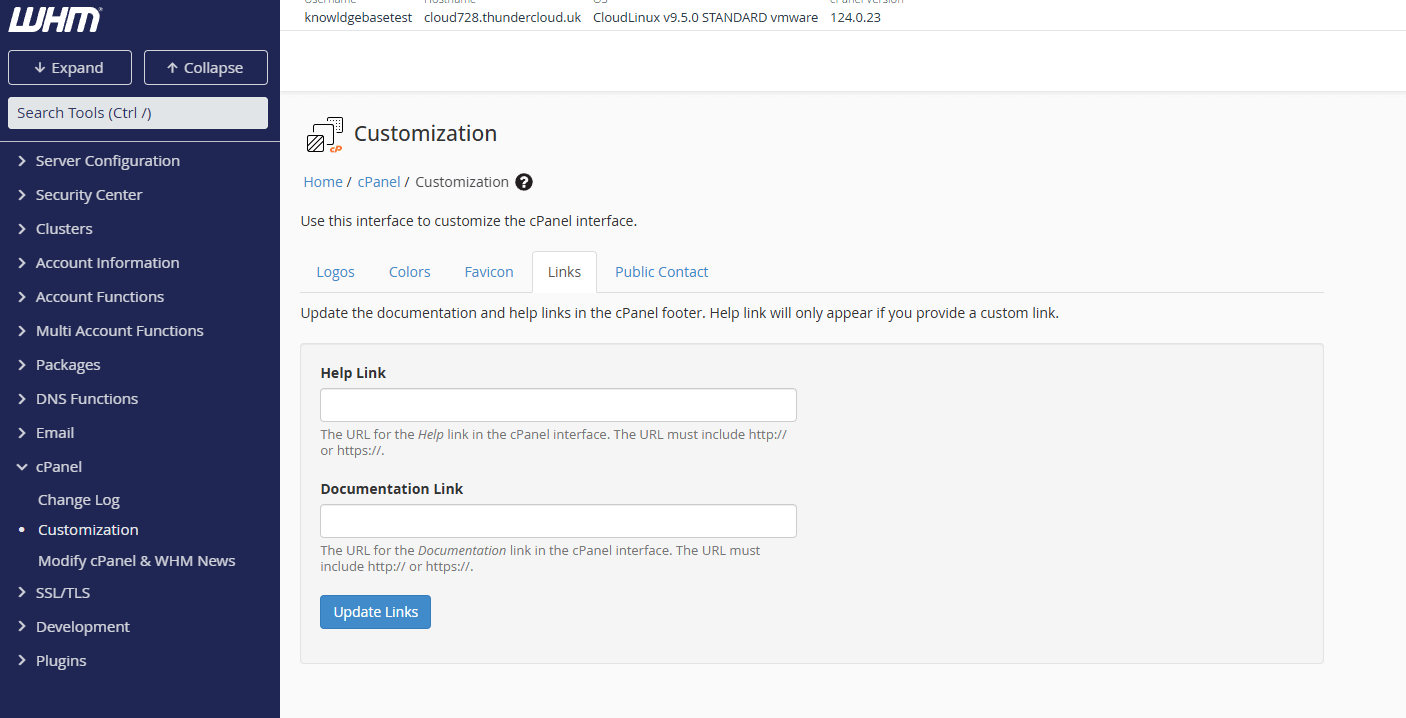
Add custom footer links
The Links tab lets you add custom links to the cPanel footer. This is useful for directing clients to your documentation, support portal or terms of service.
- Click the Links tab.
This displays fields for adding custom footer links. - Enter your link details.
Add a link title and URL for each custom link you want to display. Leave fields blank if you do not want footer links to appear. - Save your links.
Click Save. Your custom links now appear in the cPanel footer for all clients.
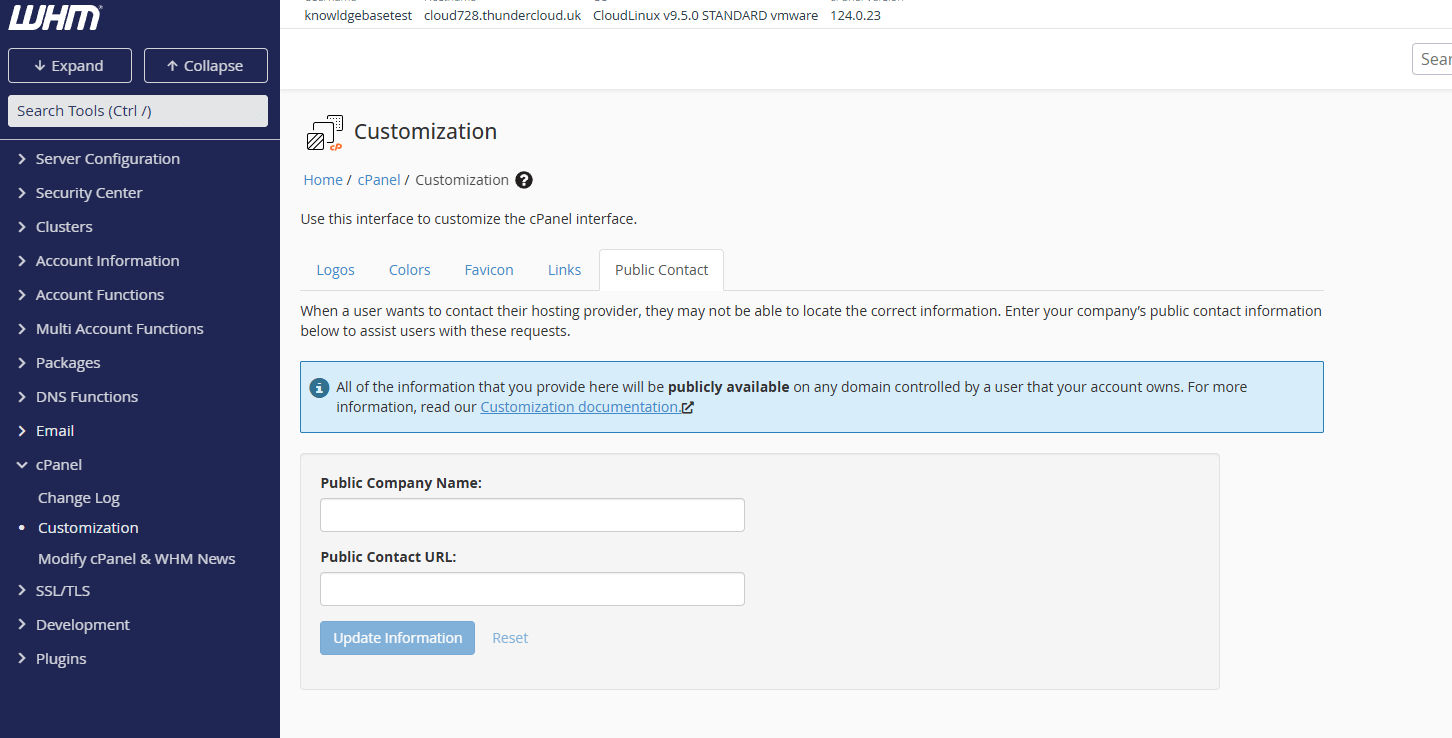
Configure public contact details
The Public Contact tab lets you set your company name and support URL. This information appears throughout cPanel so clients know who to contact for help.
- Click the Public Contact tab.
This displays fields for your company name and contact URL. - Enter your contact details.
Add your company name and the URL where clients can reach your support team. This typically links to your support portal or contact page. - Save your contact information.
Click Save. Your contact details now appear in cPanel’s interface.
Wrapping up
Your cPanel branding now reflects your business identity. You uploaded custom logos, configured colour schemes, set a favicon and added your contact details. Every client account on your reseller hosting displays your white-label branding automatically.
Review a client cPanel account to confirm your branding appears correctly. Check that logos display at the right size, colours match your brand guidelines and contact links work properly. Our reseller hosting includes WHM access for complete branding control.

Need multiple accounts?
Create isolated individual accounts for your clients and manage them all from one dashboard.
Get Reseller Hosting
Need more control?
Upgrade to VPS hosting for scalable resources and root access to your server.
Get VPS Hosting