Directory password protection adds an authentication layer before visitors can access specific folders on your site. This prevents unauthorised access to sensitive areas like WordPress admin pages, staging environments or client documents.
You will configure password protection through cPanel’s Directory Privacy tool, create user credentials and verify the protection is active. Once complete, anyone attempting to access the protected directory must enter valid credentials before viewing its contents.
Before you begin
- You need access to your cPanel account.
- We recommend protecting only directories containing sensitive information rather than entire site structures.
- Directory protection works alongside WordPress security plugins for layered protection.
Enable directory password protection
You will navigate to the directory you want to protect and enable password authentication. This creates the initial protection layer before adding user credentials.
- Log in to cPanel.
Access your cPanel account using the credentials provided in your welcome email. - Open Directory Privacy.
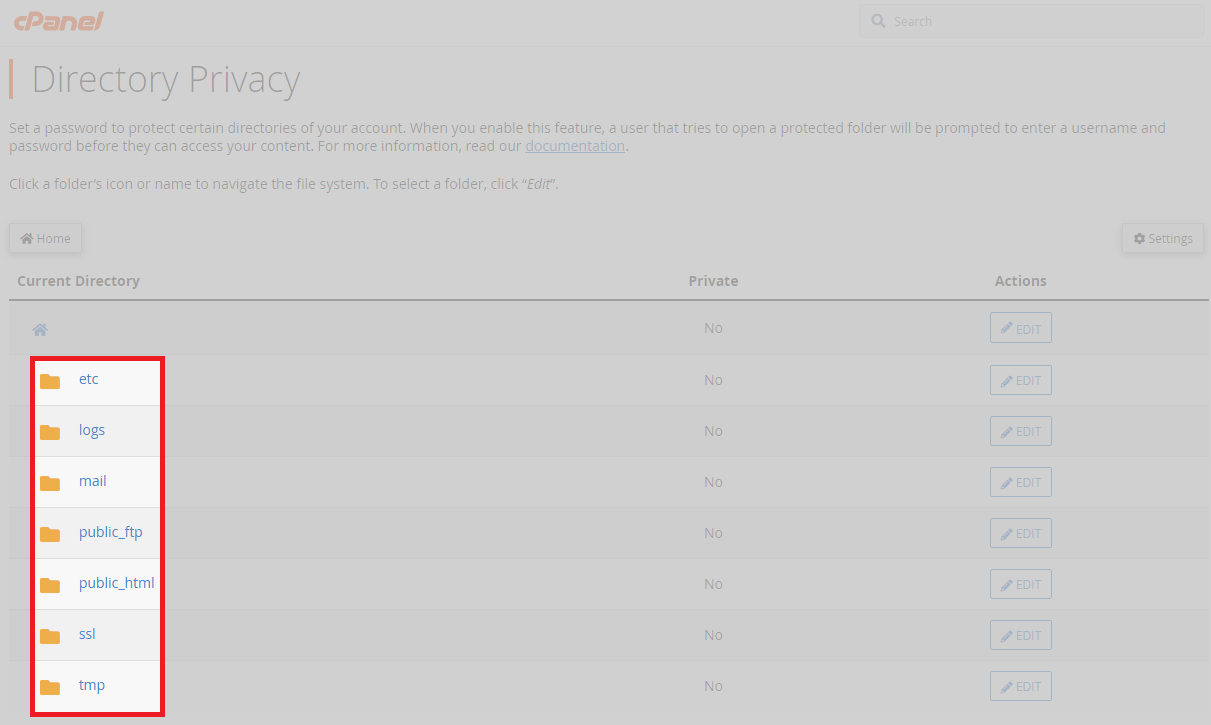
Scroll to the Files section and click Directory Privacy. This opens the directory browser.

- Navigate to your target directory.
Click through folders to reach the directory you want to protect. Use the Home or Up One Level buttons to navigate between parent and child directories.
- Select the directory.
Click Edit next to the directory you want to protect. This opens the protection configuration page. - Enable password protection.
Tick the checkbox labelled Password protect this directory. This activates authentication for the selected folder.
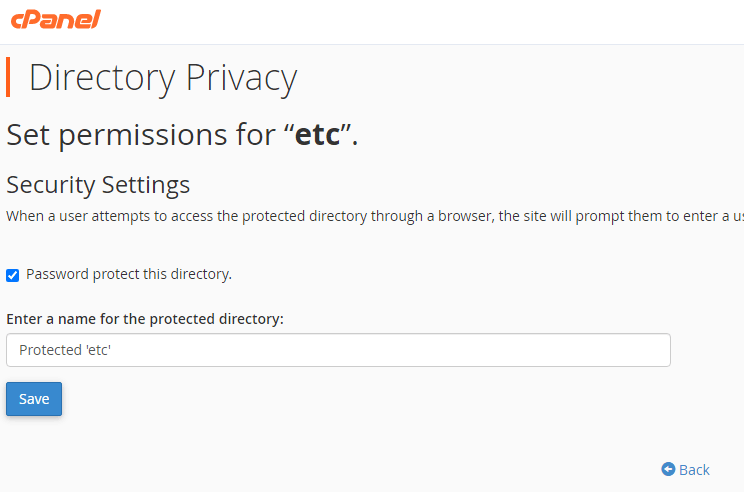
- Name the protected area.
Enter a descriptive name in the text field. This name appears in the authentication prompt when visitors access the directory. - Save the configuration.
Click Save to apply password protection. The directory now requires authentication, but you still need to create user credentials.
Create authorised users
You will now create user accounts that can access the protected directory. Each user receives unique credentials for authentication.
- Return to the directory list.
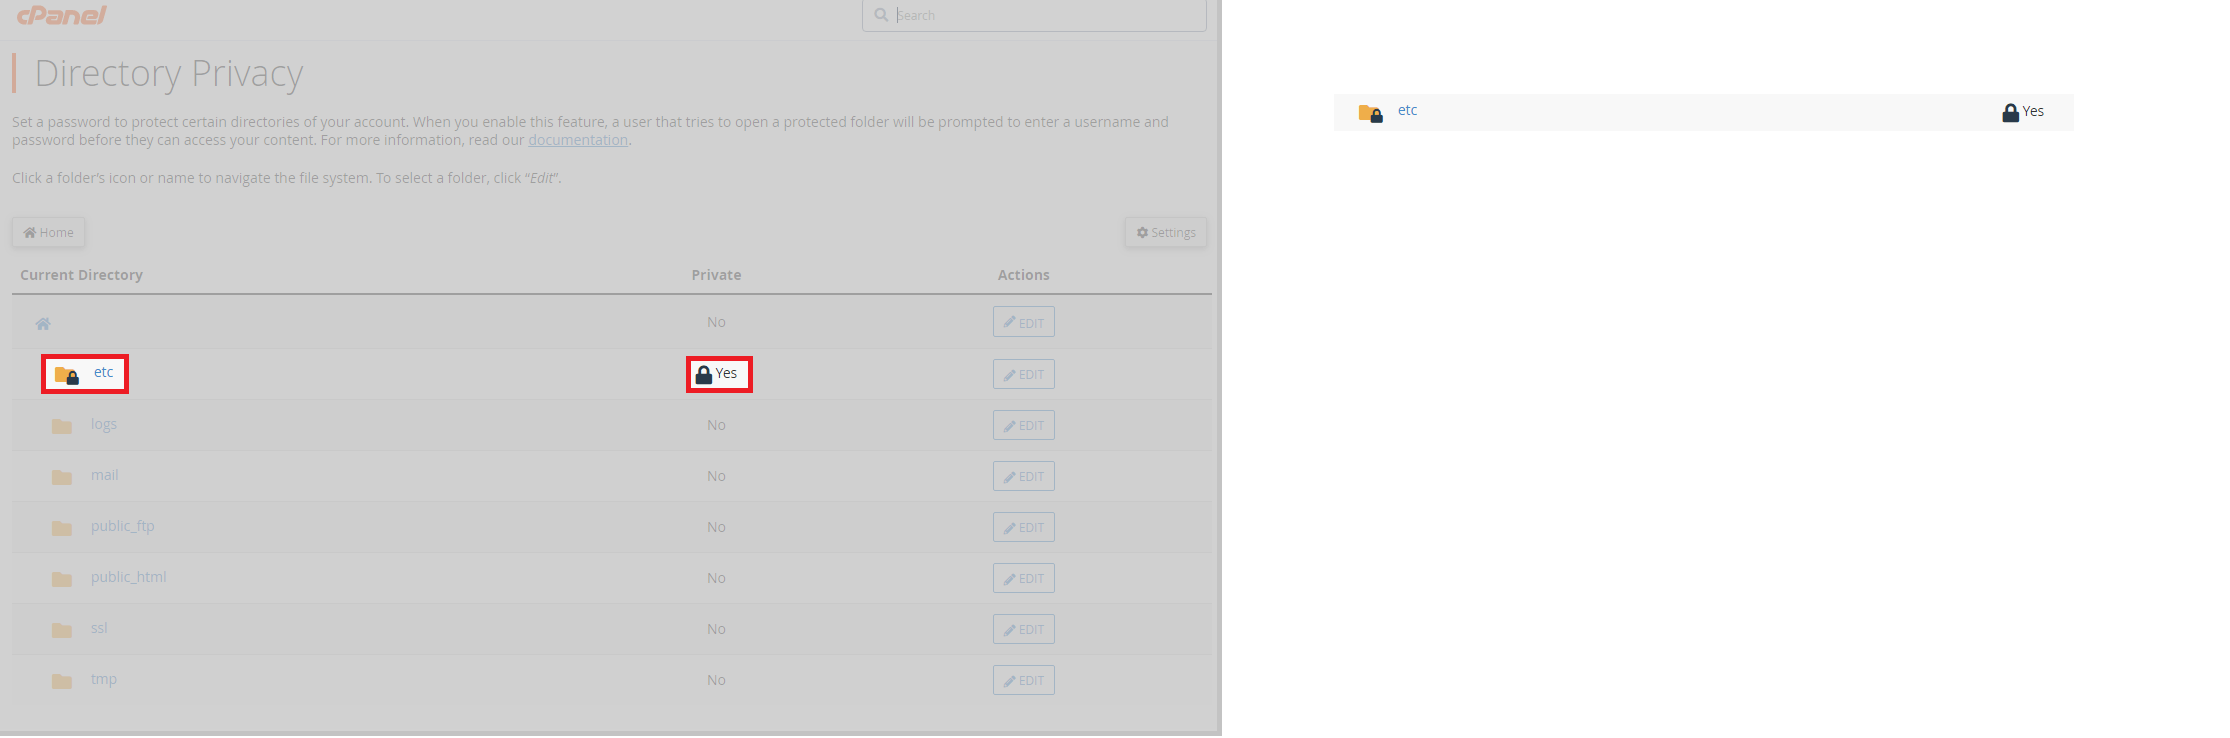
Click Go Back to return to the Directory Privacy main page. The protected directory now displays a lock icon. - Add a new user.
Scroll to the Create User section below the directory list. Enter a username in the Username field.
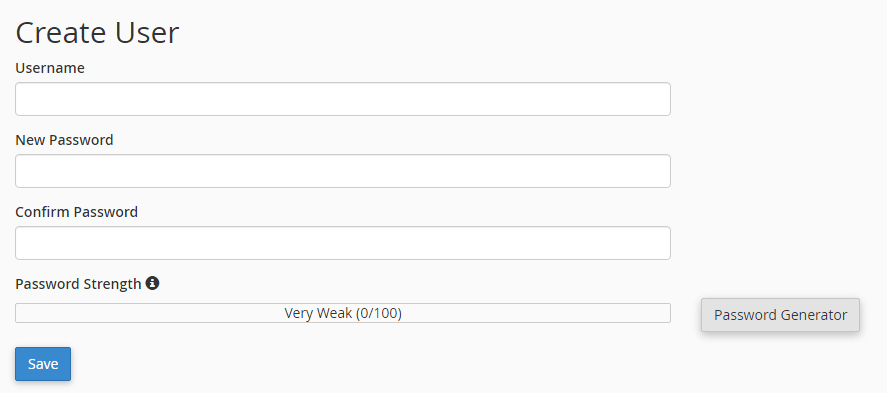
- Generate a secure password.
Click Password Generator to create a strong password automatically. Copy the generated password and store it securely. - Save the user.
Click Save to create the user account. The directory list now shows Yes in the Private column, confirming protection is active.
Wrapping up
Your directory now requires authentication before visitors can access its contents. You enabled password protection through cPanel’s Directory Privacy tool and created user credentials for authorised access. Anyone attempting to view the protected directory must enter valid credentials first.
Consider combining directory protection with hotlink protection to prevent unauthorised embedding of your files. For WordPress sites, review our guide on WordPress security plugins for additional protection layers. Our cPanel hosting includes all the tools you need to secure sensitive directories.
If you run into any trouble, get in touch and our team will be happy to help.

Ready to get started?
Launch your website with our reliable cPanel hosting with unlimited bandwidth and expert support.
Get cPanel Hosting