Malware infections compromise your WordPress site’s security, damage your search rankings and drive visitors away with browser warnings. WordPress powers over 43% of all websites, making it a prime target for attackers who exploit vulnerabilities in plugins, themes and outdated core files.
You will remove malware by scanning your WordPress installation, verifying core file integrity and eliminating infected files. Then you will secure your site against reinfection by updating software, changing passwords and implementing security measures. This guide covers both immediate removal and long-term protection.
Before you begin
- You need access to your hosting control panel (cPanel or Plesk).
- You need WordPress admin access at
yourdomain.co.uk/wp-admin - We recommend creating a backup before removing files or making changes.
How malware infects WordPress sites
Understanding how malware spreads helps you prevent future infections. Attackers typically exploit vulnerabilities in outdated plugins or themes to gain initial access. Once inside, they install uploader scripts that allow them to modify existing files and hide malicious code throughout your installation.
These uploader files act as backdoors. Attackers use them to install malware toolkits that create spam email accounts, add malicious scheduled tasks or scan other sites for vulnerabilities. This explains why deleting suspicious files alone does not solve the problem. The underlying vulnerability remains, allowing reinfection until you patch it.
Sucuri’s 2022 threat report found that WordPress accounts for over 96% of all infected content management systems. Most infections originate from plugin and theme vulnerabilities rather than WordPress core itself. This makes keeping your plugins and themes updated your primary defence against malware.
Verify WordPress core file integrity
WordPress Toolkit compares your core files against official WordPress checksums to detect modifications. This identifies infected core files that automated scanners might miss.
- Open WordPress Toolkit.
Log into your hosting control panel and locate WordPress Toolkit in the main menu. If you cannot see your WordPress installation listed, click Scan to detect it. - Start the integrity check.
Find your WordPress installation in the list and click Check WordPress Integrity. This opens the verification interface.
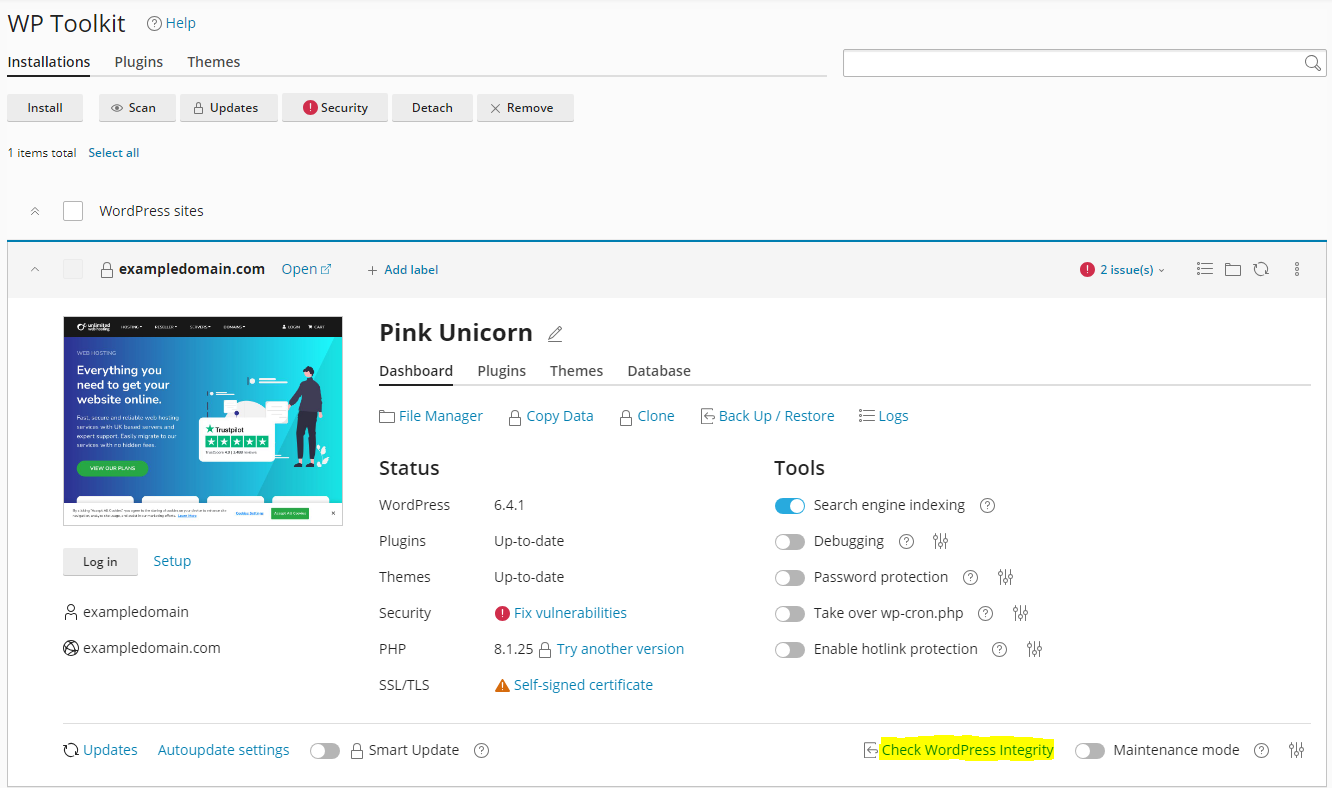
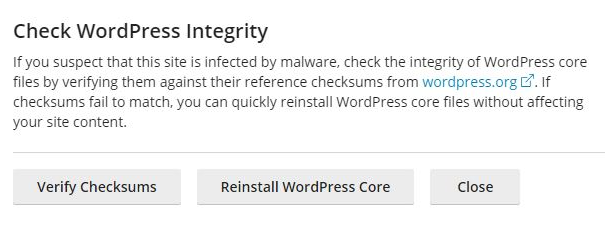
- Verify checksums.
Click Verify Checksums to compare your core files against the official WordPress repository. The scan takes 1–2 minutes depending on your installation size. - Reinstall core files if needed.
If the check fails, WordPress Toolkit prompts you to reinstall core files. Click Reinstall to replace modified files with clean versions from the WordPress repository. This preserves your content, plugins and themes.
This process cleans infected core files but does not remove malware from your plugins, themes or uploads directory. Continue to the next section to scan those areas.
Scan your site with ImunifyAV
ImunifyAV scans every file in your hosting account and identifies malicious code patterns. It detects malware that manual inspection might miss, including obfuscated scripts and backdoor files.
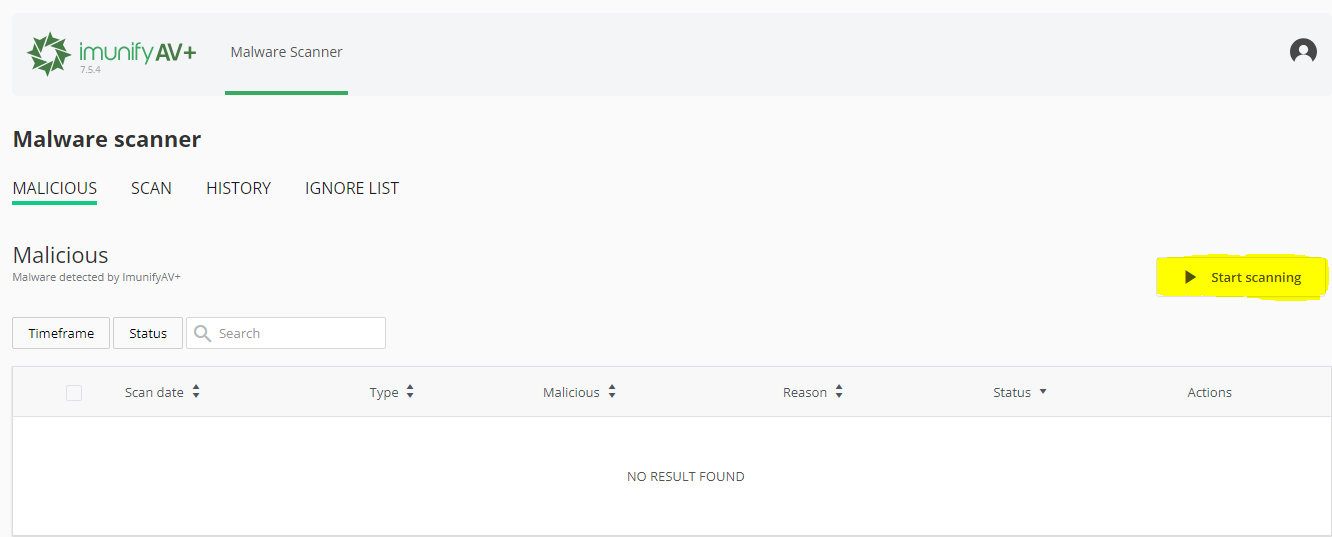
- Launch ImunifyAV.
In your control panel, locate ImunifyAV in the security section. Click it to open the scanning interface. - Start a full scan.
Click Start Scanning to begin a complete account scan. This examines all files in your public_html directory and any subdirectories. The scan duration depends on how many files you have but typically completes within 10–30 minutes.
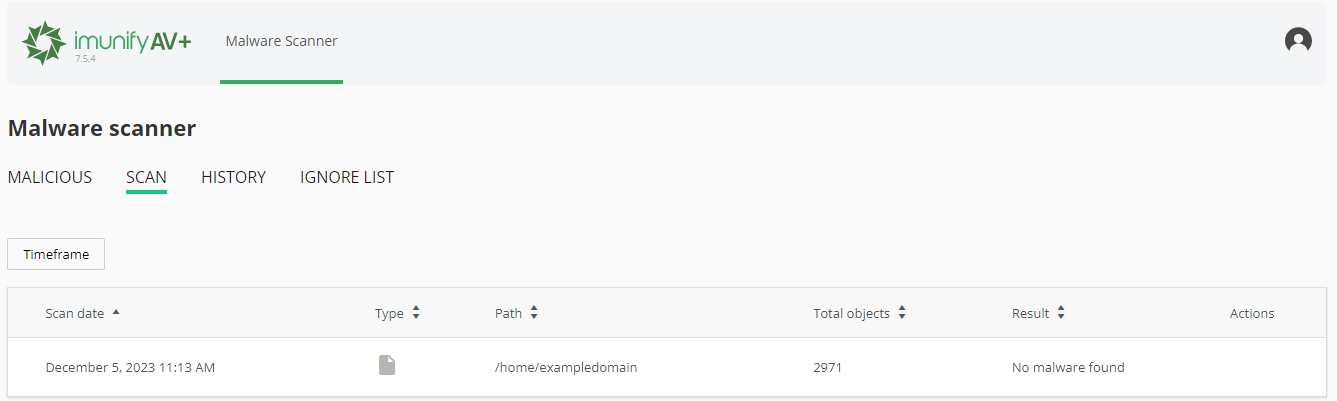
- Review detected threats.
Once the scan completes, click the Malicious tab to view infected files. Note if multiple files appear in the same plugin or theme folder. This pattern suggests a vulnerability in that specific plugin or theme. - Remove or quarantine malware.
Select infected files and click Cleanup to remove malicious code. ImunifyAV attempts to clean files without deleting them. If cleaning fails, it quarantines the file to prevent execution. - Check scan history.
View previous scans under the Scan section. This helps you track recurring infections and identify patterns that point to specific vulnerabilities.
If ImunifyAV finds malware in a plugin folder, update or reinstall that plugin after cleaning. This patches the vulnerability that allowed the infection. If infections persist after cleaning, proceed to manual inspection.
Manually inspect for hidden malware
Automated scanners cannot detect every infection. New malware variants and zero-day exploits may evade signature-based detection. Manual inspection catches these hidden threats by identifying suspicious file patterns.
- Open File Manager.
In your control panel, click File Manager to browse your hosting account files. Navigate to your WordPress installation directory, typicallypublic_htmlor a subdirectory within it. - Sort by modification date.
Click the Last Modified column header to sort files by date. Recently modified files appear at the top. Look for files changed after your last known good backup or around the time symptoms appeared.
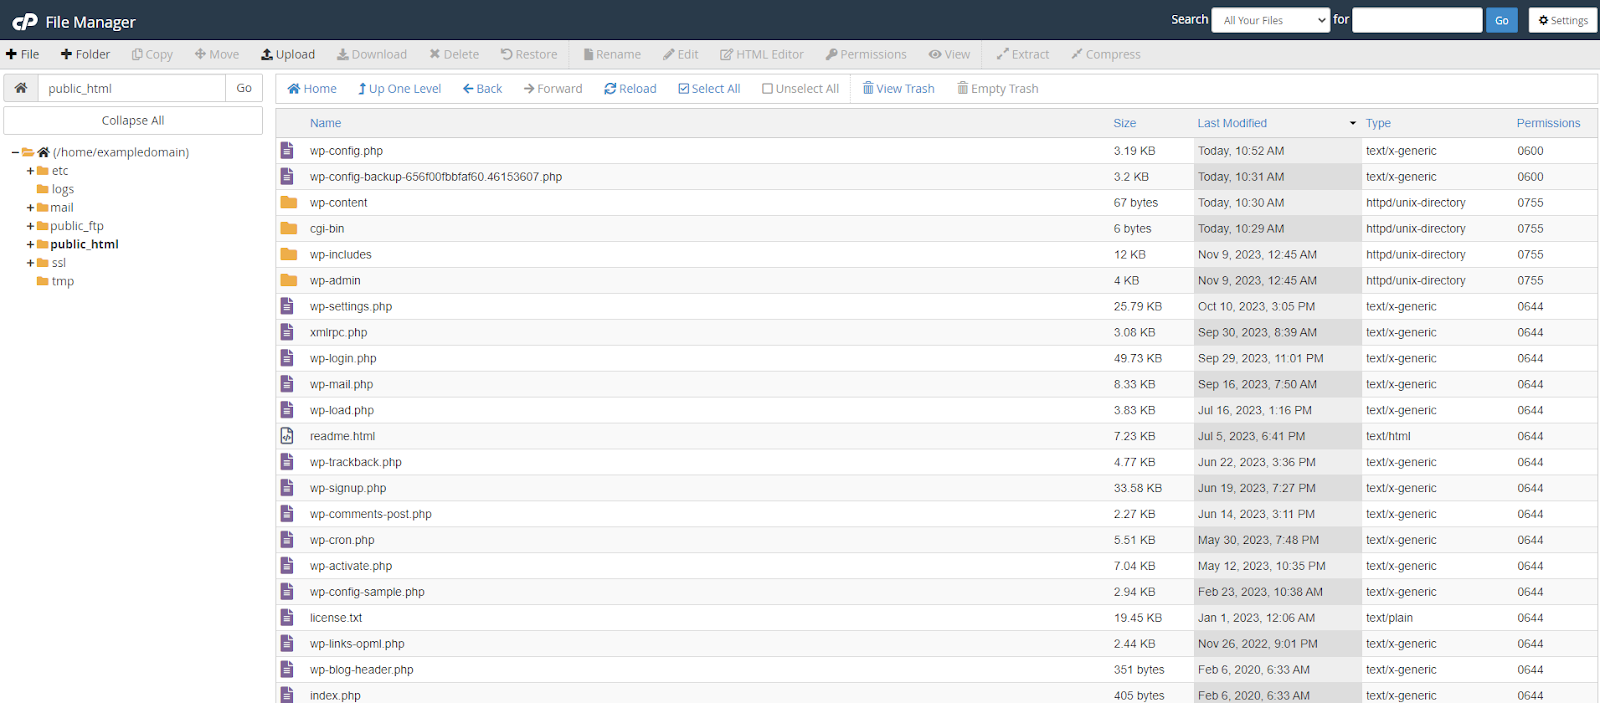
- Identify suspicious files.
Look for files with random character names likeajwzxq.phporx7f3k.php. Check files in your uploads directory with PHP extensions, as WordPress rarely places executable files there. Examine any files in your root directory that you do not recognise. - Examine file contents.
Right-click suspicious files and select Edit to view their contents. Malware often contains obfuscated code usingbase64_decode(),eval()orgzinflate()functions. Long strings of random characters or heavily encoded text indicate malicious code. - Verify legitimate files.
Before deleting a file, search its name online to confirm whether it belongs to a plugin or theme. If the file appears in a plugin directory, check whether that plugin is installed and active in your WordPress dashboard. - Remove confirmed malware.
Delete files you confirm as malicious. Right-click the file and select Delete. If you are uncertain about a file, move it to a quarantine folder outside your web root instead of deleting it immediately.
Removing malware files stops immediate threats but does not prevent reinfection. You must identify and patch the vulnerability that allowed the infection. If malware repeatedly appears in a specific plugin folder, that plugin likely contains an exploitable flaw.
Change all account passwords
Compromised passwords give attackers persistent access to your site. Changing passwords across all access points locks them out and prevents reinfection through stolen credentials.
Update WordPress user passwords
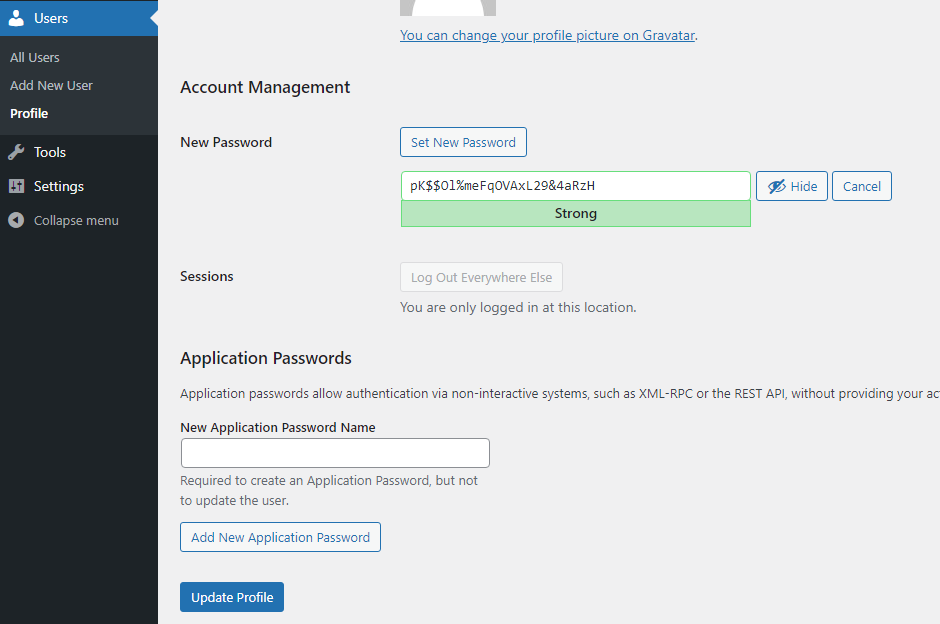
- Access user management.
Log into your WordPress dashboard and hover over Users in the left sidebar. Click All Users to view your user accounts. - Edit each user account.
Click Edit under each username. Scroll to the Account Management section at the bottom of the page. - Generate a new password.
Click Generate Password. WordPress creates a strong random password. You can modify it if needed, but ensure it contains uppercase letters, lowercase letters, numbers and symbols. - Save the changes.
Click Update Profile at the bottom of the page. Repeat this process for every user account, especially those with administrator privileges.
Update FTP account passwords
FTP access allows direct file manipulation. Compromised FTP credentials let attackers upload malware even after you clean your site.
For cPanel users:
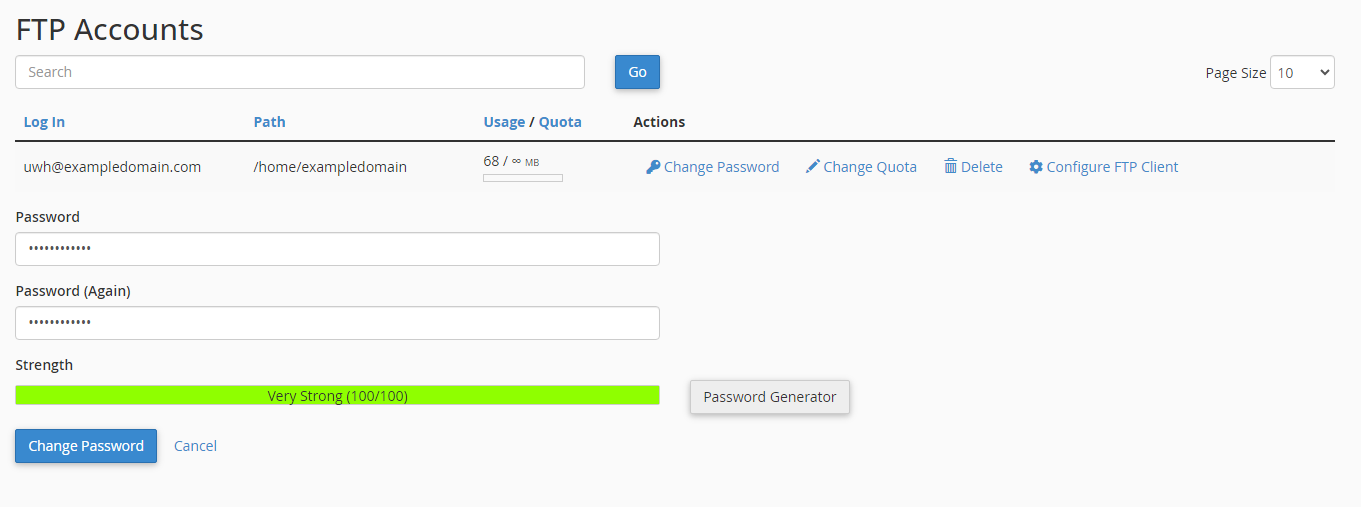
- Open FTP Accounts.
In cPanel, locate FTP Accounts in the Files section. This displays all FTP accounts on your hosting account. - Change each password.
Click Change Password next to each FTP account. Enter a new strong password and click Change Password to save it.
For Plesk users:
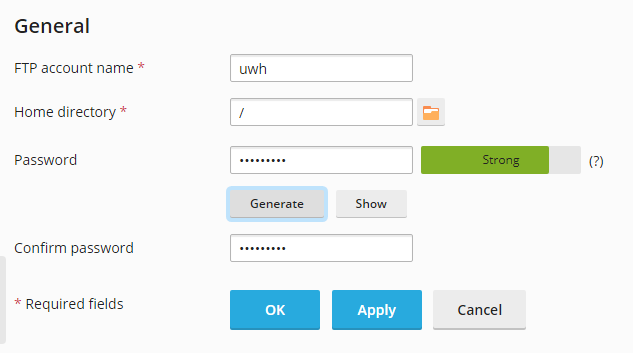
- Navigate to FTP settings.
In Plesk, click FTP Access in the left sidebar. This shows all FTP accounts associated with your subscription. - Update account credentials.
Click into each FTP account, enter a new password in the New Password field and click OK to save.
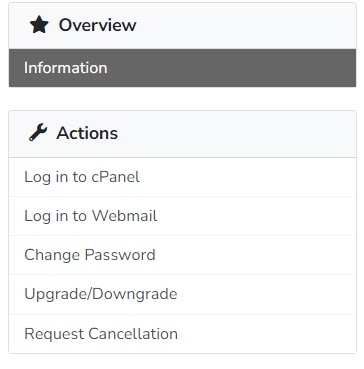
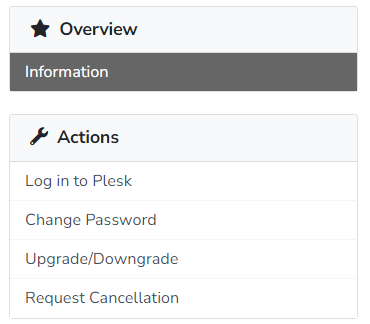
Update control panel password
- Log into your client area.
Visit your hosting provider’s client area and log in with your credentials. - Access your service.
Click Services in the top menu, then select your hosting service from the list. - Change the password.
Under Actions, click Change Password. Enter your new password and confirm it. This updates your cPanel or Plesk login credentials.
All new passwords should contain at least 12 characters mixing uppercase letters, lowercase letters, numbers and symbols. Avoid dictionary words, personal information or patterns. Consider using a password manager to generate and store complex passwords securely.
Remove unauthorised accounts
Attackers create new accounts to maintain access after you change passwords. These accounts often have administrator privileges, allowing them to reinstall malware or modify your site.
Delete unknown WordPress users
- Review all user accounts.
In your WordPress dashboard, go to Users and click All Users. Check each username, email address and role. Look for accounts you do not recognise or accounts created recently without your knowledge. - Delete suspicious accounts.
Hover over the suspicious username and click Delete. WordPress asks what to do with content created by that user. Select Attribute all content to and choose your main administrator account, then click Confirm Deletion.

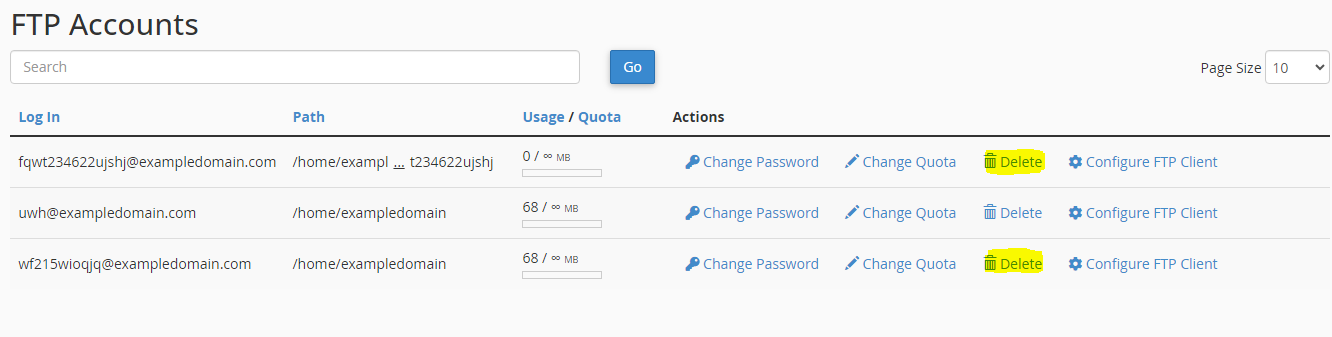
Remove unauthorised FTP accounts
For cPanel users:
- Open FTP Accounts.
In cPanel, go to FTP Accounts and review the list. Check for accounts you did not create or accounts with suspicious usernames. - Delete unknown accounts.
Click Delete next to any unauthorised FTP account. Confirm the deletion when prompted.
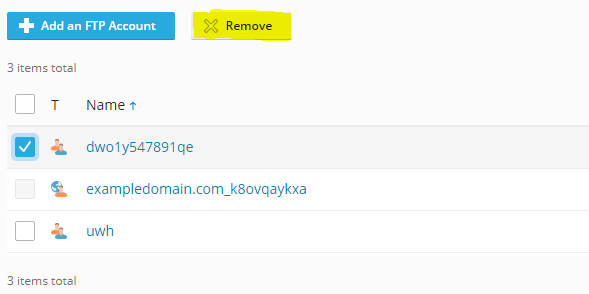
For Plesk users:
- Access FTP settings.
In Plesk, click FTP Access to view all FTP accounts. - Remove suspicious accounts.
Tick the checkbox next to unauthorised accounts and click Remove. Confirm the deletion.
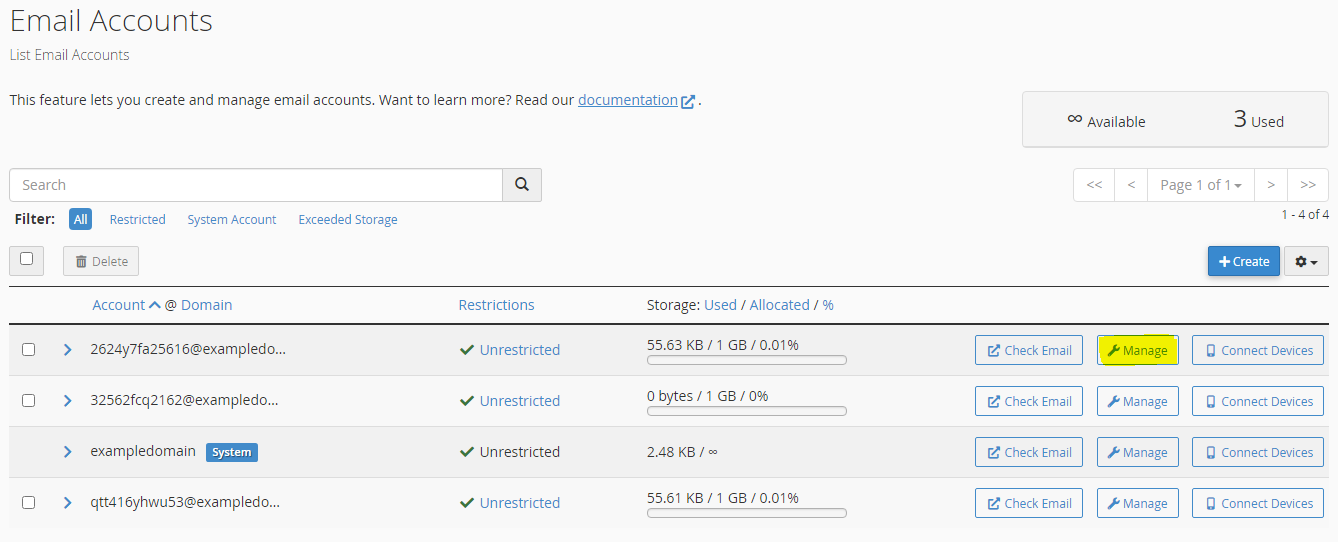
Delete malicious email accounts
Attackers create email accounts to send spam, which can get your domain blacklisted and damage your sender reputation.
For cPanel users:
- Open Email Accounts.
In cPanel, locate Email Accounts in the Email section. Review the list for accounts you did not create. - Delete suspicious accounts.
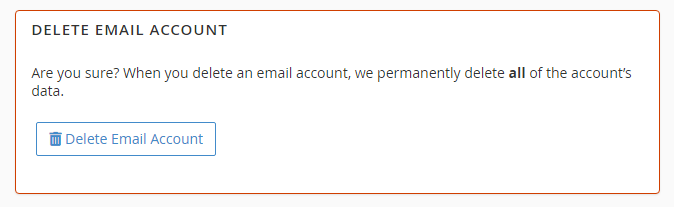
Click Manage next to the suspicious account, then click Delete Email Account. Confirm the deletion.
For Plesk users:
- Access mail settings.
In Plesk, click Mail in the left sidebar, then select Mail Accounts. - Remove unauthorised accounts.
Tick the checkbox next to suspicious email accounts and click Remove. Confirm the deletion.

Update WordPress, plugins and themes
Outdated software contains known vulnerabilities that attackers exploit to install malware. Keeping WordPress, plugins and themes updated patches these security flaws and prevents reinfection.
Update WordPress core
- Check your WordPress version.
In WordPress Toolkit or Softaculous, view your current WordPress version. Compare it against the latest version listed on wordpress.org. - Apply available updates.
If an update is available, click Update in WordPress Toolkit or Softaculous. The update process takes 2–5 minutes and preserves your content and settings.
WordPress releases major updates several times per year and minor security updates more frequently. Enable automatic updates for minor releases to ensure you receive security patches immediately.
Update plugins and themes
- Review available updates.
In your WordPress dashboard, go to Dashboard and check the Updates section. This shows how many plugin and theme updates are available. - Update all plugins.
Click Plugins in the left sidebar, then click Update Available to filter outdated plugins. Select all plugins and choose Update from the bulk actions dropdown, then click Apply. - Update your theme.
Go to Appearance and click Themes. If your active theme shows an update notification, click Update Now. - Enable automatic updates.
In WordPress Toolkit or Softaculous, enable automatic plugin updates. This ensures plugins receive security patches as soon as developers release them.
If malware repeatedly appears in a specific plugin folder after updates, that plugin may contain an unfixed vulnerability. Consider replacing it with an alternative plugin that provides similar functionality.
Audit your plugins and themes
Not all plugins and themes receive regular security updates. Abandoned or poorly maintained extensions create persistent vulnerabilities that updates cannot fix.
- Review plugin update frequency.
For each installed plugin, check its WordPress.org page. Look at the Last Updated date. Plugins not updated in over six months may lack active maintenance. - Check plugin popularity.
Review the Active Installations count on each plugin’s WordPress.org page. Widely used plugins receive more security scrutiny and faster vulnerability patches. - Remove unused plugins.
In your WordPress dashboard, go to Plugins and click Inactive. Delete any plugins you no longer use. Inactive plugins still contain code that attackers can exploit.

Running a WordPress site?
Get fast, secure and reliable WordPress Hosting with optimised for performance with AccelerateWP.
Get WordPress Hosting
Need multiple accounts?
Create fully isolated individual accounts for your clients and manage them all from one dashboard.
Get Reseller Hosting