DNS records control where your domain points for web traffic, email and other services. When records are misconfigured, visitors cannot reach your site or emails fail to deliver.
You will use cPanel’s Zone Editor to add, edit or delete DNS records for domains on your hosting account. This allows you to configure A records for web traffic, CNAME records for subdomains, MX records for email routing and TXT records for domain verification.
Before you begin
- Your domain must use our default nameservers for DNS changes to take effect.
- DNS changes can take up to 48 hours to propagate globally.
- We recommend noting down existing records before making changes.
Access Zone Editor
Zone Editor is located in the Domains section of cPanel. You need to open this tool before making any DNS changes.
- Log in to cPanel.
Access your control panel using the credentials provided in your welcome email. Our control panel access guide covers login methods if needed. - Open Zone Editor.
Scroll down to the Domains section on the cPanel home page and click Zone Editor. Alternatively, type “zone editor” into the search box at the top of the page.
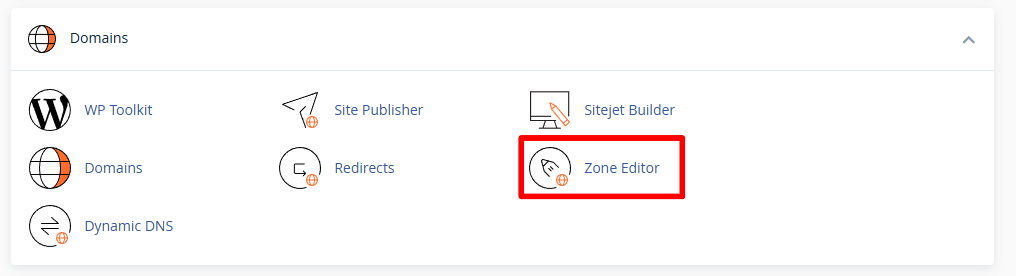
Zone Editor displays all domains on your hosting account. You can now make quick changes or access detailed zone management.
Make quick record changes
Quick action buttons let you add common record types without opening the full zone manager. This saves time when you only need to create a single A, CNAME or MX record.
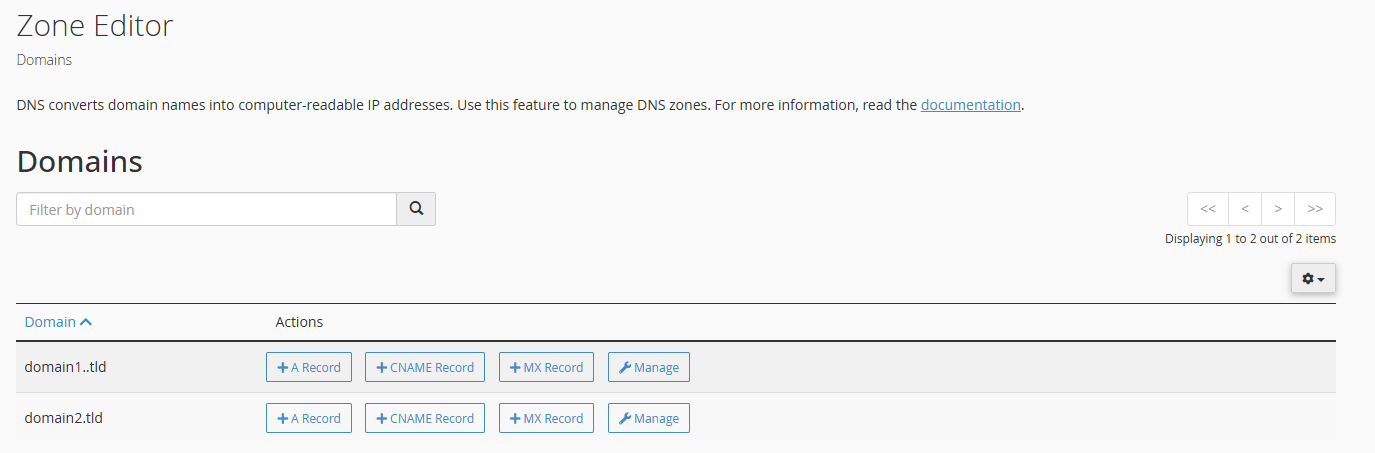
- Locate your domain.
Find the domain you want to modify in the list of domains displayed on the Zone Editor page. - Click the record type button.
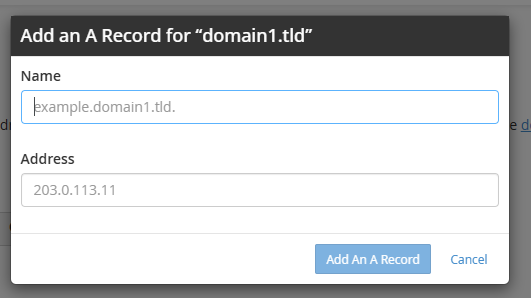
Use the + A Record, + CNAME Record or + MX Record button next to your domain. This opens a form for that specific record type. - Enter the record details.
Fill in the required fields such as name, IP address or destination depending on the record type you selected. - Save the record.
Click Add Record to create the new DNS entry. The record appears in your zone file immediately.
Your new record is now active. For more complex changes or to edit existing records, you need to access the full zone manager.
Manage all DNS records
The full zone manager displays every DNS record for your domain. You can add any record type, edit existing entries or reset the entire zone to default settings.
- Open the zone manager.
Click Manage next to the domain you want to configure. This displays all current DNS records for that domain.
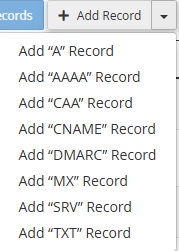
- Add a new record.
Click the Add Record dropdown menu and select the record type you need. Fill in the required fields and click Add Record to save it.
- Edit an existing record.
Find the record you want to modify in the list and click the Edit button next to it. Make your changes and click Save Record to apply them.

- Delete a record.
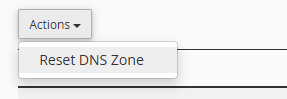
Click the Delete button next to any record you want to remove. Confirm the deletion when prompted. - Reset the zone (optional).
To restore all DNS records to their default state, click the Actions dropdown menu and select Reset DNS Zone. This removes all custom records and recreates the default configuration.
Your DNS changes are now saved in the zone file. They will propagate across the internet within 48 hours, though most changes take effect within a few hours.
Wrapping up
You can now manage DNS records for any domain on your hosting account using cPanel’s Zone Editor. You added, edited and deleted records to control where your domain points for web traffic, email and other services.
Check that your changes work correctly after DNS propagation completes. Test your website loads at the correct IP address and emails route to the right mail server. Our nameservers guide explains how DNS propagation works if you need more context.
If you run into any trouble, get in touch and our team will be happy to help.

Ready to get started?
Launch your website with our reliable cPanel hosting with unlimited bandwidth and expert support.
Get cPanel Hosting