PuTTY is an open source SSH client that provides a graphical interface for managing secure connections. While Windows 10 and later include a built-in OpenSSH client, PuTTY offers advantages like a user-friendly GUI, portable standalone versions and advanced features for debugging and serial connections.
You will install PuTTY on Windows, Linux or macOS and configure it to manage SSH connections to your server. The installation process varies by operating system but takes only a few minutes.
Before you begin
- Windows users need Windows 7 or later (Windows 10+ recommended).
- Linux users need administrator access via
sudo. - macOS users need Homebrew or MacPorts installed.
Install PuTTY on Windows
Windows users download an installer from the official PuTTY website. The installer includes PuTTY and Pageant, an SSH authentication agent that manages your private keys.
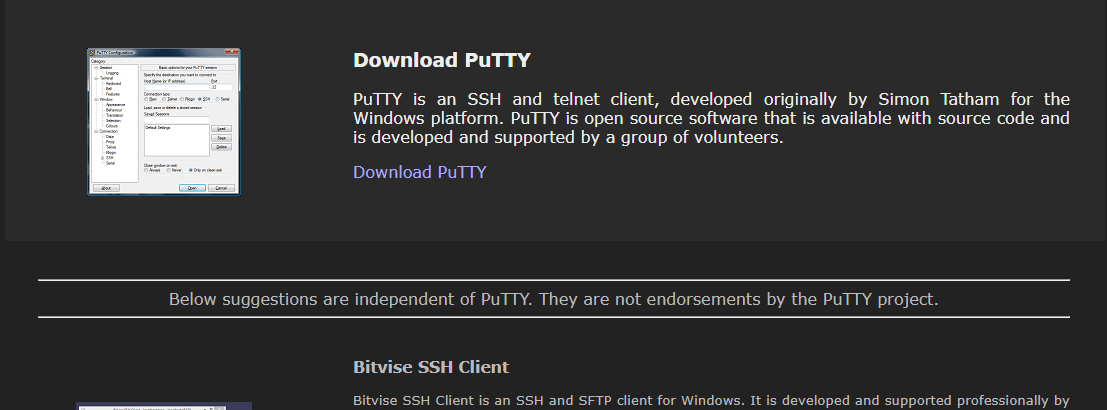
- Download the installer.
Visit the official PuTTY website and click download PuTTY. This redirects you to a mirror site where you select the correct version for your system (32-bit or 64-bit).
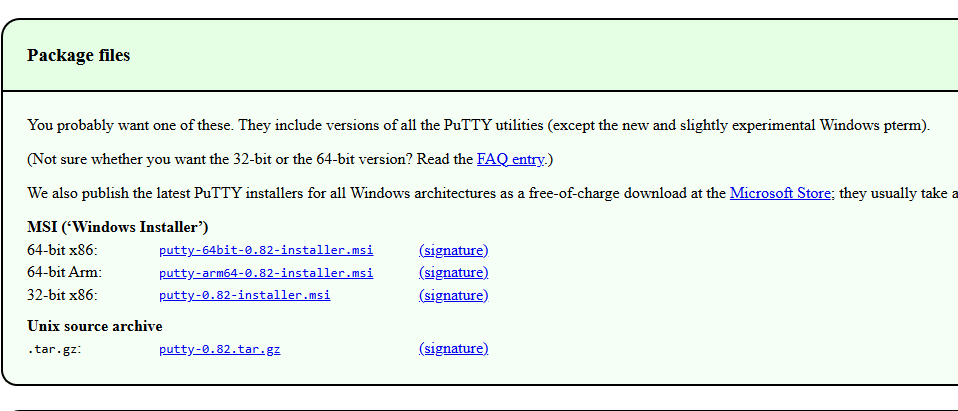
- Choose your system architecture.
On the mirror site, download the installer that matches your Windows version. Most modern systems use the 64-bit installer.
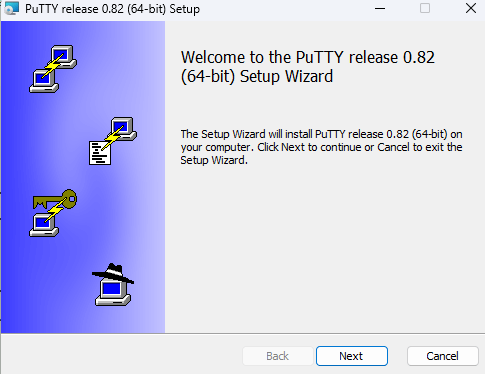
- Run the installer.
Double-click the downloaded file to launch the installation wizard. Accept the default settings or customise the installation location and file associations. We recommend associating.ppkfiles with PuTTY and Pageant for easier key management.
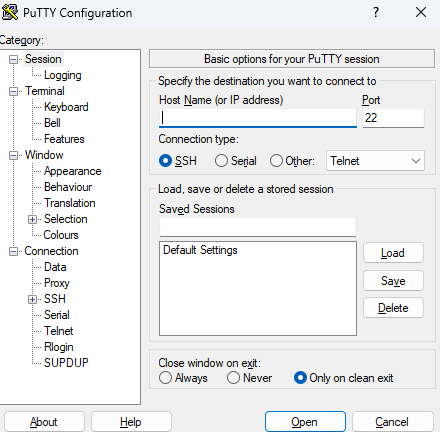
- Launch PuTTY.
Once installation completes, open PuTTY from the Start menu. You can now configure SSH connections to your server.
Install PuTTY on Linux
Most Linux distributions include OpenSSH by default. PuTTY remains useful for debugging, raw socket connections and serial port access. These instructions apply to Debian 12 and similar distributions.
- Install PuTTY.
Open a terminal window and run the following command. This installs the main PuTTY application.
sudo apt-get install putty- Install additional tools.
Run this command to install PuTTY’s companion utilities, including key generation and conversion tools.
sudo apt-get install putty-tools- Launch PuTTY.
Typeputtyin your terminal to open the application. You can now configure your SSH connections.
Install PuTTY on macOS
macOS includes a built-in SSH client accessible through Terminal. You can install PuTTY using either Homebrew or MacPorts if you prefer its interface or need specific features.
Install via Homebrew
Open Terminal and run this command:
brew install puttyInstall via MacPorts
Alternatively, use MacPorts with this command:
port install puttyAfter installation completes, launch PuTTY by typing putty in Terminal.
Wrapping up
You have installed PuTTY on your operating system and can now manage SSH connections through its graphical interface. The application provides session management, key authentication and advanced connection options across Windows, Linux and macOS.
Configure your first connection by entering your server’s hostname and port number. Our guide on connecting via SSH covers authentication and session management. All our cPanel hosting plans include SSH access for secure server management.

Ready to get started?
Launch your website with our reliable cPanel hosting with unlimited bandwidth and expert support.
Get cPanel Hosting