Email autoresponders send automatic replies when someone emails a specific address. You can use them to confirm receipt of customer enquiries, notify senders when you are out of the office or acknowledge form submissions without manual intervention.
You will configure an autoresponder in cPanel by selecting an email address, writing your reply message and setting when the autoresponder should run. Once active, every incoming email to that address triggers your automatic response.
Before you begin
- You need access to your cPanel control panel.
- The email address you want to add an autoresponder to must already exist.
Access the autoresponder tool
The autoresponder tool sits within cPanel’s email section. You will open it to create a new automatic reply for any email address on your domain.
- Log in to cPanel.
Access your control panel atyourdomain.co.uk:2083using your cPanel username and password. - Open the Autoresponders tool.
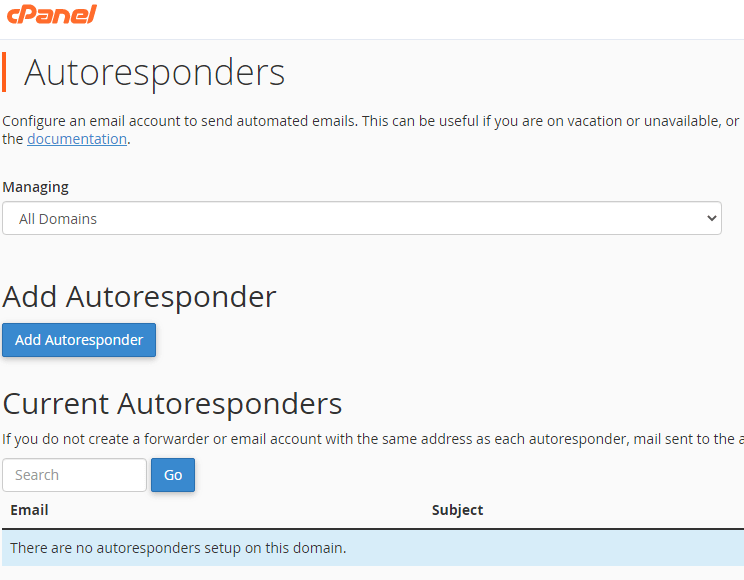
Scroll to the Email section and click Autoresponders. This displays all existing autoresponders for your account.

- Start creating a new autoresponder.
Click Add Autoresponder to open the configuration page.
You are now ready to configure your autoresponder message and schedule.
Configure the autoresponder
The configuration page lets you write your automatic reply, choose which email address it applies to and set when it should run. cPanel provides tags you can insert into your message to personalise each response with the sender’s details.
- Leave the character set as UTF-8.
This encoding supports all English language characters. Only change this if your message uses a non-Latin script such as Arabic or Mandarin. - Select the email address.
Enter the local part of the email address in the Email field, then choose your domain from the dropdown menu. For example, entersupportand selectyourdomain.co.ukto create an autoresponder for support@yourdomain.co.uk. - Write your message.
Fill in the From, Subject and Body fields with your automatic reply content. The tags shown at the top of the page let you insert the sender’s email address or other details into your message.
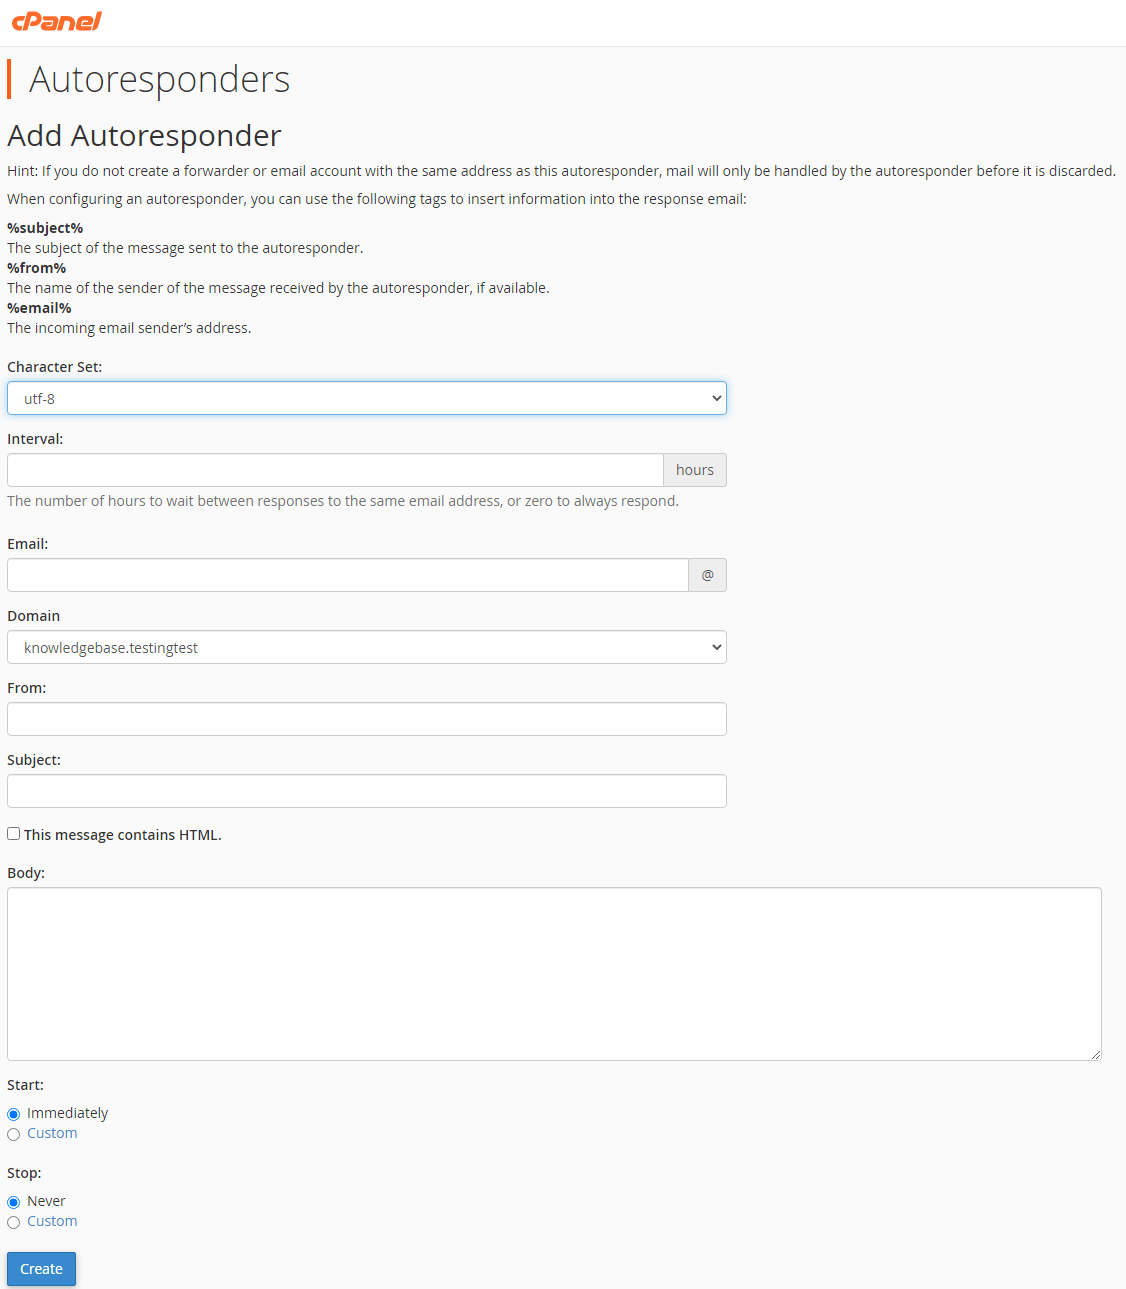
- Set the schedule.
Choose when the autoresponder should start and stop. Leave the stop time blank if you want it to run indefinitely, or set a specific end date for temporary autoresponders such as holiday messages. - Create the autoresponder.
Click Create to save your configuration. The autoresponder activates immediately and sends your automatic reply to every incoming email.
Your autoresponder is now active and will respond to incoming messages according to your schedule.
Wrapping up
You configured an email autoresponder in cPanel that sends automatic replies to a specific address. Your autoresponder now handles incoming messages without manual intervention, confirming receipt or notifying senders when you are unavailable.
Test your autoresponder by sending an email to the configured address from an external account. You can edit or delete the autoresponder at any time by returning to the Autoresponders tool in cPanel. Our guide on creating email accounts in cPanel covers setting up the addresses you need before adding autoresponders.
Our cPanel hosting includes unlimited email accounts and autoresponders on all plans.

Ready to get started?
Launch your website with our reliable cPanel hosting with unlimited bandwidth and expert support.
Get cPanel Hosting