cPanel packages define the resource limits and configuration for hosting accounts on your reseller server. Each package specifies disk space, bandwidth, email accounts and other resources that apply automatically when you create a new cPanel account.
You will create packages to standardise your hosting offerings and speed up account provisioning. When you modify a package, the changes apply to all accounts using that package, which simplifies bulk updates across your customer base.
Before you begin
- You need access to WHM (Web Host Manager) on your reseller hosting account.
- We recommend planning your package structure before creating them in WHM.
Create a cPanel package
Creating a package establishes a template with predefined resource limits. You will set the package name, disk space quota, bandwidth limit and other restrictions that apply to accounts created with this package.
- Log in to WHM.
Access WHM by adding :2087 to your server hostname:https://yourhostname.com:2087replacing yourhostname.com with your actual server address. - Open the Add a Package page.
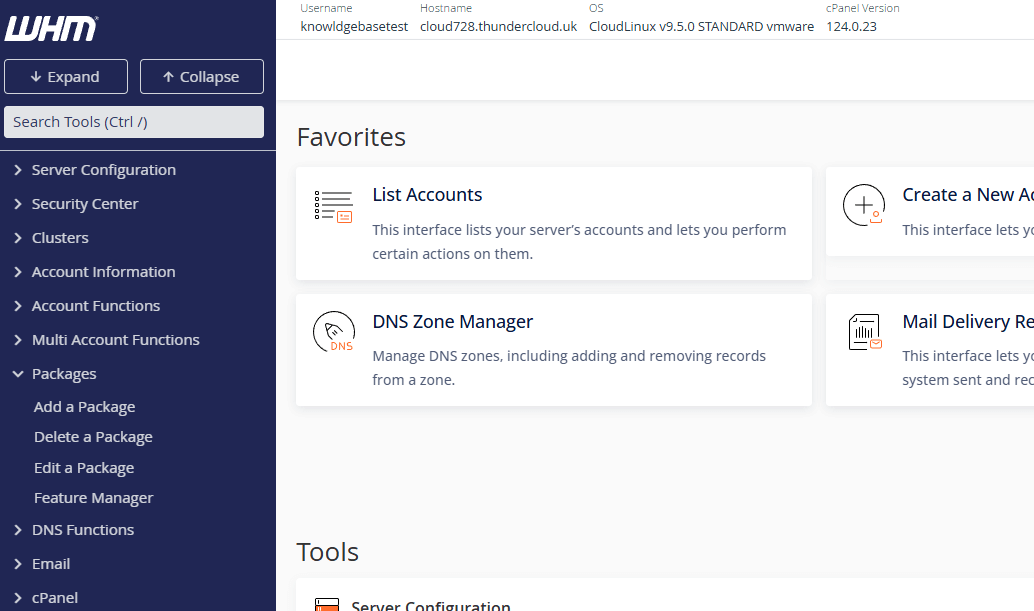
In the left sidebar, locate the Packages heading and click Add a Package. This opens the package creation form.
- Enter the package name.
Type a descriptive name in the Package Name field. Use names that identify the package tier, such as Starter, Business or Enterprise. - Set the disk space quota.
Enter the storage limit in megabytes in the Disk Space Quota (MB) field. For example, enter 10240 for 10GB of storage. This controls how much data accounts can store on the server. - Configure the bandwidth limit.
Enter the monthly data transfer limit in megabytes in the Monthly Bandwidth Limit (MB) field. For example, enter 51200 for 50GB of bandwidth. This restricts how much data accounts can transfer each month.
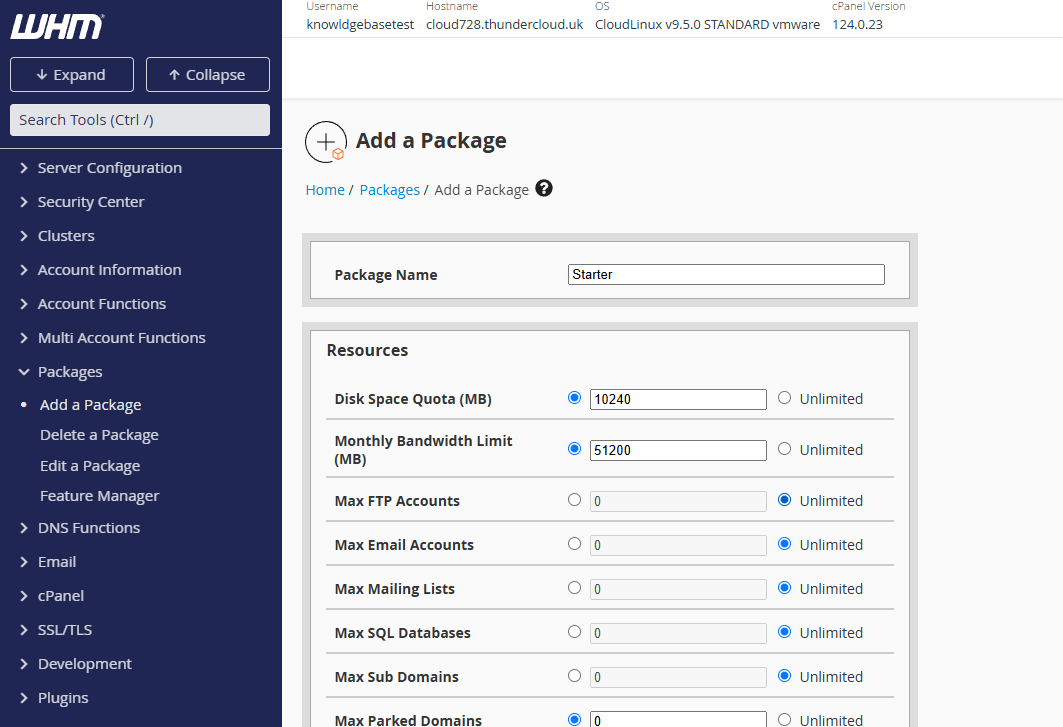
- Review additional resource limits.
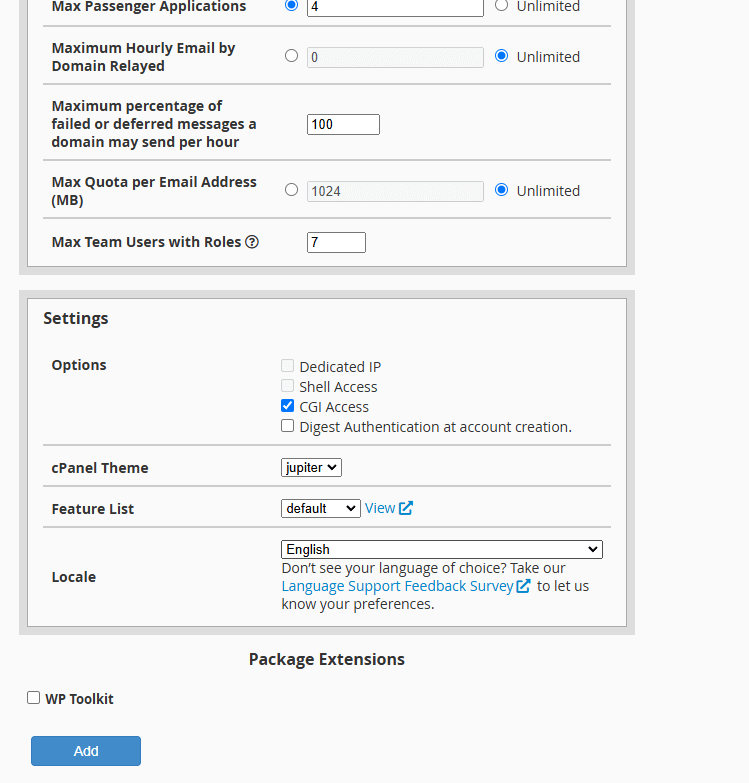
Scroll through the remaining fields to configure email accounts, databases, domains and other resources. Leave fields at their default values if you want standard limits for those resources. - Save the package.
Click the Add button at the bottom of the form. WHM creates the package and makes it available for account creation.
Your package now appears in the package list and can be selected when creating new cPanel accounts. The resource limits you defined apply automatically to any account created with this package.
Edit an existing package
Modifying a package updates the resource limits for all accounts currently using that package. This allows you to adjust quotas across multiple accounts without editing each one individually.
- Open the Edit a Package page.
In the left sidebar under Packages, click Edit a Package. This displays a list of all packages on your server.
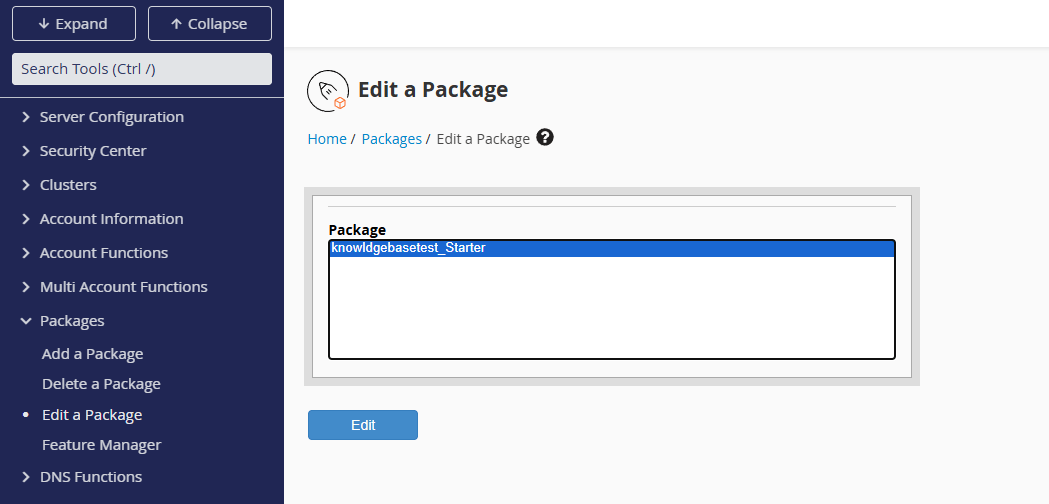
- Select the package to modify.
Find the package you want to change in the list and click the Edit button next to it. This opens the package configuration form. - Update the resource limits.
Modify any fields you want to change, such as disk space, bandwidth or email account limits. The form displays the same options as package creation. - Save your changes.
Click the Save button at the bottom of the form. WHM applies the new limits to all accounts using this package.
Accounts using the modified package now operate under the updated resource limits. Changes take effect immediately without requiring account recreation.
Delete a package
Removing a package prevents it from being used for new accounts. Existing accounts using the package remain active but lose their package association, which means future bulk updates will not affect them.
- Open the Delete a Package page.
In the left sidebar under Packages, click Delete a Package. This displays a list of packages available for deletion.
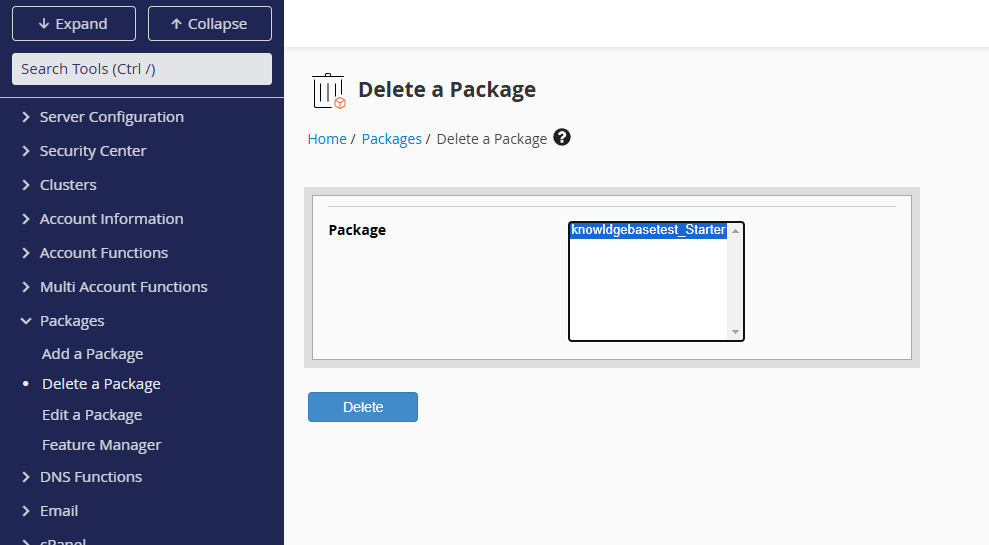
- Select the package to remove.
Find the package you want to delete in the list and click the Delete button next to it. WHM prompts you to confirm the deletion. - Confirm the deletion.
Review the confirmation message and click Delete again. WHM removes the package from the system.
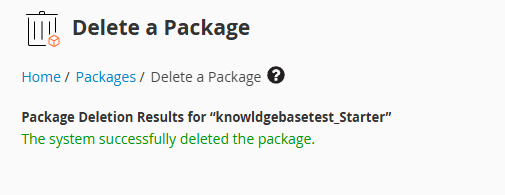
The package no longer appears in the package list and cannot be selected for new accounts. Existing accounts using the deleted package continue operating with their current resource limits.
Understanding package resource options
WHM packages include numerous resource settings beyond disk space and bandwidth. Each setting controls a specific aspect of what accounts can do on the server. Understanding these options helps you create packages that match your hosting tiers and prevent resource abuse.
Resource fields use two checkbox states. A ticked checkbox on the left with a value of 0 means the resource is disabled or not allowed. A ticked checkbox on the right with any value means the resource is enabled, with 0 indicating unlimited access.
Storage and transfer limits
Disk Space Quota (MB) sets the total storage available to the account. This includes website files, email messages, databases and backups. Accounts reaching their quota cannot upload additional files or receive email until they free up space.
Monthly Bandwidth Limit (MB) restricts data transfer in and out of the account each month. This covers website traffic, email sending and receiving, and file transfers. Accounts exceeding their bandwidth limit may have their sites suspended until the next billing cycle.
File transfer and email settings
Max FTP Accounts controls how many FTP users can access the account’s files. Each FTP account can have different permissions and access to specific directories, which allows account owners to grant file access to developers or content managers.
Max Email Accounts limits the number of email addresses that can be created under the account’s domains. This includes standard email accounts, forwarders and autoresponders.
Max Mailing Lists restricts how many mailing lists the account can create. Mailing lists allow sending messages to multiple recipients simultaneously, which is useful for newsletters or announcements.
Max Quota per Email Address (MB) sets the storage limit for individual email accounts. When an email account reaches its quota, it stops receiving new messages until the user deletes old emails or increases the quota.
Database and domain options
Max SQL Databases limits the number of MySQL or MariaDB databases the account can create. Most content management systems require at least one database, so accounts running multiple sites need higher database limits.
Max Sub Domains controls how many subdomains can be created. Subdomains are prefixes added to the main domain, such as blog.example.com or shop.example.com, and often point to separate directories or applications.
Max Parked Domains restricts the number of additional domains that can point to the same content as the main domain. Parked domains are useful when you own multiple domain variations and want them all to display the same website.
Max Addon Domains limits how many separate websites can be hosted under a single cPanel account. Each addon domain has its own directory and can host completely different content from the main domain.
Application and email security settings
Max Passenger Applications controls how many Passenger-based applications can run on the account. Passenger is an application server that supports Ruby, Python and Node.js applications, making this setting relevant for accounts hosting custom web applications.
Maximum Hourly Email by Domain Relayed limits how many emails the account can send per hour. This prevents spam and protects your server’s reputation with email providers. Accounts hitting this limit have their outgoing email temporarily blocked.
Maximum Percentage of Failed/Deferred Messages per Hour sets the threshold for email delivery failures before the account is flagged. High failure rates often indicate spam or compromised accounts, so this setting helps identify problematic email activity.
User management
Max Team Users with Roles limits how many additional users can access the cPanel account with assigned permissions. Team users can manage specific features like email or databases without having full account access, which is useful for delegating tasks to staff members.
Further reading on WHM package management
cPanel’s official documentation provides detailed information about package creation and management in WHM. The documentation covers advanced package features, including feature lists and package inheritance.
Understanding how package changes affect existing accounts helps you plan updates without disrupting customer services. Some resource changes apply immediately, while others require manual intervention for active accounts.
If you manage multiple reseller accounts, consider creating a standardised account creation workflow that uses packages consistently. This reduces configuration errors and speeds up customer provisioning.
Wrapping up
You now know how to create, edit and delete cPanel packages in WHM. You configured resource limits including disk space, bandwidth and email quotas that apply automatically to new accounts. Package-based management standardises your hosting offerings and simplifies bulk updates across customer accounts.
Review your package structure regularly as your hosting business grows. Adjust resource limits based on customer usage patterns and create new packages for different service tiers. Our reseller hosting plans provide the flexibility to create unlimited packages and scale your hosting business.

Need multiple accounts?
Create isolated individual accounts for your clients and manage them all from one dashboard.
Get Reseller Hosting
Need more control?
Upgrade to VPS hosting for scalable resources and root access to your server.
Get VPS Hosting