Creating cPanel accounts in WHM gives each of your reseller hosting clients an isolated environment to manage their websites, email and databases. You control resource limits through packages while your clients get full cPanel access to their own hosting space.
You will create a new cPanel account by setting a primary domain, choosing a hosting package and configuring mail routing. The account becomes available immediately after creation.
Before you begin
- You need access to your WHM account at
yourdomain.co.uk:2087 - We recommend creating hosting packages before setting up accounts so you can assign resource limits consistently.
Create a cPanel account
You will enter account details including the primary domain, password and hosting package. WHM generates the username automatically based on the domain name you provide.
- Log in to WHM.
Access your WHM account athttps://yourdomain.co.uk:2087replacing yourdomain.co.uk with your actual domain name. - Open the account creation tool.
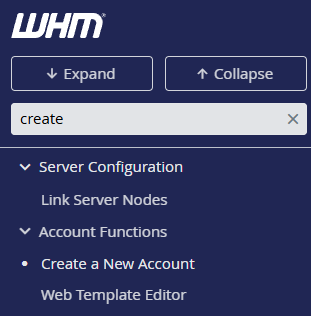
Type “create account” in the search bar at the top left, or find Create a New Account in the Account Functions section of the left sidebar.
- Enter the primary domain.
Type the domain name in the Domain field. WHM automatically generates a username based on this domain in the Username field below.
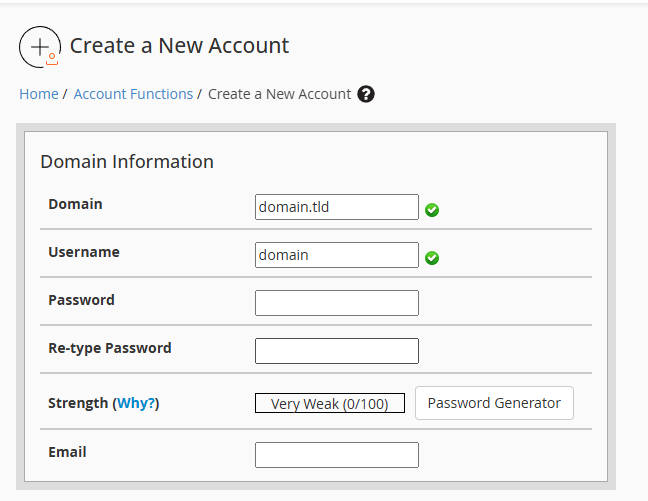
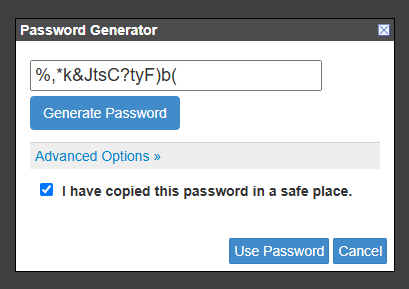
- Set a password.
Click Generate next to the Password field to create a secure password, or enter your own. Copy the generated password and store it securely before continuing.
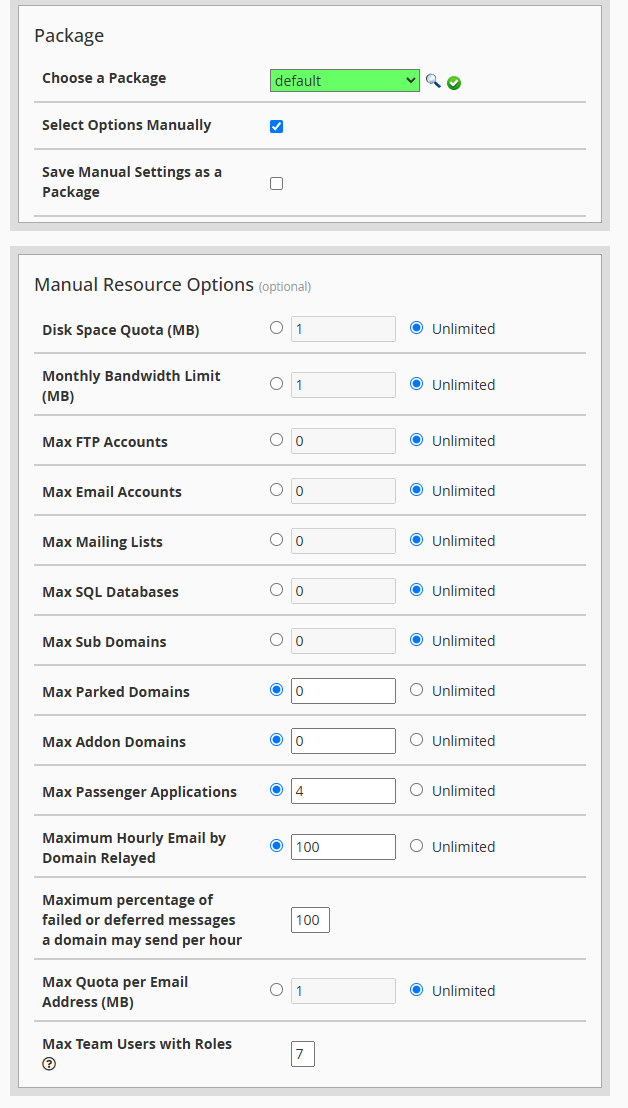
- Choose a hosting package.
Select a package from the Choose a Package dropdown. This sets resource limits including disk space, bandwidth and addon domains. If you prefer to set limits manually, tick Select Options Manually instead.
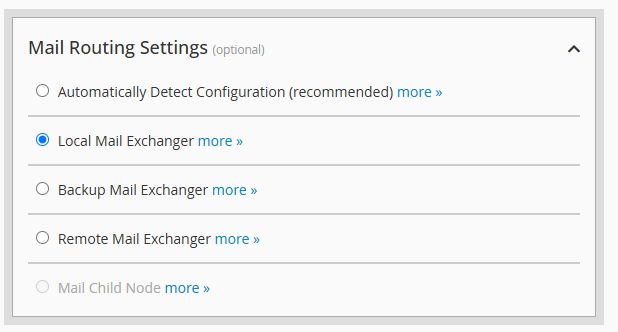
- Configure mail routing.
Scroll down to Mail Routing Settings. Leave this set to Automatically Detect Configuration unless your client uses external mail services like Google Workspace. In that case, select Remote Mail Exchanger to prevent mail delivery conflicts.
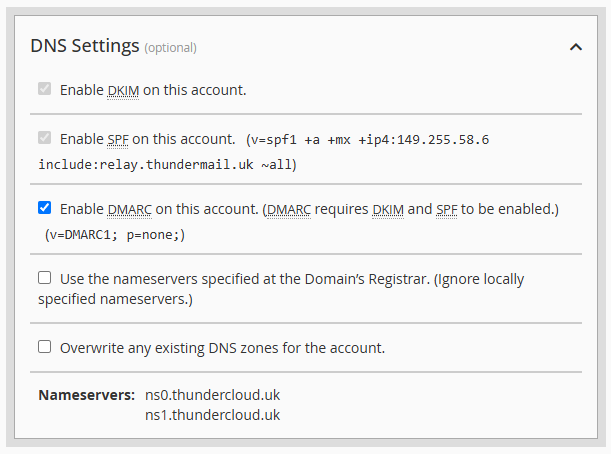
- Review DNS settings.
Check the DNS Settings section below mail routing. Leave Enable DKIM and Enable SPF ticked to improve email deliverability. If your client uses external DNS like Cloudflare, you can disable DNS zone creation here.
- Create the account.
Scroll to the bottom of the page and click Create. WHM creates the account and displays a confirmation message with the cPanel login URL.

The new cPanel account is now active. Your client can log in at https://yourdomain.co.uk:2083 using the username and password you created.
Wrapping up
You created a new cPanel account in WHM by setting a primary domain, choosing a hosting package and configuring mail routing. Your client now has an isolated environment to manage their websites and email independently.
Review your hosting packages regularly to make sure resource limits match your clients’ needs. Our reseller hosting gives you full WHM access to manage multiple client accounts from one control panel.

Need multiple accounts?
Create isolated individual accounts for your clients and manage them all from one dashboard.
Get Reseller Hosting
Need more control?
Upgrade to VPS hosting for scalable resources and root access to your server.
Get VPS Hosting