CloudPanel is free control panel software that can be installed on your virtual private server. It provides more flexibility and control over a standard VPS enabling easy creation of various different sites and apps including:
- Static Websites (HTML, CSS, JS sites)
- PHP based sites (ex. WordPress, Laravel)
- Node.js
- Python
- NGINX reverse proxies
Before you install
- CloudPanel isn’t for beginners. You need solid Linux system administration skills.
- Must know how to SSH into your server, manage packages, and configure basic services like UFW.
- Don’t install MySQL or MariaDB beforehand. The install script handles that.
- If you’re new to VPS management, run through the initial server setup for Debian first to get comfortable with basic administration.
System requirements
CloudPanel needs:
- Debian or Ubuntu OS
- 1 vCPU minimum (2+ recommended)
- 2 GB RAM minimum (4+ recommended)
- 10 GB disk space minimum
These are bare minimums. For production sites, spec higher.
Installing CloudPanel On Debian 12
1. First off start by logging into your VPS over the command line.
2. Use the following command to check, install updates and install required packages (including mariadb.
apt update && apt full-upgrade && apt -y install curl wget sudo ufw3. In a browser window check if apache in running on your VPS, if it is we will need to disable it in preparation for NGINX.
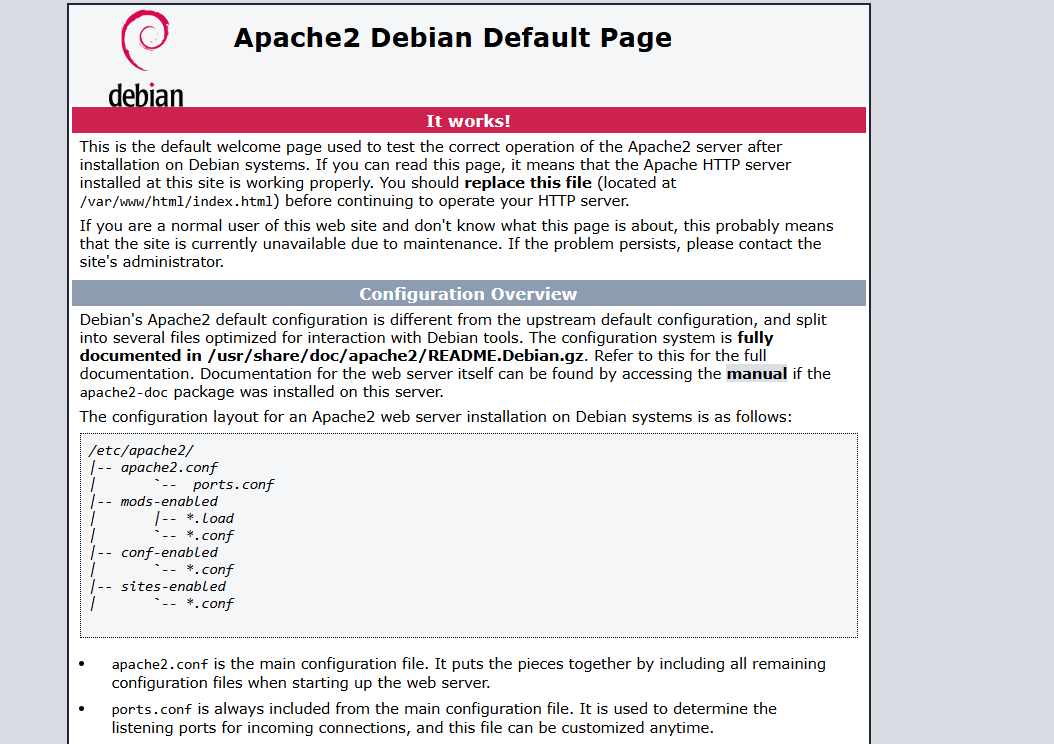
systemctl disable apache2 && sudo systemctl stop apache24. From here run the installation script provided to install CloudPanel.
curl -sS https://installer.cloudpanel.io/ce/v2/install.sh -o install.sh; \
echo "a3ba69a8102345127b4ae0e28cfe89daca675cbc63cd39225133cdd2fa02ad36 install.sh" | \
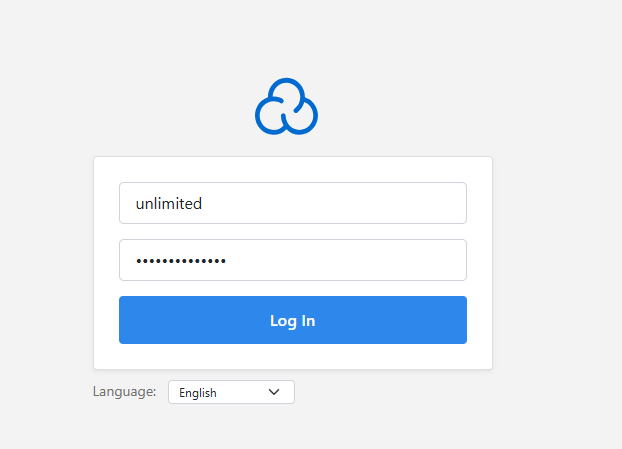
sha256sum -c && sudo DB_ENGINE=MARIADB_10.11 bash install.sh5. Now start by creating your admin user in CloudPanel.

6. After successfully installing and setting up CloudPanel, sign in with your newly created Admin user. From here you can continue configuring additional features such as CloudFlare, specific firewall rules or just get straight into it by adding a site.
Secure CloudPanel
Default installation uses a self-signed certificate. Browser will show a warning.
Install SSL certificates with Let’s Encrypt to get a proper certificate and remove the warning.
Start adding sites
From the CloudPanel dashboard, add sites, configure databases, set up SSL per domain, and manage everything through the web interface.
Much easier than editing config files manually for every site you add.

Need more power?
Get scalable resources with our VPS hosting with root access and optional software.
Get VPS Hosting
Starting something new?
Perfect for websites and small businesses unlimited bandwidth with cPanel hosting.
Get cPanel Hosting