CloudPanel is free control panel software that transforms your VPS into a multi-site hosting platform. It provides a web interface for managing PHP applications, Node.js apps, Python projects, static websites and NGINX reverse proxies without editing configuration files manually.
You will install CloudPanel on Debian 12, create an admin account and configure the firewall. Once complete, you can add sites and manage databases through the CloudPanel dashboard.
Before you begin
- You need SSH access to your VPS and solid Linux administration skills.
- Your server must run Debian 12 or Ubuntu with at least 2 GB RAM and 10 GB disk space.
- Do not install MySQL or MariaDB beforehand. The CloudPanel installer handles database setup.
- We recommend completing our initial server setup for Debian 12 guide first if you are new to VPS management.
Install CloudPanel
The CloudPanel installer updates your system packages, installs required dependencies and configures MariaDB. This process takes several minutes depending on your server specifications.
- Connect to your VPS via SSH.
Log in as root or a user with sudo privileges. - Update system packages and install dependencies.
Run this command to update your package lists, upgrade installed packages and install required tools:
apt update && apt full-upgrade && apt -y install curl wget sudo ufw- Check for Apache.
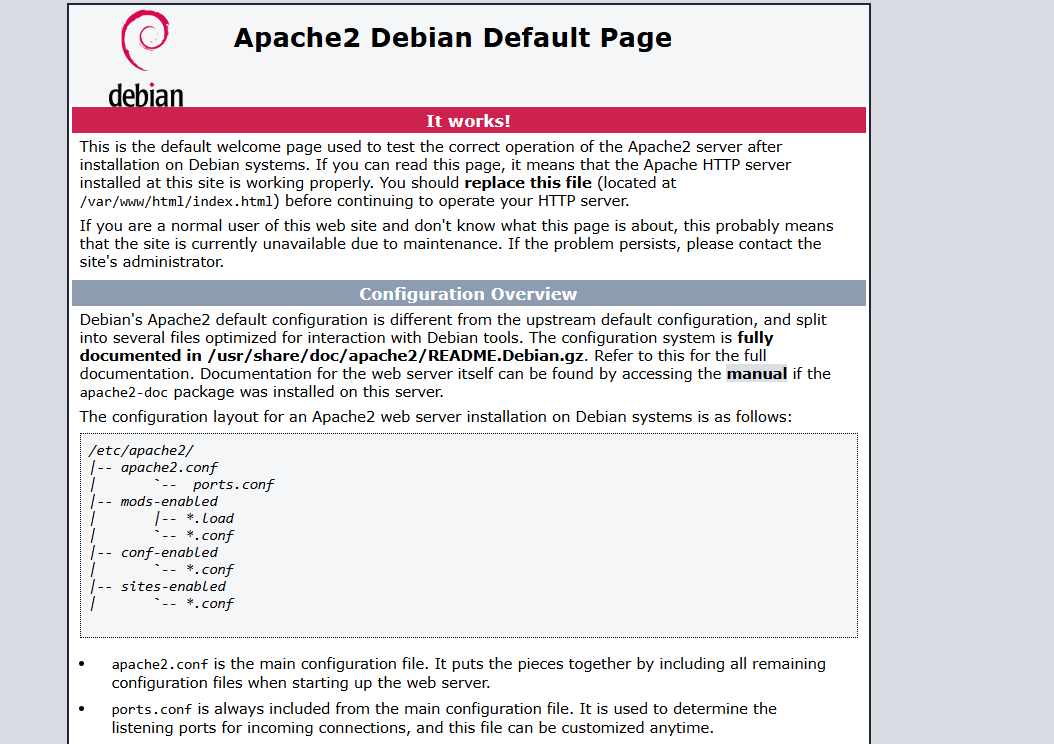
Open your VPS IP address in a browser. If you see the default Apache page, Apache is running and must be disabled because CloudPanel uses NGINX.
- Disable Apache if present.
Stop Apache and prevent it from starting automatically:
systemctl disable apache2 && systemctl stop apache2- Download and run the CloudPanel installer.
This command downloads the installation script, verifies its integrity and runs it with MariaDB 10.11:
curl -sS https://installer.cloudpanel.io/ce/v2/install.sh -o install.sh; \
echo "a3ba69a8102345127b4ae0e28cfe89daca675cbc63cd39225133cdd2fa02ad36 install.sh" | \
sha256sum -c && sudo DB_ENGINE=MARIADB_10.11 bash install.sh
The installer configures NGINX, PHP, MariaDB and the CloudPanel interface. Wait for the installation to complete before proceeding.
Create your admin account
CloudPanel prompts you to create an admin user immediately after installation. This account controls all CloudPanel settings and site management.
- Follow the on-screen prompts.
Enter your desired username, email address and password when prompted. The installer creates your admin account and displays the CloudPanel login URL.

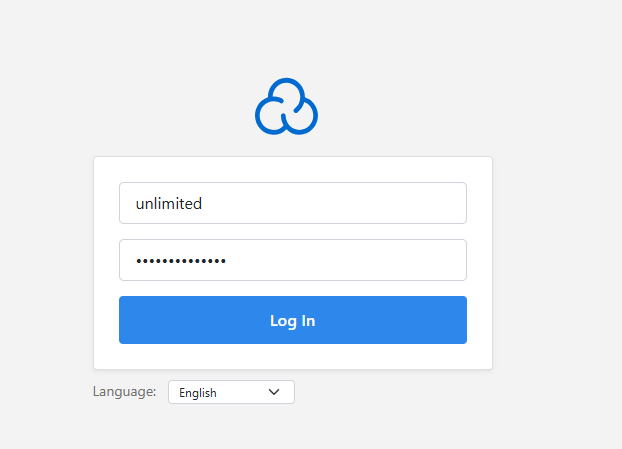
- Access the CloudPanel interface.
Open the URL provided by the installer in your browser. This is typicallyhttps://your-server-ip:8443. Your browser will show a security warning because CloudPanel uses a self-signed certificate by default. - Log in with your admin credentials.
Enter the username and password you created. You now have access to the CloudPanel dashboard where you can add sites, configure databases and manage server settings.
Secure CloudPanel with a valid SSL certificate
The default self-signed certificate triggers browser warnings. Replace it with a Let’s Encrypt certificate to remove these warnings and secure the CloudPanel interface properly.
Follow our guide on installing a free SSL certificate with Certbot to configure a valid certificate for your CloudPanel domain.
Wrapping up
CloudPanel is now installed and accessible through your browser. You configured the admin account and can start adding sites through the dashboard interface. This removes the need to edit NGINX configuration files manually for each new site you host.
Install a Let’s Encrypt certificate to secure the CloudPanel interface and remove browser warnings. From the dashboard, you can add sites, configure databases, set up per-domain SSL certificates and manage firewall rules. Our VPS hosting provides the foundation for running CloudPanel with full root access.

Need more power?
Get scalable resources with our VPS hosting with root access and optional software.
Get VPS Hosting
Starting something new?
Perfect for websites and small businesses unlimited bandwidth with cPanel hosting.
Get cPanel Hosting