Contact forms and login pages attract automated spam and brute force attacks without protection. Bots submit fake enquiries through your forms and attempt to guess admin passwords, wasting your time and potentially compromising your site.
You will add Google reCAPTCHA v2 to your WordPress forms and login page. This distinguishes between legitimate visitors and automated bots, blocking spam whilst allowing real users through. The process takes around 15 minutes and requires no coding knowledge.
Before you begin
- You need access to your WordPress admin area at
https://yourdomain.co.uk/wp-admin - A Google account is required to generate reCAPTCHA keys.
- We recommend installing WordPress if you have not done so already.
Create a reCAPTCHA account
Google provides reCAPTCHA as a free service. You will register your domain and receive two keys that connect your WordPress site to Google’s verification system.
- Open the reCAPTCHA admin page.
Visit google.com/recaptcha/admin/create and sign in with your Google account. - Configure your reCAPTCHA settings.
Enter a label to identify this site in your reCAPTCHA dashboard. Under reCAPTCHA type, select Challenge (v2) then choose “I’m not a robot” Checkbox. This displays a checkbox that visitors must tick to verify they are human. - Add your domain.
In the Domains field, enter your website domain without http:// or https:// (for example,yourdomain.co.uk). You can add multiple domains if you plan to use the same keys across several sites. - Accept the terms and submit.
Tick the box to accept the reCAPTCHA Terms of Service, then click Submit. Google generates your site and secret keys. - Copy your keys.
The next page displays your Site Key and Secret Key. Keep this page open or copy both keys to a text file. You will need them in the following sections.
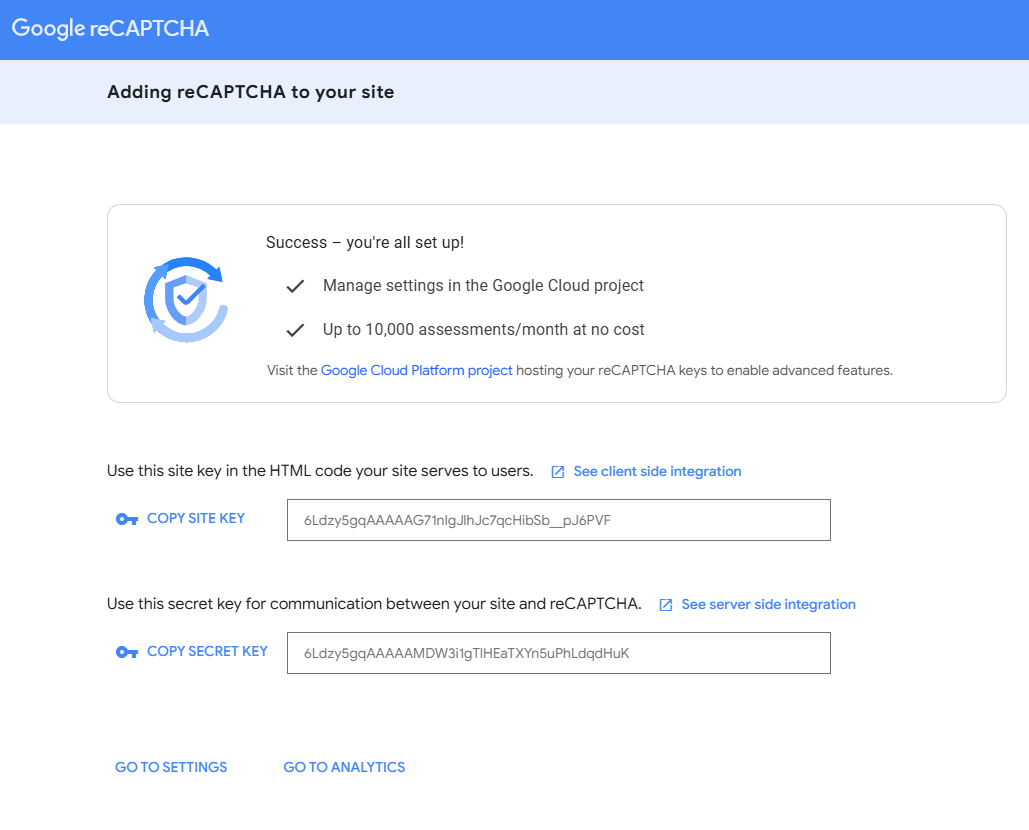
Your reCAPTCHA account is now active. The site key identifies your domain to Google’s servers, whilst the secret key verifies requests from your WordPress installation.
Add reCAPTCHA to Contact Form 7
Contact Form 7 includes built-in reCAPTCHA support through its integrations menu. You will connect your forms to Google’s verification service using the keys you created.
- Open the integrations menu.
From your WordPress admin area, hover over Contact in the left sidebar and click Integration. This page lists available third-party services. - Configure reCAPTCHA.
Find the reCAPTCHA box and click Setup Integration. Two fields appear labelled Site Key and Secret Key. - Enter your keys.
Paste your site key into the first field and your secret key into the second field. These are the keys you copied from the Google reCAPTCHA admin page. - Save the integration.
Click Save Changes at the bottom of the page. Contact Form 7 automatically adds reCAPTCHA to all forms on your site.
Your contact forms now display a reCAPTCHA checkbox. Visitors must tick this box before submitting their message, which prevents automated spam submissions.
Protect your login page
Your WordPress login page remains vulnerable to brute force attacks without protection. You will install a plugin that adds reCAPTCHA verification to the login form, blocking automated password guessing attempts.
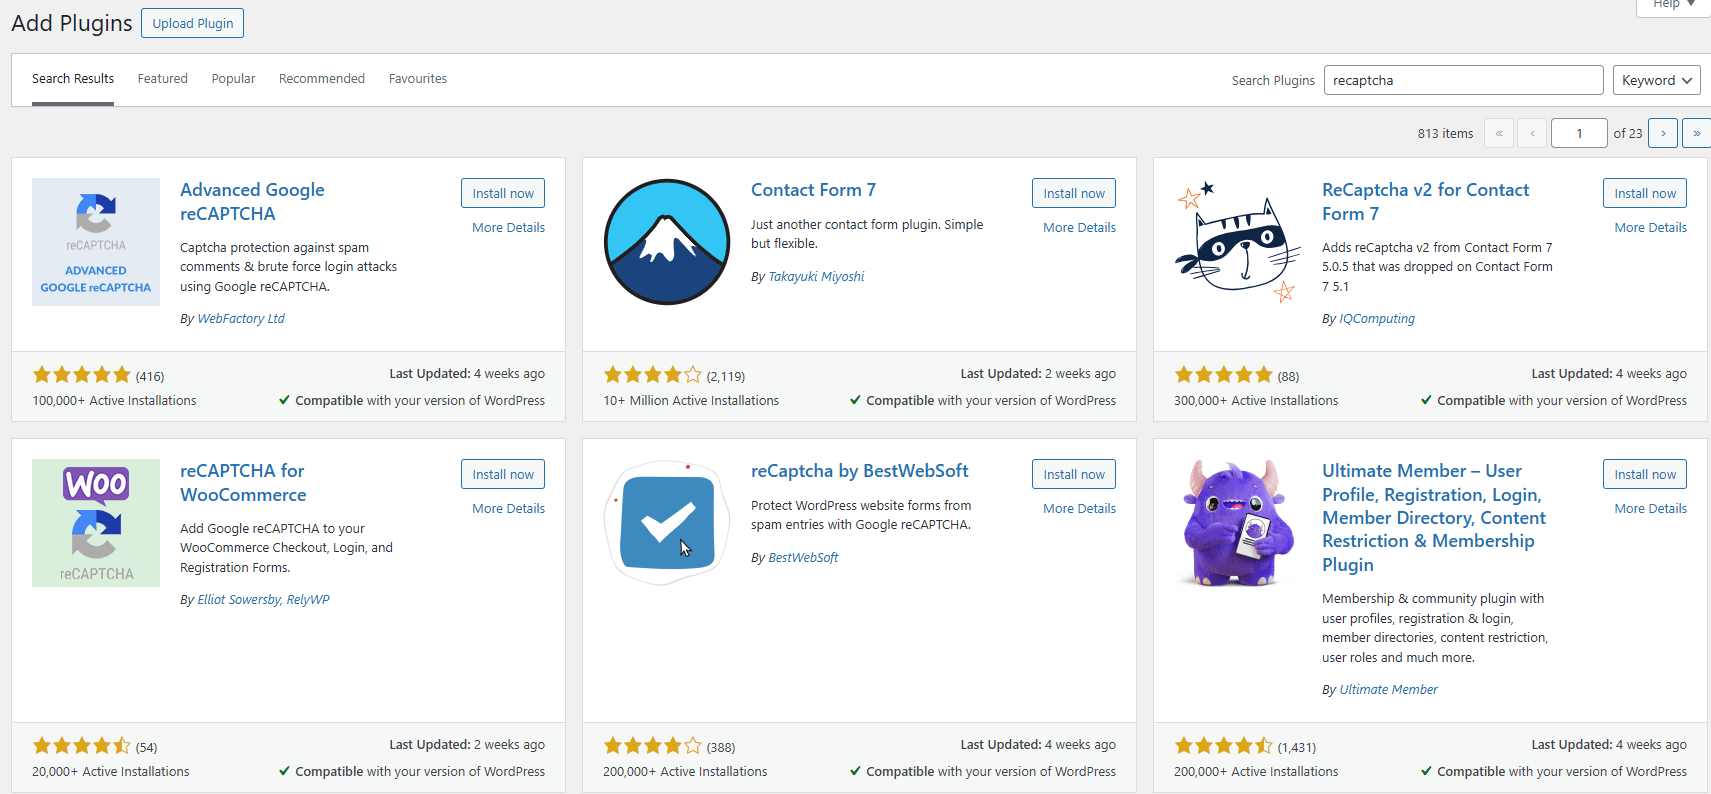
- Install the Advanced Google reCAPTCHA plugin.
From your WordPress admin area, hover over Plugins and click Add New Plugin. In the search box, typeAdvanced Google reCAPTCHAand press Enter. Click Install Now on the plugin by Shamim Hasan, then click Activate.
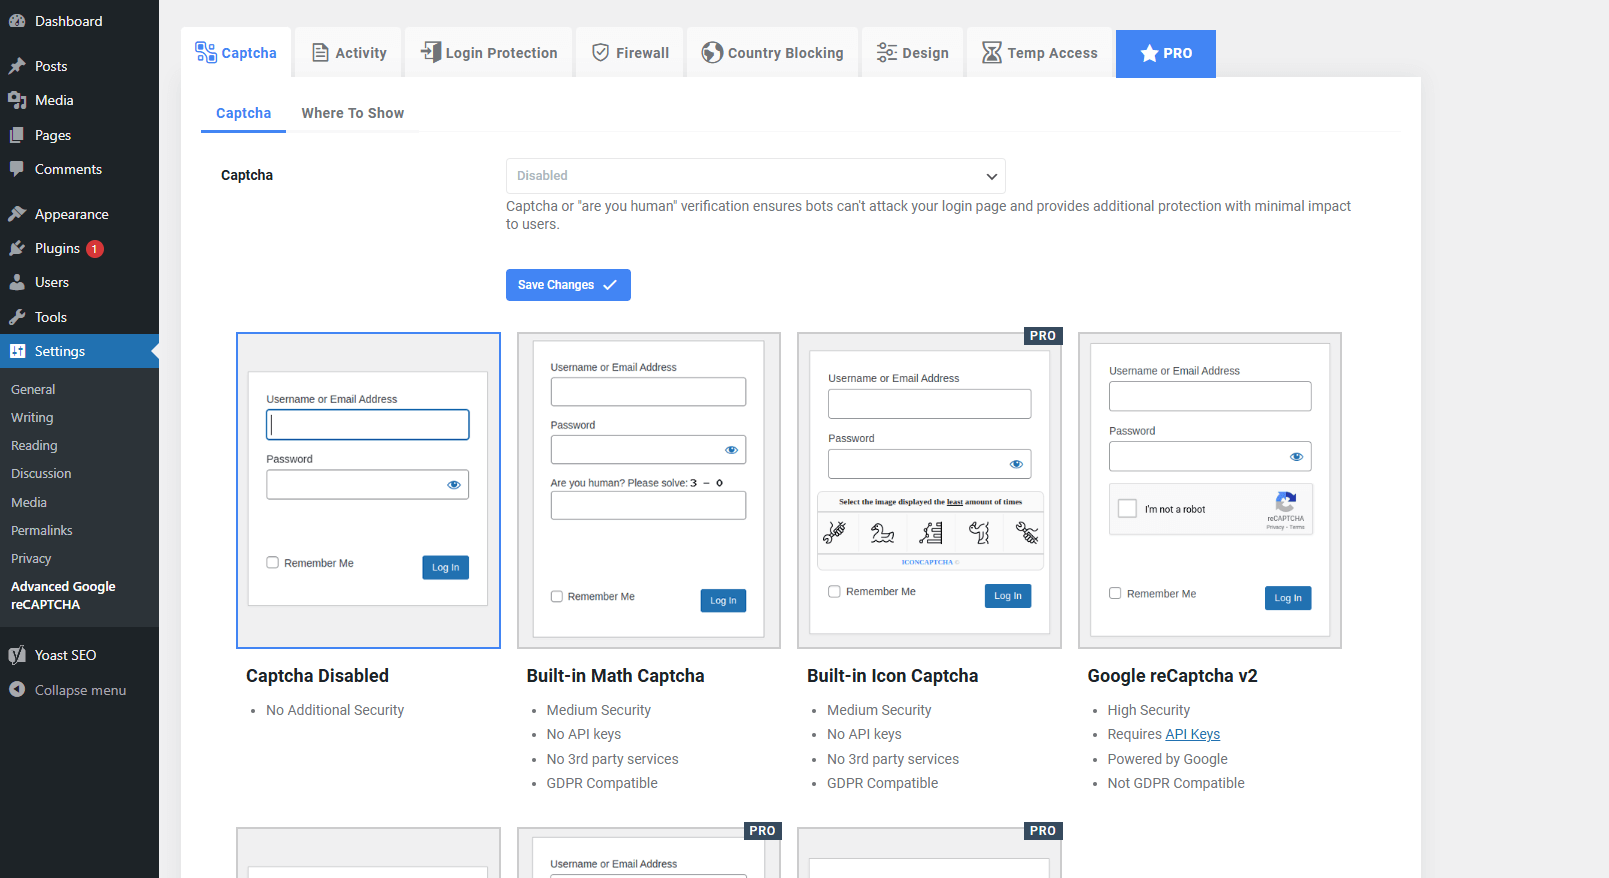
- Open the plugin settings.
Hover over Settings in the left sidebar and click Advanced Google reCAPTCHA. The plugin configuration page opens. - Select reCAPTCHA version.
Click the Captcha tab at the top of the page. Under reCAPTCHA Type, select Google reCAPTCHA v2 from the dropdown menu. This matches the version you configured in your Google account.
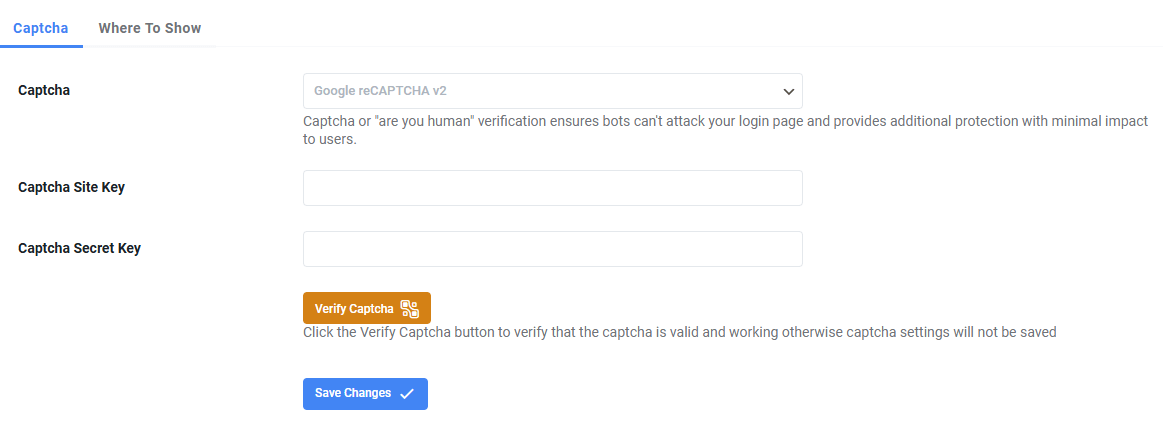
- Add your reCAPTCHA keys.
Scroll down to find the Site Key and Secret Key fields. Paste your keys from the Google reCAPTCHA admin page into these fields. - Verify the connection.
Click the Verify CAPTCHA button below the key fields. A success message confirms that your WordPress site can communicate with Google’s servers. - Save your changes.
Scroll to the bottom of the page and click Save Changes. Your login page now displays a reCAPTCHA checkbox.
Your WordPress login page now requires reCAPTCHA verification. Automated bots cannot bypass this protection, which prevents brute force attacks on your admin account. If you lose access to your admin area, you can reset your WordPress admin password to regain entry.
Wrapping up
Your WordPress forms and login page now block automated spam and brute force attacks. You created a Google reCAPTCHA account, connected Contact Form 7 to the verification service and secured your admin area with the Advanced Google reCAPTCHA plugin. Legitimate visitors can still access your forms and login page, but bots cannot bypass the verification.
Test your forms by submitting a message through your contact page. Check that the reCAPTCHA checkbox appears and that your message arrives successfully. We recommend enabling HTTPS on your WordPress site to encrypt data between your visitors and your server. For additional protection, review our guide to WordPress security plugins.

Ready to get started?
Launch your website with our reliable cPanel hosting with unlimited bandwidth and expert support.
Get cPanel Hosting