Editing your hosts file lets you point a domain to any server without changing DNS records. This is useful when you need to preview a site on a new server before switching nameservers or when testing changes in a staging environment.
Your hosts file maps domain names to IP addresses locally on your computer. When you add an entry, your system checks this file before querying external DNS servers. This allows you to override public DNS and connect directly to a specific server.
Before you begin
- You need the IP address of the server you want to test against.
- Administrator or root access is required to edit the hosts file.
- We recommend creating a backup of your hosts file before making changes.
Find your server’s IP address
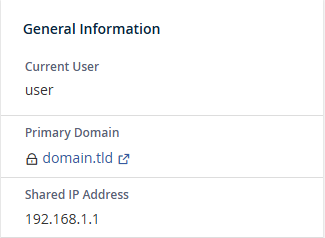
You need the IP address of the server where your site is hosted. You can find this in cPanel or WHM depending on your access level.
In cPanel, the shared IP address appears in the General Information section on the right side of the dashboard immediately after logging in.
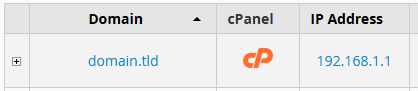
In WHM, navigate to List Accounts to see the IP address assigned to each cPanel account on the server.
Edit the hosts file in Windows
Windows stores the hosts file in a protected system directory. You need to open your text editor with administrator privileges to make changes.
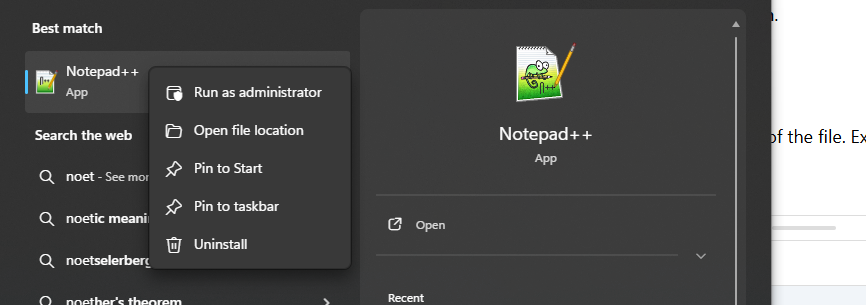
- Open Notepad as administrator.
Click the Start menu, search for Notepad, right-click the result and select Run as administrator. This grants the permissions needed to edit system files.
- Navigate to the hosts file location.
In Notepad, click File then Open. Paste this path into the address bar:C:\Windows\System32\Drivers\etcand press Enter. This folder contains your system’s network configuration files.

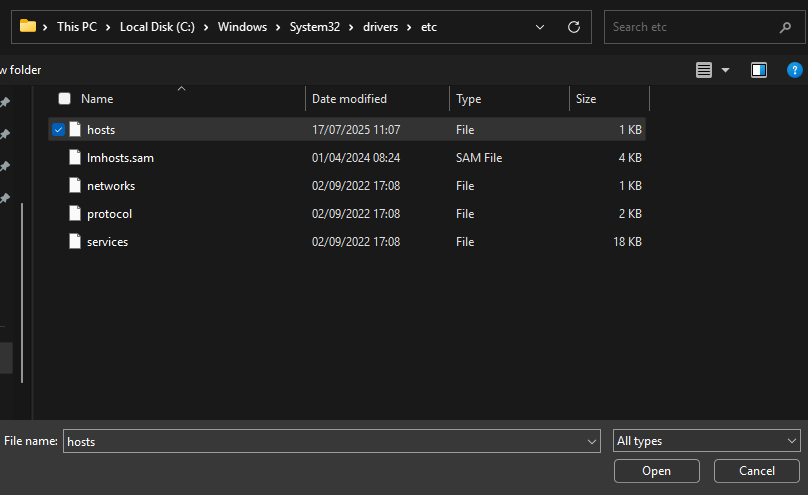
- Open the hosts file.
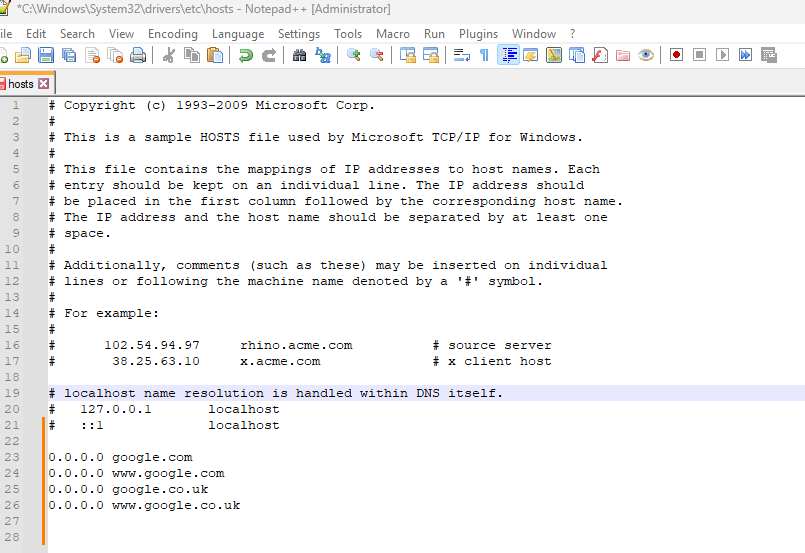
Change the file type dropdown from Text Documents to All Files. Select the file namedhosts(with no extension) and click Open.
- Add your host entry.
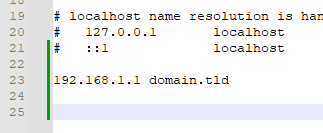
Scroll to the bottom of the file and add a new line with your server’s IP address followed by your domain name, separated by a space:192.0.2.1 yourdomain.com. Replace the IP address and domain with your actual values. This tells your computer to connect to that IP address whenever you access the domain.
- Save the file.
PressCtrl+Sor click File then Save. Your changes take effect immediately for new connections. - Flush your DNS cache.
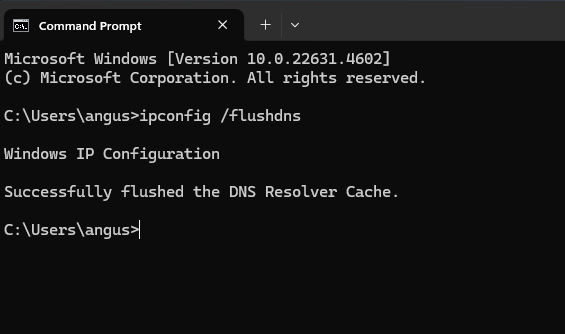
Open Command Prompt by searching for it in the Start menu. Typeipconfig /flushdnsand press Enter. This clears any cached DNS records and forces Windows to use your new hosts file entry.
You can disable a host entry without deleting it by adding a # symbol at the start of the line. This comments out the entry so your system ignores it.
Edit the hosts file in macOS
macOS stores the hosts file in the /etc directory. You can edit it using Terminal or through Finder with a text editor.
- Open Terminal.
PressCommand+Spaceto open Spotlight, type Terminal and press Enter. Terminal provides command-line access to system files. - Open the hosts file with nano.
Typesudo nano /etc/hostsand press Enter. Enter your administrator password when prompted. The nano text editor opens with your hosts file loaded. - Add your host entry.
Use the arrow keys to move to the bottom of the file. Add a new line with your server’s IP address and domain:192.0.2.1 yourdomain.com. Replace these with your actual values. - Save and exit.
PressCtrl+Xto exit, then pressYto confirm saving changes, then press Enter to write the file. - Flush the DNS cache.
Typesudo killall -HUP mDNSResponderand press Enter. This clears macOS’s DNS cache and applies your hosts file changes immediately.
Alternatively, you can use Finder to access the hosts file. Press Command+Shift+G in Finder, type /etc and press Enter. Open the hosts file with TextEdit or your preferred text editor, make your changes and save with Command+S. You still need to flush the DNS cache using the Terminal command above.
Edit the hosts file in Linux
Linux distributions store the hosts file at /etc/hosts. You need root privileges to edit it.
- Open a terminal window.
PressCtrl+Alt+Tor click the Terminal application in your system menu. This provides command-line access to system files. - Open the hosts file with nano.
Typesudo nano /etc/hostsand press Enter. Enter your password when prompted. The nano text editor opens with your hosts file loaded. - Add your host entry.
Move to the bottom of the file using the arrow keys. Add a new line with your server’s IP address and domain:192.0.2.1 yourdomain.com. Replace these with your actual values. - Save and exit.
PressCtrl+Xto exit, then pressYto confirm saving, then press Enter to write the file. - Restart the network service.
Typesudo systemctl restart network-managerand press Enter. This applies your hosts file changes across all network connections. Some distributions may useNetworkManagerinstead ofnetwork-manager.
Wrapping up
Your hosts file now points your domain to the specified server. You can preview your site without changing DNS records or affecting other users. This is particularly useful when migrating your website to a new host or testing changes in a staging environment.
Remember to remove or comment out your host entries once you finish testing. Leaving them active prevents your computer from accessing the live site if DNS records change. You can also use a temporary domain as an alternative testing method. Our web hosting plans include staging environments for testing changes before going live.

Ready to get started?
Launch your website with our reliable cPanel hosting with unlimited bandwidth and expert support.
Get cPanel Hosting