Manual website migration transfers your files, databases and email accounts from your current host to a reseller account. This process works when your previous host does not use cPanel or when automated backup tools are unavailable.
You will create a new database, transfer your website files via FTP, import your database content and recreate email accounts. Once complete, you will test the migration before updating your DNS records to point to the new hosting account.
Before you begin
- You need access to both your old hosting account and your new reseller account.
- We recommend creating a backup of your existing site before starting.
- Your domain must be added to your reseller account.
Create a new database
Your website stores content and settings in a database. You need to create an empty database in your new hosting account before you can import your existing data.
- Log in to cPanel.
Access your client’s cPanel account through your reseller control panel. - Open the MySQL Databases tool.
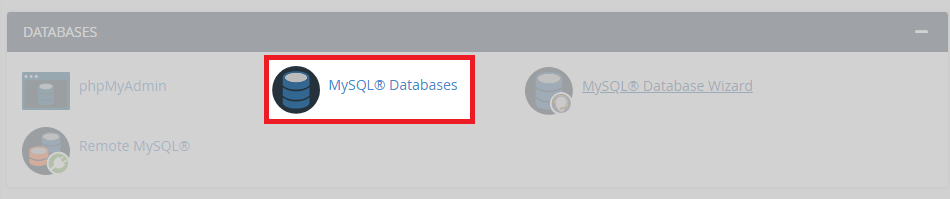
Scroll to the Databases section and click MySQL Databases. - Create the database.
Enter a name in the New Database field and click Create Database. Note the full database name shown on the confirmation screen. - Create a database user.
Scroll to MySQL Users, enter a username and password, then click Create User. Record these credentials for later use. - Assign the user to the database.
In the Add User To Database section, select your new database and user from the dropdown menus, then click Add. Grant All Privileges on the next screen and click Make Changes.
Your new database is ready to receive data. The full guide on creating MySQL databases covers additional configuration options.
Export and import your database
You need to export your database from the old hosting account and import it into the new database you created. This transfers all your website content, settings and user data.
- Access phpMyAdmin on your old host.
Log in to your current hosting control panel and open phpMyAdmin from the database tools section. - Select your database.
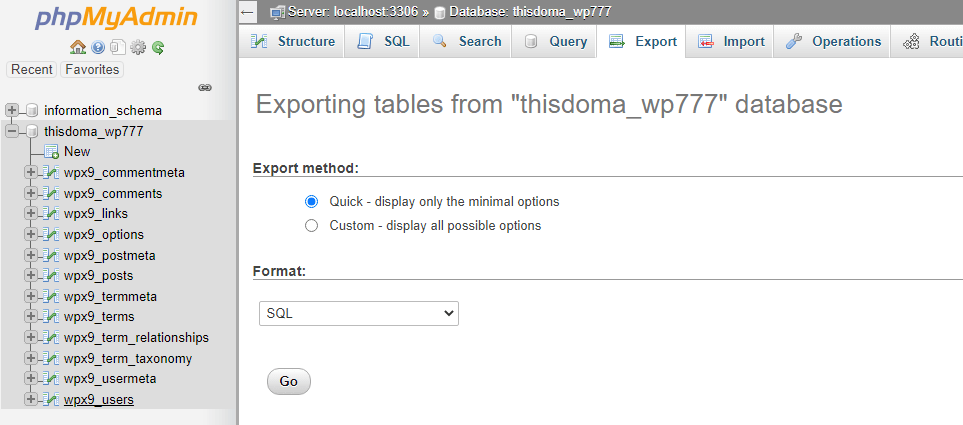
Click the database name in the left sidebar to display its tables. - Export the database.
Click the Export tab at the top of the page. Select Quick as the export method and SQL as the format, then click Go. Your browser downloads a .sql file.
- Open phpMyAdmin on your new host.
Log in to cPanel on your reseller account and click phpMyAdmin in the Databases section. - Select your new database.
Click the database name you created earlier in the left sidebar. - Import the database file.
Click the Import tab, click Choose File and select the .sql file you downloaded. Click Go at the bottom of the page to complete the import.
Your database content is now in the new hosting account. Large databases may require command-line import methods covered in our SCP and rsync guides.
Transfer your website files
Your website files contain themes, plugins, images and configuration files. You will download these from your old host and upload them to your new account.
- Download files from your old host.
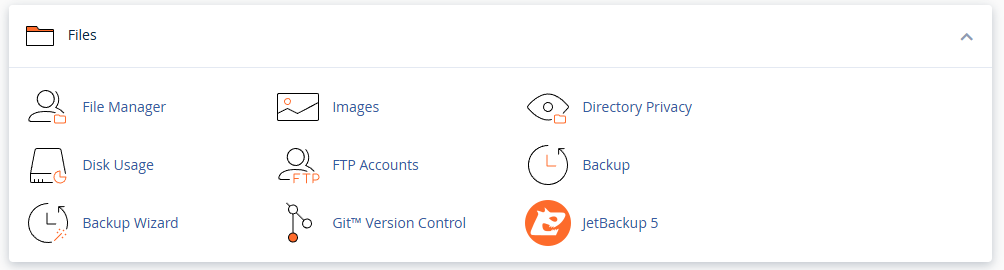
Connect to your current hosting account via FTP and download all files from your website’s root directory. This is typically namedpublic_htmlorwww. - Check your database configuration.
Open your website’s configuration file (such aswp-config.phpfor WordPress) and update the database name, username and password to match the credentials you created earlier. - Connect to your new host via FTP.
Use your FTP client to connect to your reseller account. Your FTP credentials are available in the cPanel account details. - Upload your files.
Navigate to thepublic_htmldirectory (or your domain’s document root) and upload all the files you downloaded. This may take several minutes depending on your site size.
Your website files are now on the new server. You can also transfer files using cPanel’s File Manager or command-line tools like SCP for faster transfers of large sites.
Migrate email accounts
If you use email addresses on your domain, you need to recreate these accounts on your new host and transfer existing messages.
- List your existing email accounts.
Log in to your old hosting control panel and note all email addresses, their quotas and any forwarders or filters. - Create matching accounts.
In your new cPanel account, create email accounts with the same addresses and passwords. - Transfer email data.
Use an email client like Thunderbird to download messages from your old accounts via IMAP, then upload them to the new accounts. This preserves your email history.
Your email accounts are ready on the new server. Configure any forwarders or autoresponders you had on the old host.
Test your migration
Before updating DNS records, you should verify that your website works correctly on the new server. This prevents downtime if any configuration needs adjustment.
- Create a temporary domain.
Follow our guide on creating a temporary domain to access your site before DNS changes. - Browse your website.
Visit several pages, test forms and check that images load correctly. Log in to your admin area if applicable. - Fix any issues.
If you find broken links or missing images, check file paths and database settings. Most issues relate to incorrect database credentials or file permissions.
Your site is working on the new server. You can now update DNS records to direct visitors to the new hosting account.
Update DNS records
DNS records tell browsers where to find your website. You will update these at your domain registrar to point to your new hosting account.
- Get your nameserver details.
Check our default nameservers guide for the correct values to use. - Update nameservers at your registrar.
Log in to your domain registrar’s control panel and update the nameservers to point to your reseller account. If you have custom DNS records, you may need to edit your DNS zone instead. - Wait for propagation.
DNS changes take up to 48 hours to propagate globally. You can check progress using online tools like whatsmydns.net.

Your DNS records are updated. Once propagation completes, all visitors will reach your site on the new hosting account.
Wrapping up
Your website is now running on your reseller account. You created a new database, transferred files and database content, recreated email accounts and updated DNS records. Your site loads from the new hosting environment with all content and functionality intact.
Monitor your site over the next few days to confirm that all features work correctly. Check that forms submit, images load and email delivers as expected. Our reseller hosting provides the tools you need to manage multiple client websites efficiently.
If you run into any trouble, get in touch and our team will be happy to help.

Need multiple accounts?
Create isolated individual accounts for your clients and manage them all from one dashboard.
Get Reseller Hosting
Need more control?
Upgrade to VPS hosting for scalable resources and root access to your server.
Get VPS Hosting