Let’s Encrypt provides free SSL certificates that encrypt connections between your visitors and your website. Installing one protects sensitive data like login credentials and payment information from interception.
You will install a Let’s Encrypt certificate through either cPanel or Plesk depending on your hosting platform. The process takes a few minutes and your certificate renews automatically every 90 days.
Before you begin
- You need access to your cPanel or Plesk control panel.
- Wildcard certificates require DNS validation, which can take up to 48 hours to propagate.
- We recommend standard certificates for most sites as they renew automatically.
Install with cPanel
cPanel uses AutoSSL to install and manage Let’s Encrypt certificates. This tool checks your domains regularly and installs certificates where needed.
- Log in to cPanel.
Access your control panel atyourdomain.co.uk/cpanelusing your hosting credentials. - Open the SSL/TLS Status tool.
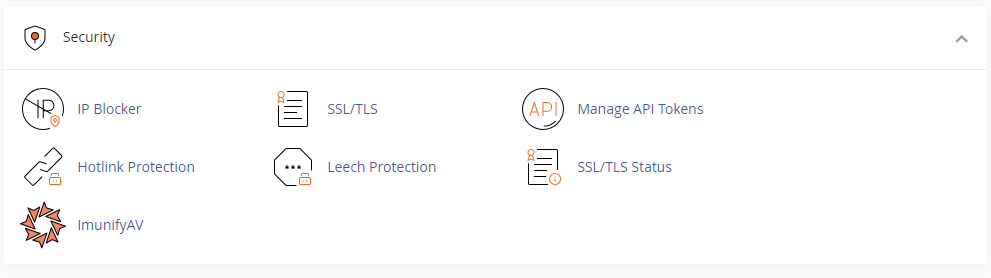
Scroll to the Security section and click SSL/TLS Status.
- Run AutoSSL.
The tool displays all domains and subdomains in your account with their current SSL status. Click Run AutoSSL to start the installation process.
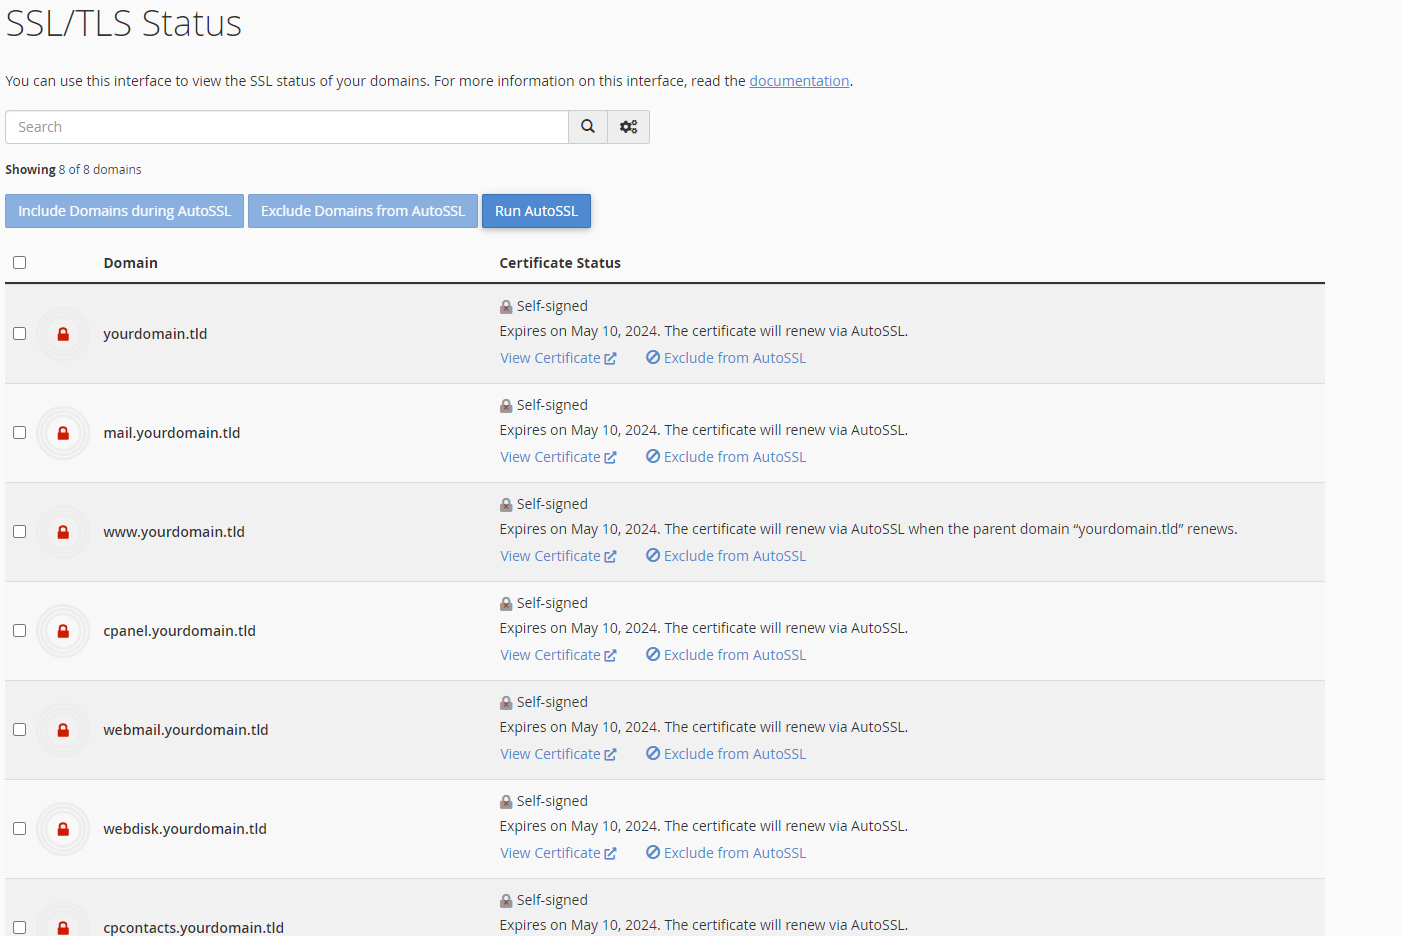
AutoSSL installs certificates for all eligible domains and schedules automatic renewals. Your domains now load over HTTPS with valid certificates.
Install with Plesk
Plesk provides Let’s Encrypt integration through its SSL/TLS certificate manager. You select which domains to secure and Plesk handles the installation.
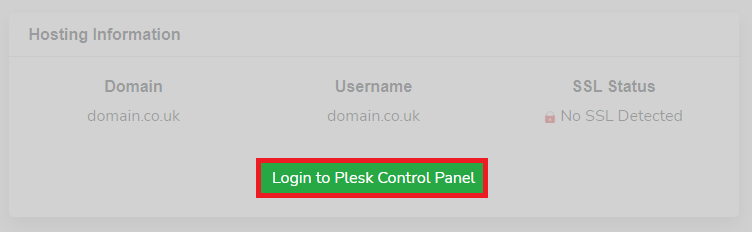
- Log in to Plesk.
Access your control panel through the client area login shortcut or directly atyourdomain.co.uk:8443.
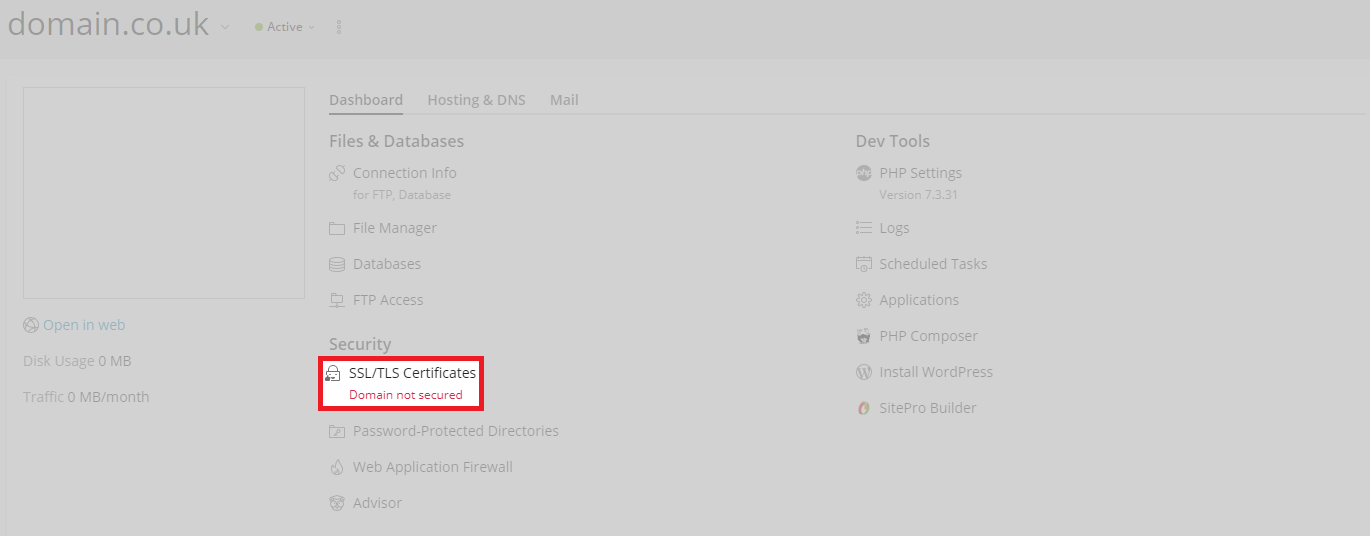
- Open SSL/TLS certificates.
From the domain view, locate the Security section in the Dashboard tab and click SSL/TLS Certificates.
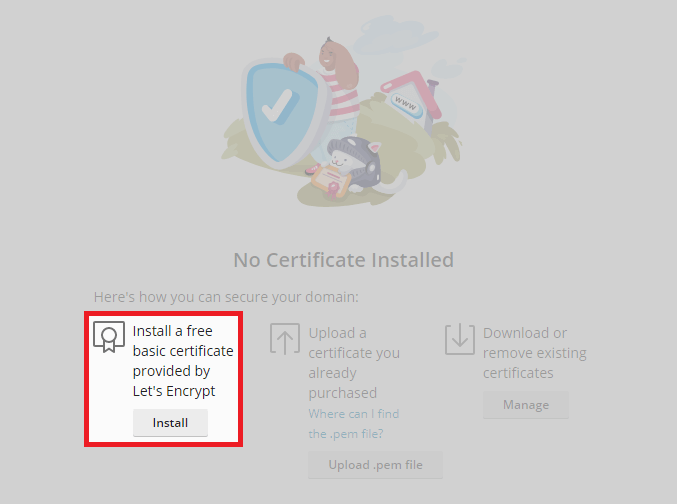
- Start the installation.
Click Install to begin configuring your certificate.
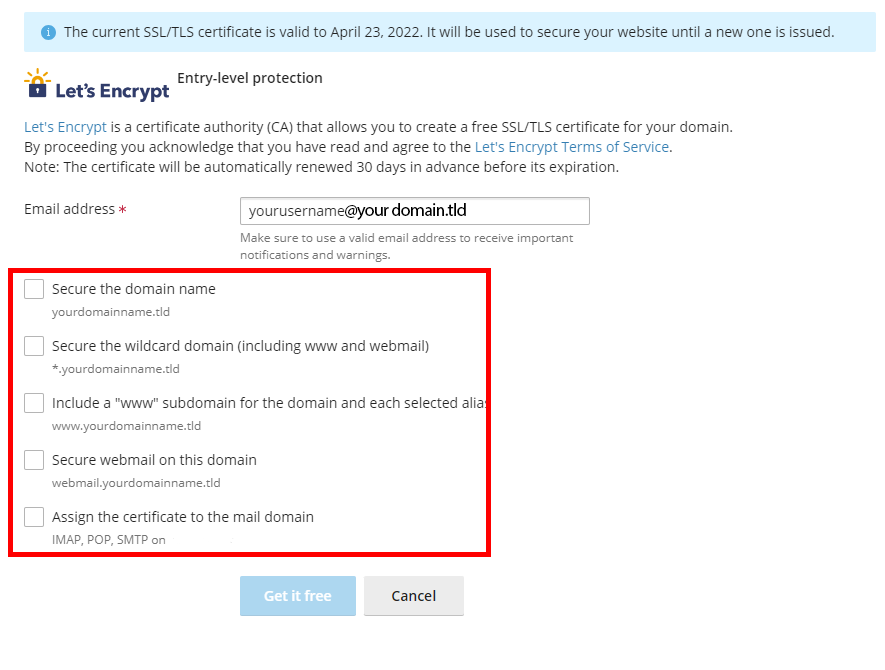
- Configure certificate options.
Select which areas to secure with the certificate. Avoid selecting wildcard protection as these certificates do not renew automatically. Click Get it free to complete the installation.
Plesk installs the certificate and configures automatic renewals. Your domain now accepts HTTPS connections with a valid certificate.
Wrapping up
Your Let’s Encrypt SSL certificate is now active and encrypts all connections to your website. The certificate renews automatically before it expires, keeping your site secure without manual intervention.
We recommend forcing HTTPS connections to prevent mixed content warnings and ensure all visitors use the encrypted connection. Our web hosting includes Let’s Encrypt support across all plans.
If you run into any trouble, get in touch and our team will be happy to help.

Ready to get started?
Launch your website with our reliable cPanel hosting with unlimited bandwidth and expert support.
Get cPanel Hosting