A content delivery network (CDN) serves your site’s static files – images, CSS and JavaScript – from servers located closer to your visitors. This reduces the distance data travels, which lowers page load times and reduces the load on your hosting server.
This guide covers how to point your WordPress site at a CDN URL using a caching plugin. Once configured, static assets load from the CDN rather than your origin server.
Before you begin
- You need a CDN service provisioned and a CDN hostname (or default CDN URL) ready to use.
- A WordPress caching plugin must be installed and active. This guide uses LiteSpeed Cache as an example, but the same principles apply to other caching plugins such as W3 Total Cache or WP Rocket.
- We recommend creating a full backup of your WordPress site before making configuration changes.
- Your site should be loading over HTTPS before you add a CDN URL.
Enable CDN integration in LiteSpeed Cache
LiteSpeed Cache includes a built-in CDN integration panel. You will point the plugin at your CDN hostname so it rewrites static asset URLs in your page source, directing browsers to fetch those files from the CDN instead of your server.
- Open LiteSpeed Cache settings.
In your WordPress dashboard, go to LiteSpeed Cache in the left sidebar and click Settings. - Reveal the CDN tab.
Click Show Advanced Options near the top of the settings page. This makes the CDN tab visible in the settings navigation. - Open the CDN tab.
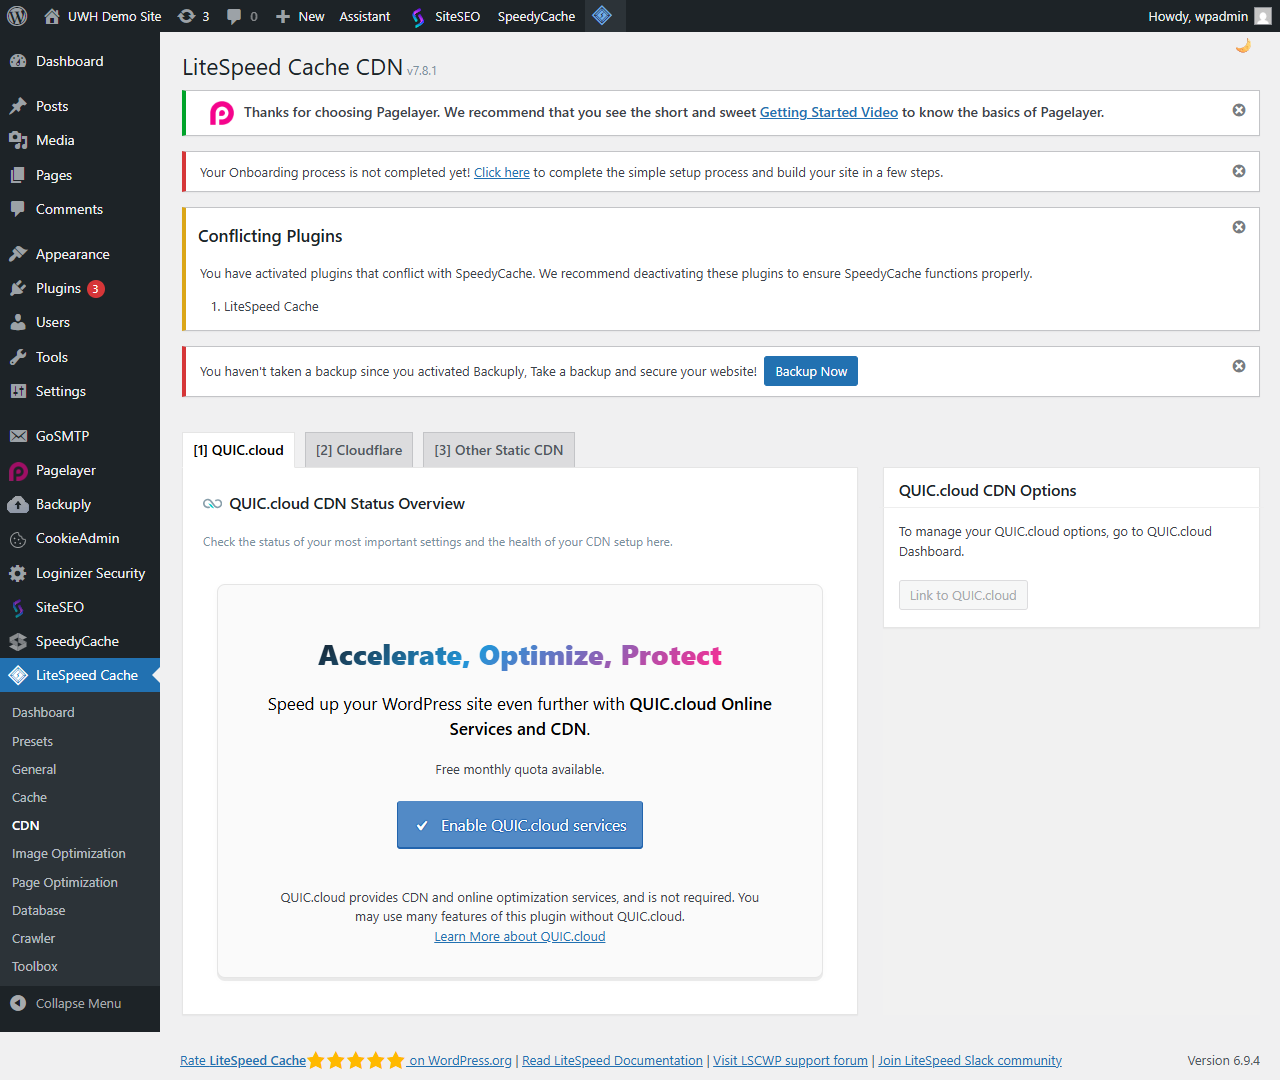
Click the CDN tab to open the CDN configuration panel.
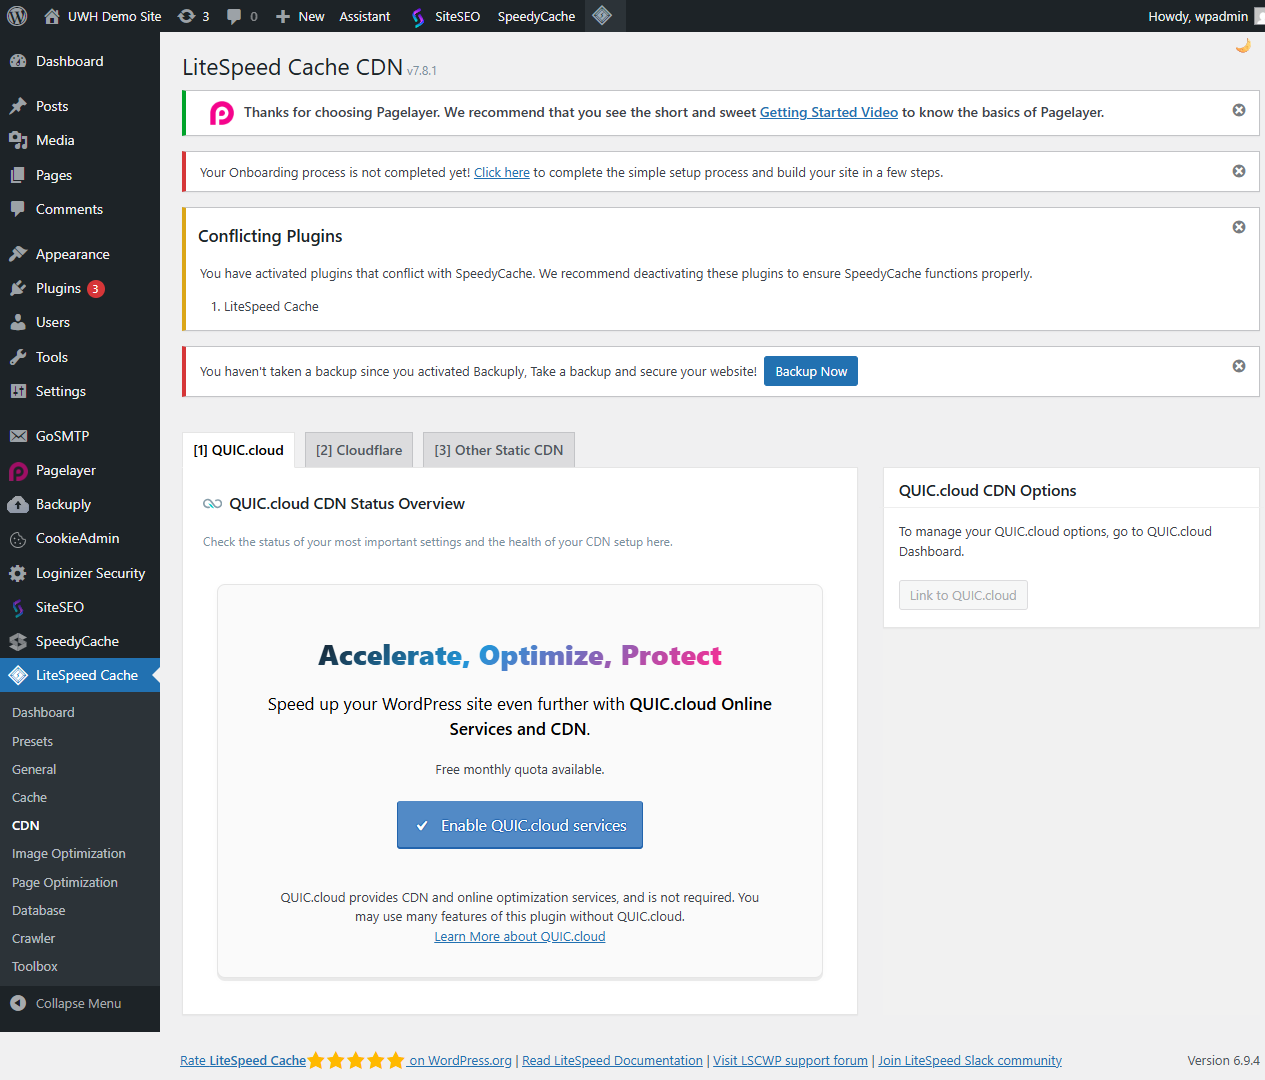
- Enable CDN and enter your CDN URL.
Toggle Enable CDN to On. In the CDN URL field, enter your full CDN hostname including the protocol, for examplehttps://cdn.yourdomain.co.uk. Replacecdn.yourdomain.co.ukwith your actual CDN hostname. - Enter your original site URL.
In the Original URL field, enter your site’s domain prefixed with//, for example//yourdomain.co.uk. This tells the plugin which URLs to rewrite. - Review which file types are cached.
By default, the plugin rewrites URLs for images, CSS and JavaScript files. You can add or remove file types, include specific directories or exclude paths that should not be served from the CDN. Adjust these to match your site’s requirements. - Save your changes.
Click Save Changes at the top or bottom of the settings page.
Purge the cache and verify CDN delivery
After saving your CDN settings, you need to clear the existing cache so WordPress regenerates page output with the new CDN URLs. Without this step, visitors may still receive cached pages that reference your origin server.
- Purge the LiteSpeed Cache.
In the WordPress admin bar at the top of the screen, hover over the LiteSpeed Cache icon. Select Purge All from the menu that appears. - Check asset delivery in your browser.
Visit your site in a browser and open the developer tools (pressF12on most browsers). Go to the Network tab, reload the page and look at the domain column for image, CSS and JS requests. These should now show your CDN hostname rather than your origin domain.
If assets are loading from your CDN hostname, the integration is working correctly.
Troubleshooting
Assets are still loading from the origin server
If the Network tab shows assets loading from your origin domain after saving settings, the cache may not have been fully cleared, or the CDN URL field may contain a typo.
- Confirm the CDN URL field contains the full URL including
https://and no trailing slash. - Confirm the Original URL field uses the
//prefix without a protocol. - Run Purge All again, then perform a hard reload in your browser (
Ctrl + Shift + Ron Windows orCmd + Shift + Ron Mac). - Check that the Enable CDN toggle is set to On and that you saved the settings page after enabling it.
Mixed content warnings after enabling the CDN
Mixed content warnings appear when some resources load over HTTP while the page itself loads over HTTPS. This can happen if your CDN URL was entered without the https:// prefix, or if your site’s WordPress address is still set to HTTP.
- Confirm your CDN URL starts with
https://. - Check your WordPress address settings under Settings > General and confirm URL fields use
https://. - See our guide on forcing HTTPS in WordPress if your site is not yet loading securely.
CDN is not caching the expected file types
If certain file types are not being served from the CDN, they may have been excluded in the plugin’s file type list, or the CDN service itself may have caching rules that override the plugin settings.
- Return to the CDN tab in LiteSpeed Cache and review the included file extensions.
- Check your CDN provider’s dashboard for any path exclusions or caching rules that may be blocking certain file types.
- Purge the cache after making any changes to the file type list.
Wrapping up
Your WordPress site is now configured to serve static assets through your CDN. The caching plugin rewrites image, CSS and JavaScript URLs so browsers fetch those files from the CDN hostname rather than your origin server.
Check your site’s performance over the following days and use your browser’s Network tab to confirm CDN delivery remains active after any plugin updates or cache purges. For related tasks, see our guides on increasing the WordPress memory limit, optimising WordPress images with AVIF and forcing HTTPS in WordPress. You may also find the guide to boosting WordPress speed with caching useful for further performance improvements.
Take a look at our WordPress hosting plans, built to work alongside CDN and caching configurations for faster page delivery.
Plans and tools mentioned in this guide
WordPress Hosting
Tuned for WordPress, with one-click installs.
From £5.99/mo
View WordPress HostingDid this guide solve your problem?
Still stuck?
Our UK support team answers tickets and live chat every day. Send us the guide you were following and where it stopped working.
Keep learning
Find a guide
Related guides
Running a WordPress site?
Get fast, secure and reliable WordPress Hosting with optimised for performance with AccelerateWP.
Get WordPress Hosting
Need multiple accounts?
Create fully isolated individual accounts for your clients and manage them all from one dashboard.
Get Reseller Hosting