Vulnerable or poorly performing plugins create security risks and slow down your WordPress site. Leaving them active invites malware infections and performance issues that affect your visitors.
You will use WordPress Toolkit in cPanel to deactivate plugins without logging into WordPress. This method lets you disable multiple plugins at once, which saves time when cleaning up unused extensions.
Before you begin
- You need access to your cPanel control panel.
- Your WordPress site must be managed through WordPress Toolkit.
Access WordPress Toolkit
WordPress Toolkit provides a central interface for managing your WordPress installations. You will open it from cPanel to access the plugin management tools.
- Log in to cPanel.
Access your cPanel control panel using the credentials provided in your welcome email. - Open WordPress Management.
Scroll to the Domains section and click WordPress Management. This opens WordPress Toolkit.
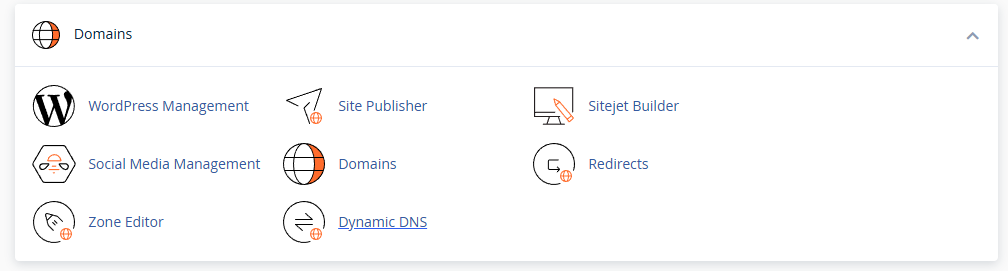
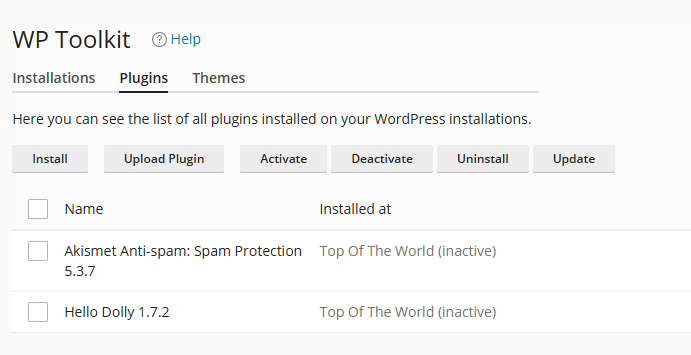
- Navigate to the Plugins page.
WordPress Toolkit displays an overview of your WordPress installations. Click Plugins in the navigation bar at the top of the page.
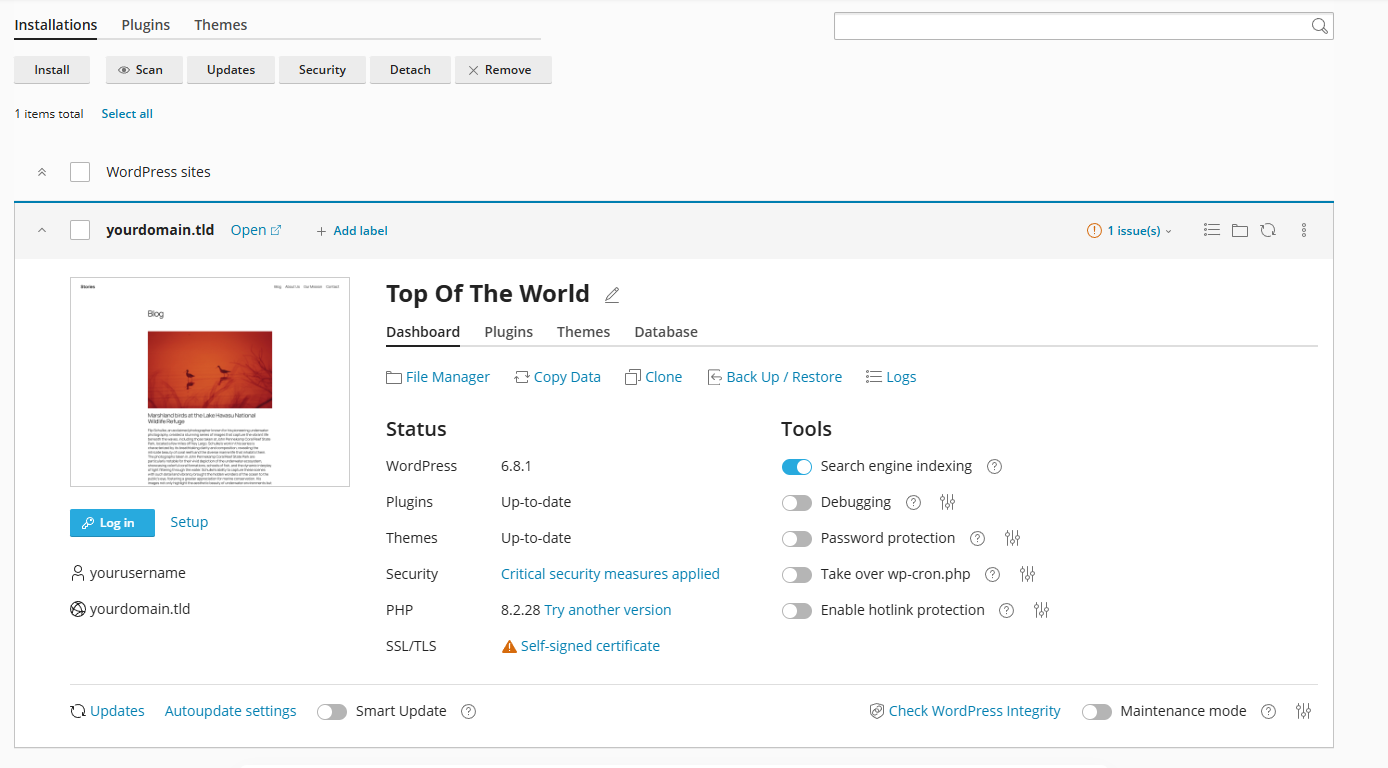
You now have access to the plugin management interface where you can view and control all installed plugins.
Deactivate plugins
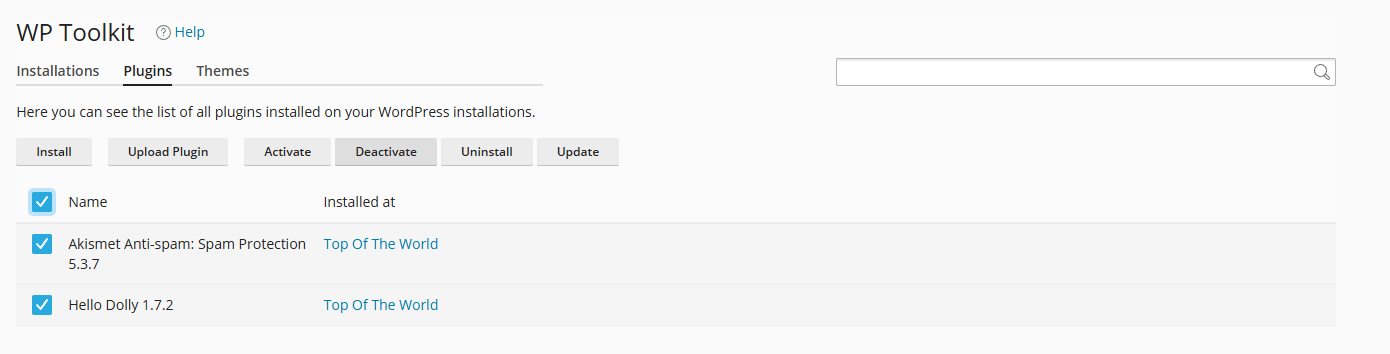
The Plugins page lists all installed plugins with their current status. You will select the plugins you want to deactivate and disable them in one action.
- Select plugins to deactivate.
Tick the checkbox next to each plugin you want to disable. You can select multiple plugins at once or use the checkbox at the top of the list to select all plugins. - Click Deactivate.
After selecting your plugins, click the Deactivate button above the plugin list. This starts the deactivation process.
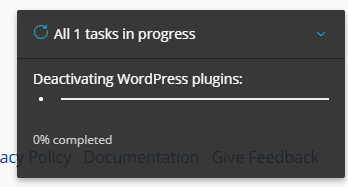
- Monitor the deactivation progress.
A status notification appears in the bottom right corner showing the deactivation progress. Wait for this to complete before making further changes.
- Confirm the plugins are inactive.
Once the process completes, check that the selected plugins now display an Inactive status in the plugin list.
Your selected plugins are now deactivated and no longer running on your WordPress site.
Wrapping up
You deactivated WordPress plugins using WordPress Toolkit in cPanel. This method works faster than logging into WordPress when you need to disable multiple plugins, particularly when troubleshooting site issues or removing malware from WordPress.
Review your active plugins regularly and remove any you no longer use. Our managed WordPress hosting includes WordPress Toolkit access on all plans.
If you run into any trouble, get in touch and our team will be happy to help.

Running a WordPress site?
Get fast, secure and reliable WordPress Hosting with optimised for performance with AccelerateWP.
Get WordPress Hosting
Need multiple accounts?
Create fully isolated individual accounts for your clients and manage them all from one dashboard.
Get Reseller Hosting