A hacked WordPress site can redirect visitors, send spam, steal data or quietly serve malicious code to anyone who lands on your pages. Because WordPress powers such a large share of the web, it is a frequent target, and attackers often exploit vulnerabilities in plugins or themes to gain a foothold.
This guide walks you through detecting and removing WordPress malware using the tools available in your hosting control panel, then covers the steps needed to close the vulnerability and prevent reinfection.
Before you begin
- You need access to your hosting control panel (cPanel or Plesk).
- We recommend taking a full backup of your site and database before making any changes. See our guide on backing up WordPress.
- If your site is live and actively serving malicious content, consider restricting public access via your
.htaccessfile or Nginx configuration while you work. - Run a malware scan on any local machine you use to access the site via FTP or wp-admin, as local infections can reintroduce malware after a clean-up.
How malware affects WordPress sites
When an attacker finds a vulnerability in a WordPress installation, their first action is typically to upload a backdoor file. This gives them a persistent way to upload further malware, modify existing files or hide malicious payloads inside legitimate-looking code.
From there, attackers can install malware toolkits that add email accounts used for spam, create malicious scheduled tasks in your control panel, or scan neighbouring sites on the same server for further vulnerabilities. Removing suspicious files alone does not fix the problem. The underlying vulnerability must be addressed, or the site will be reinfected.
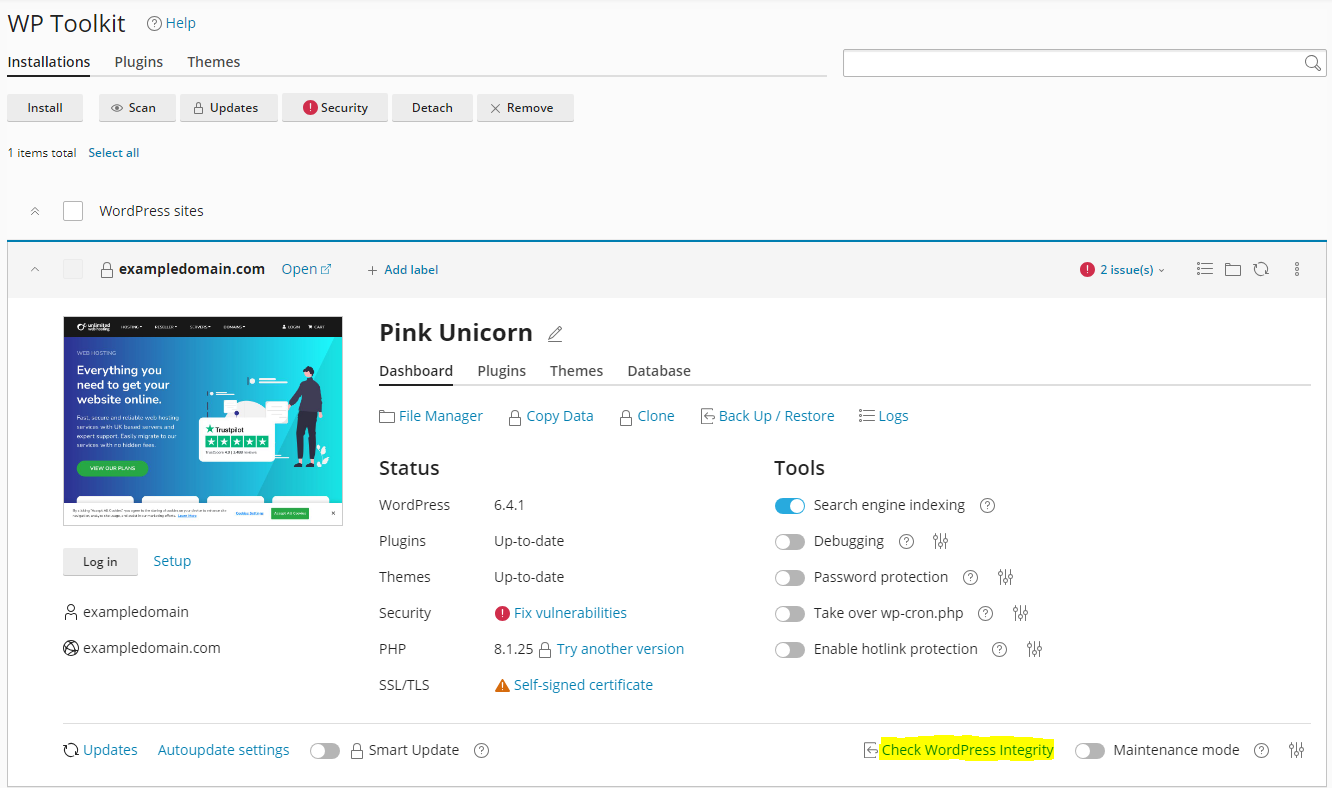
Check WordPress integrity using WordPress Toolkit
WordPress Toolkit can verify the integrity of your core WordPress files by comparing them against the official checksums. This identifies any core files that have been modified or replaced, which is a common sign of compromise.
- Open WordPress Toolkit.
Log in to your control panel and navigate to WordPress Toolkit. If your installation is not listed, click Scan to locate it. - Run the integrity check.
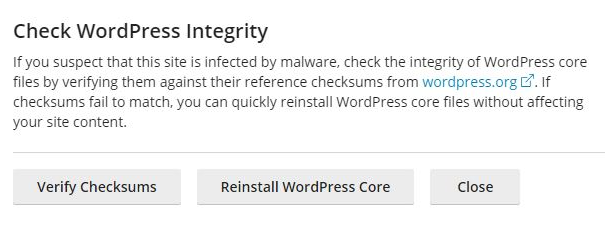
Click Check WordPress Integrity to open the integrity options.
- Verify checksums.
Select Verify checksums. This compares your core WordPress files against the official versions and flags any that have been altered. - Reinstall core files if prompted.
If the check fails, WordPress Toolkit will offer to reinstall the WordPress core files. Accept this to replace any modified files with clean originals.
This step replaces tampered core files but does not scan your plugins, themes or uploads folder. Continue with the steps below to check those areas.
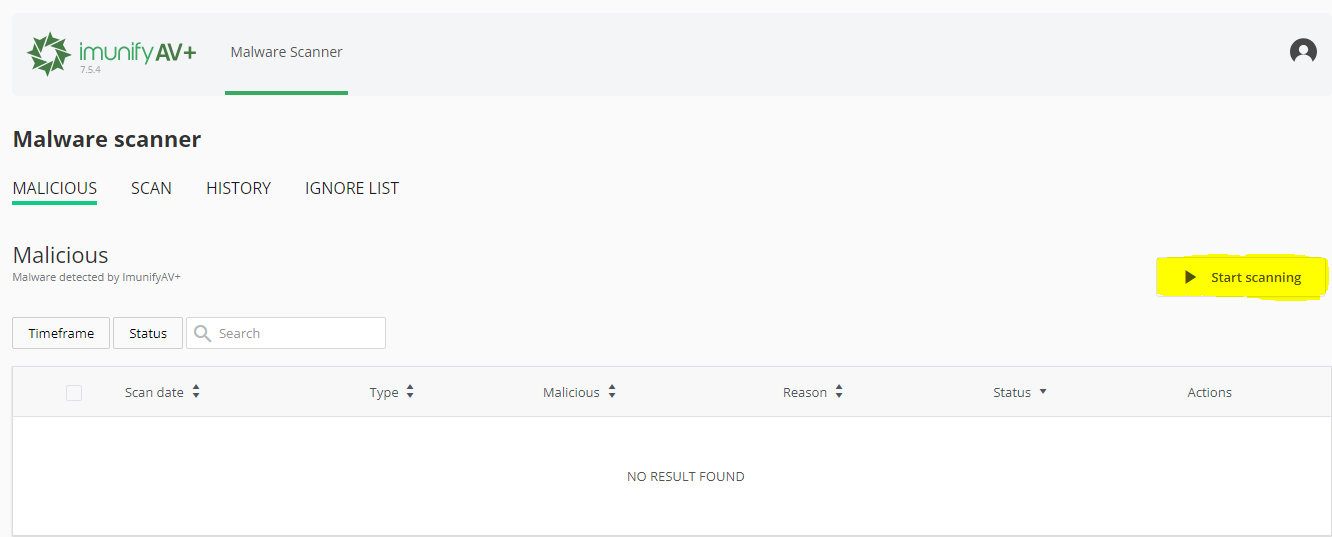
Scan your site with ImunifyAV
ImunifyAV scans all files on your hosting account and flags malicious content. Running a full scan after the integrity check gives you a broader view of any infected files across your entire account, not just the WordPress core.
- Open ImunifyAV.
In your control panel, locate and open ImunifyAV. - Start the scan.
Click Start scanning. ImunifyAV will scan all files on your account and identify any malicious content.
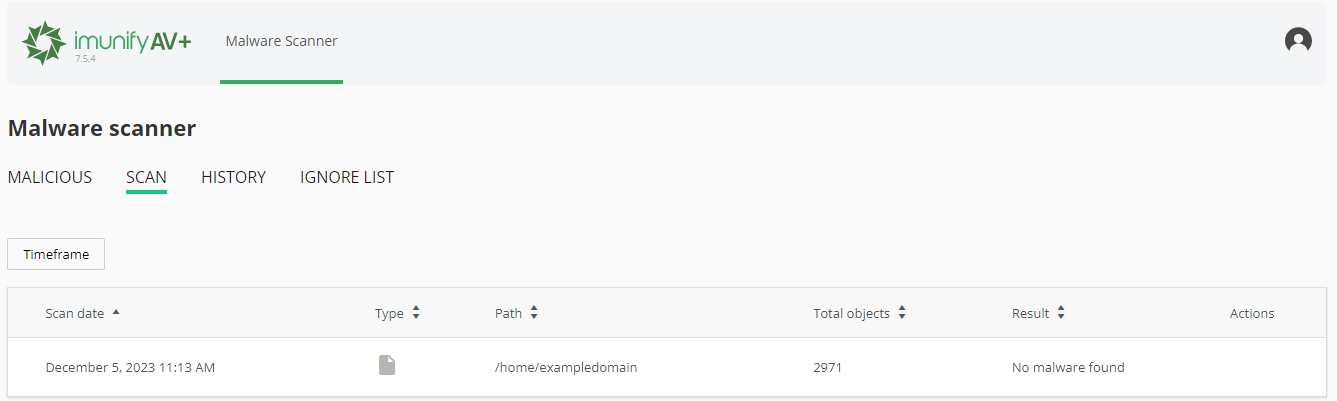
- Review detected malware.
Once the scan completes, open the Malicious tab to view flagged files. If multiple detections appear in the same plugin folder, that plugin is likely the source of the vulnerability and should be updated or removed entirely. - Review previous scans.
Previous scan results are available under the Scan section. Reviewing these can help you identify when an infection first appeared.
Automated scanners are a strong starting point, but they cannot catch everything. Proceed to the manual check below to look for anything that may have been missed.
Manually check for undetected malware
Malware evolves constantly, and zero-day exploits may not yet be covered by scanner signatures. A manual file review lets you spot suspicious files based on their names, modification dates and code patterns.
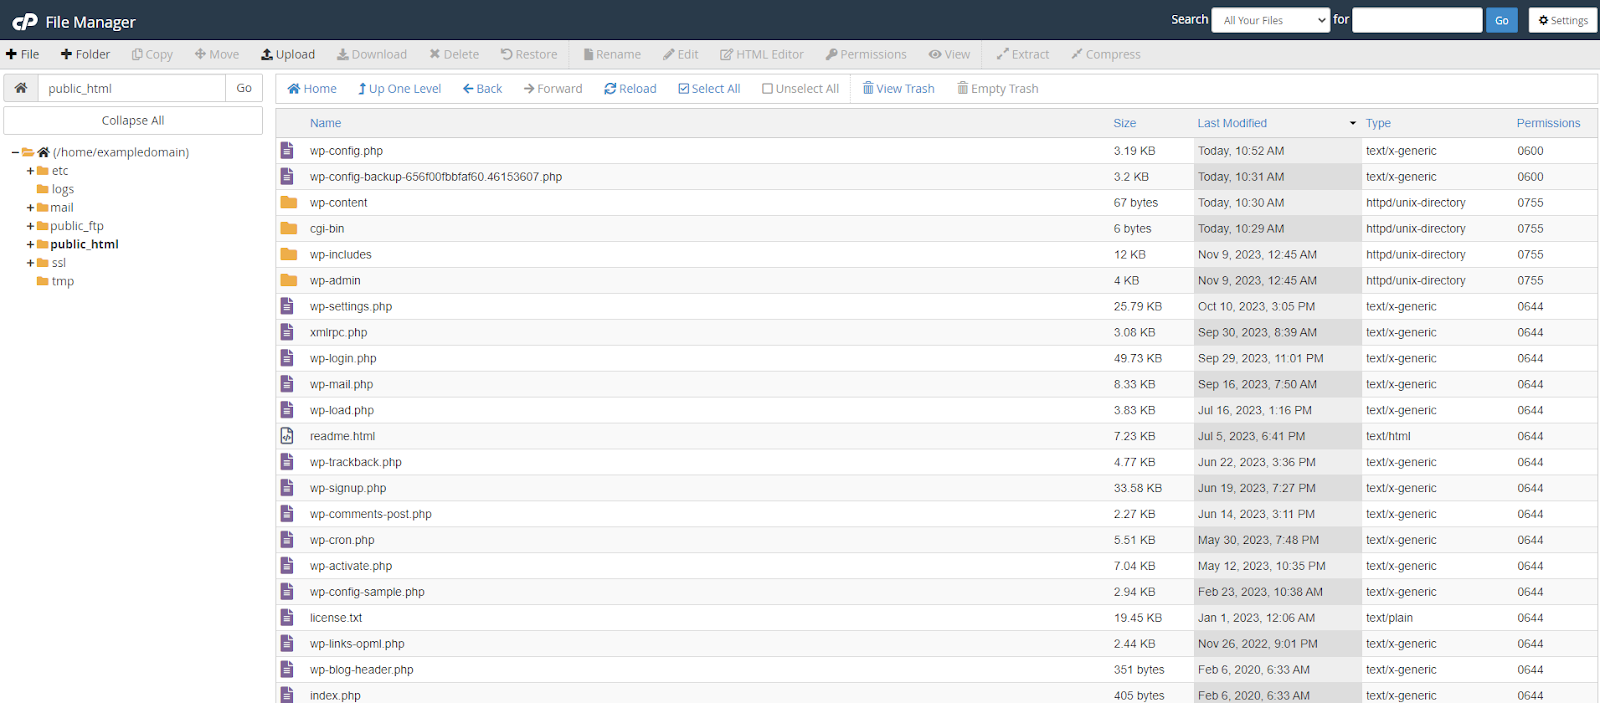
When browsing files in your control panel’s file manager or an FTP client, sort by Last Modified date and look for files that were recently changed without a corresponding plugin or theme update. Pay particular attention to these indicators:
- Files with unusual or random names, for example
ajwzxq.php. - Files modified recently that do not correspond to a known update.
- PHP files containing
eval()orbase64_decode()functions. - Heavily obfuscated code with long strings of random characters.
- PHP files located inside the
/wp-content/uploads/folder, where executable files should never appear.
If you have SSH access, you can search for recently modified PHP files across your entire installation. The command below lists all PHP files changed in the last seven days:
find /var/www -type f -name '*.php' -ctime -7To search specifically for PHP files in the uploads folder, which should contain no executable files:
find /var/www/wp-content/uploads -name "*.php"Replace /var/www with the actual path to your WordPress installation. If you find a suspicious file, check whether it belongs to a plugin or theme before deleting it. If it does not, remove it. If it does, that plugin or theme is likely compromised and should be reinstalled from a clean source.
Change all passwords and remove unrecognised accounts
After removing malicious files, you must change all credentials associated with the site. Attackers frequently harvest FTP, control panel and WordPress login details, and leaving old credentials in place means the site can be reinfected even after a thorough clean-up.
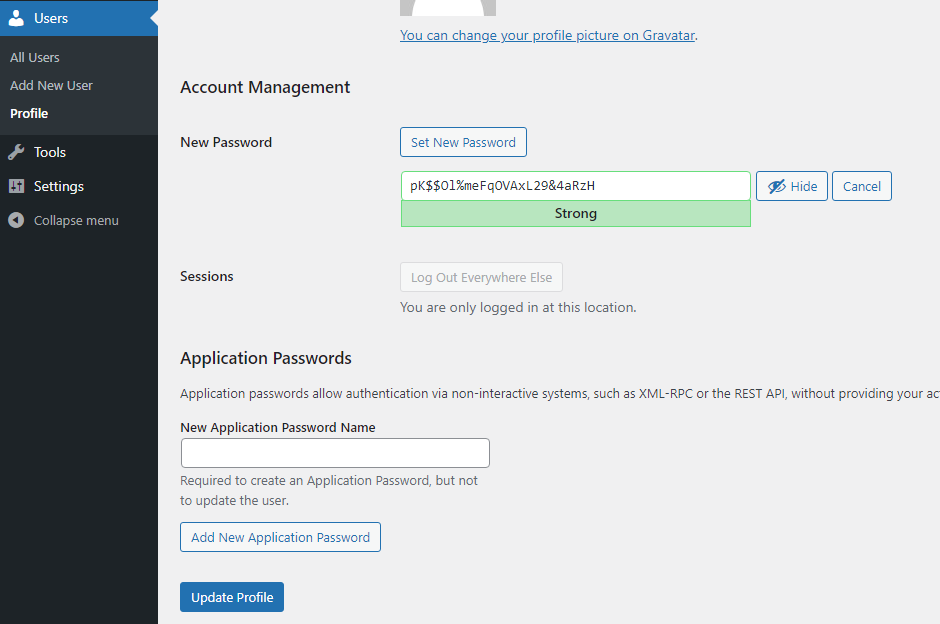
Update your WordPress user passwords
- Log in to your WordPress dashboard.
Go to Users and click Edit on each account. - Set a new password.
Scroll to the Account Management section, generate a new strong password and click Update Profile.
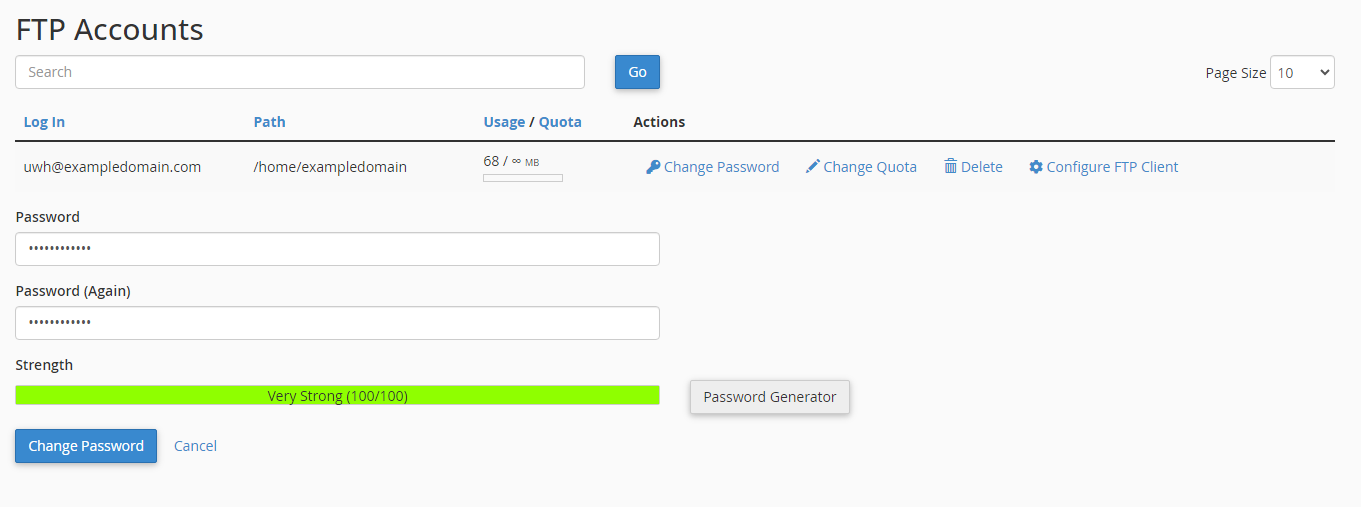
Change your FTP password
FTP credentials are a common attack vector. Change the password for every FTP account associated with your site. For more on managing FTP accounts, see our guide on setting up FTP accounts.
- For cPanel.
Go to FTP Accounts and click Change Password next to each account.
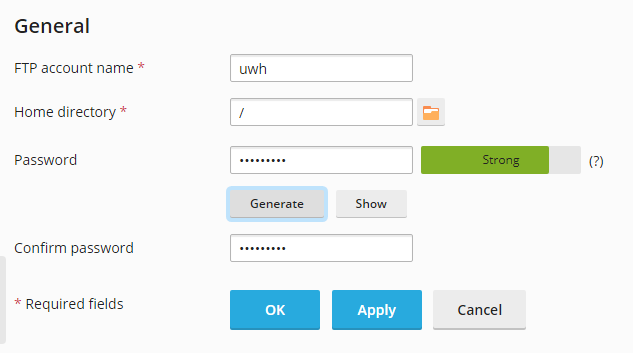
- For Plesk.
Go to FTP and click into each FTP account to update its password.
Change your control panel password
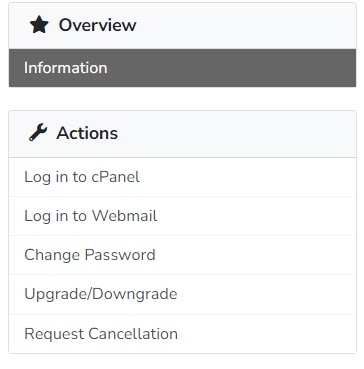
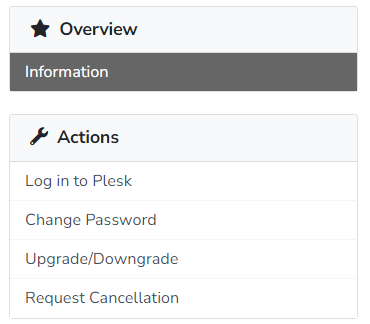
- Log in to the client area.
Go to Services, click your service, then click Change password under Actions. Use a strong password containing a mix of upper and lower case letters, numbers and symbols.
Resellers can only change their own account password via the client area. To change passwords for other users, use your control panel directly.
Remove unrecognised WordPress users
Compromised sites often have new user accounts added, sometimes with administrator privileges. Review all accounts in your WordPress dashboard and delete any you do not recognise.
- Go to Users in your WordPress dashboard.
Review the full list and click Delete next to any account you do not recognise.

Remove unrecognised FTP accounts
Attackers may create additional FTP accounts to maintain access after a clean-up. Delete any accounts you did not create.
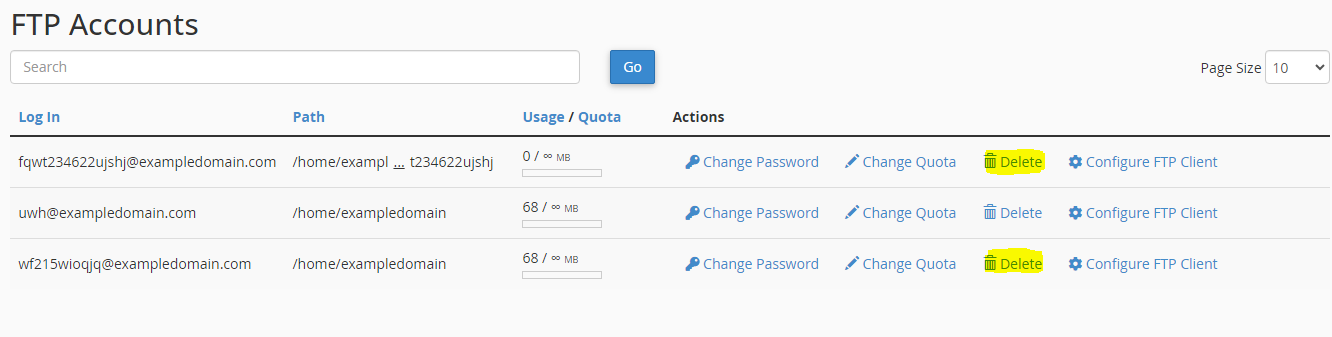
- For cPanel.
Go to FTP Accounts and click Delete next to any unrecognised account.
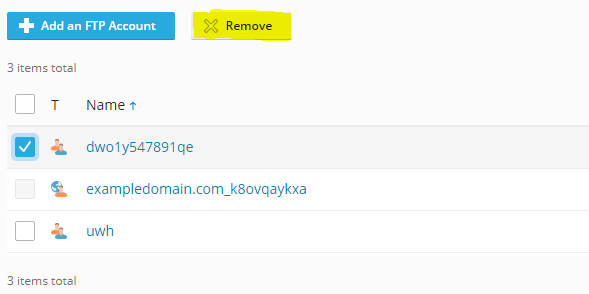
- For Plesk.
Go to the FTP section, tick the account to remove and click Remove.
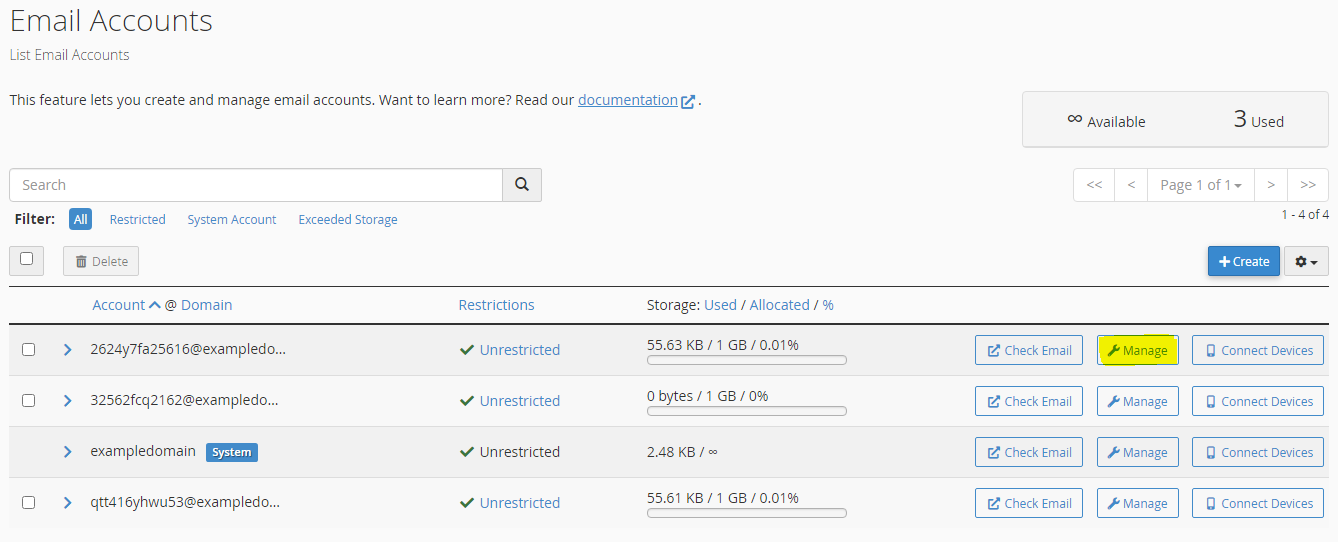
Remove unrecognised email accounts
Attackers often create email accounts on compromised sites to send spam. These accounts can cause your domain to be blacklisted. Remove any accounts you did not create.
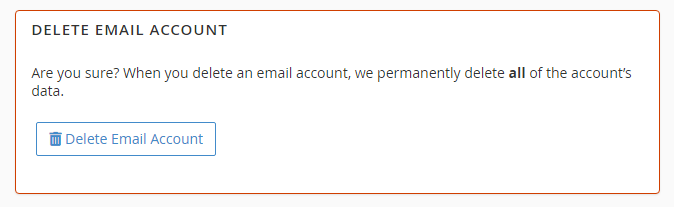
- For cPanel.
Go to Email Accounts, click Manage next to any unrecognised account and then click Delete Email Account.
- For Plesk.
Go to Mail, then Mail Accounts, and remove any accounts you do not recognise.

With credentials updated and unrecognised accounts removed, the attacker’s access routes are closed. The next step is to address the vulnerability that allowed the infection in the first place.
Prevent reinfection
Removing malware without fixing the underlying vulnerability means your site will be reinfected. The steps below address the most common causes of WordPress compromise.
Keep WordPress, plugins and themes up to date
Outdated software is the most common reason WordPress sites are compromised. WordPress releases minor updates frequently, with major updates several times a year. Plugins and themes follow their own release schedules. Updates often include patches for known security vulnerabilities, so falling behind creates a window of exposure.
WordPress Toolkit and Softaculous both identify available updates and can apply them automatically. We recommend enabling auto-updates for plugins. You can also update plugins directly from your WordPress dashboard by going to Plugins and clicking Update beneath any outdated item.
Only use plugins and themes from legitimate sources
Nulled plugins and themes are pirated copies of paid software, and they frequently contain malware pre-installed. Only install plugins and themes from the official WordPress repository or directly from the developer’s website. If a plugin has not been updated in over a year or has a small user base, treat it with caution. Remove any plugins you no longer use, as deactivated plugins can still be exploited if they remain on the server.
Install a security plugin
A security plugin adds an additional layer of monitoring and protection. Options such as Wordfence include features like rate limiting, IP blocking, malware scanning and two-factor authentication for logins. Free and paid tiers are available depending on the level of protection you need. See our blog post on security plugins for WordPress for a comparison of the available options.
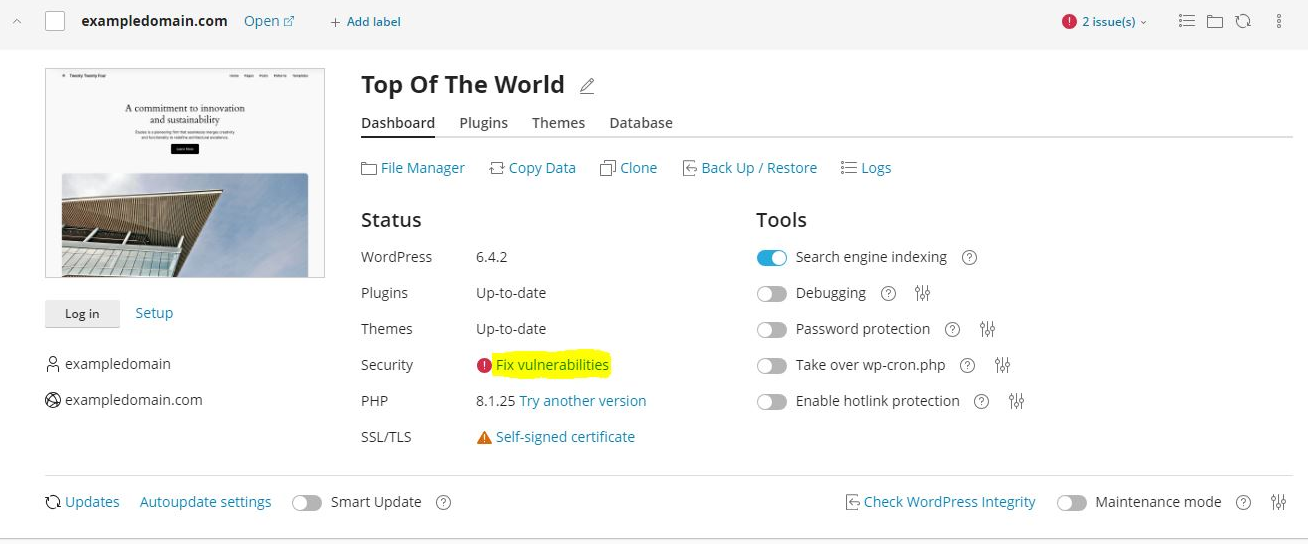
Apply extra security measures in WordPress Toolkit or Softaculous
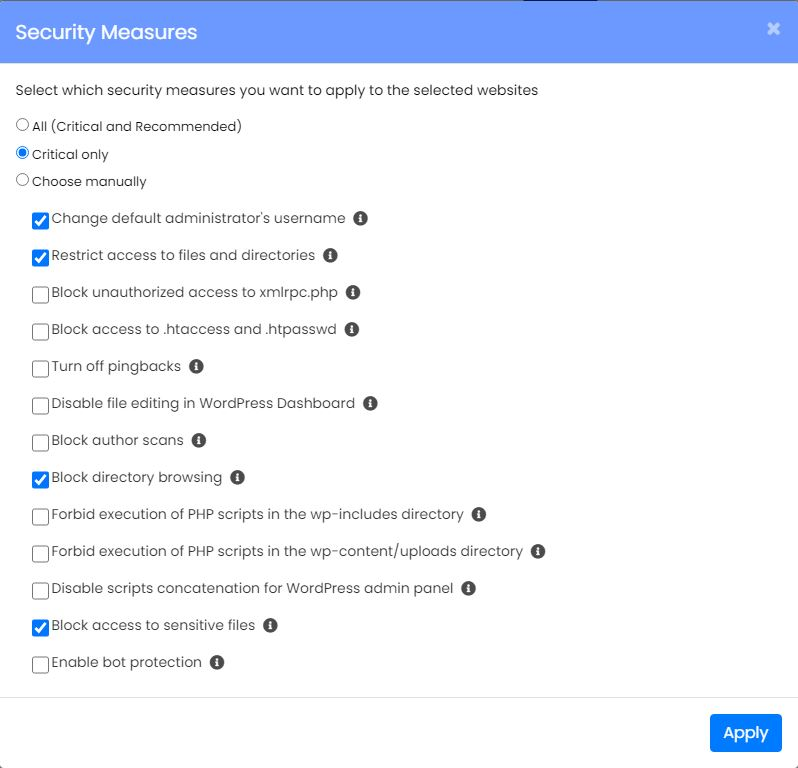
WordPress Toolkit and Softaculous both provide pre-configured security hardening options that can be applied with a single click. In WordPress Toolkit, these are found under Fix Vulnerabilities then Security Measures.
In Softaculous, open your WordPress installation and go to the security settings. The Critical Only preset applies the measures least likely to affect your site’s functionality. You can also enable individual measures manually, but review the tooltip for each one before doing so, as some settings can affect how your site behaves.

Troubleshooting
Malware keeps returning after removal
If malware reappears after you have cleaned the site, the vulnerability that allowed the initial infection has not been resolved. Removing files treats the symptom, not the cause.
- Check ImunifyAV results for clusters of infected files in the same plugin or theme folder. That folder is likely the entry point.
- Update or reinstall the affected plugin or theme from a clean source.
- Review your access logs for repeated POST requests to PHP files in unusual locations, which can indicate an active backdoor.
- Check that all credentials have been changed, including database credentials in
wp-config.php.
WordPress Toolkit does not show my installation
If your WordPress installation does not appear in WordPress Toolkit, it may not have been detected automatically.
- Click Scan in WordPress Toolkit to search for installations on your account.
- If the installation still does not appear, confirm the WordPress files are present in the expected directory using the file manager.
Site is flagged by Google or listed on a blacklist
If your site has been serving malware, search engines and security vendors may have added it to a blacklist. This can suppress your search rankings and trigger browser warnings for visitors.
- Use VirusTotal to check whether your domain appears on any security vendor blacklists.
- If Google has flagged your site, log in to Google Search Console and submit a review request once the malware has been removed.
- For other vendors, navigate to their site and follow their rescan or removal request process.
ImunifyAV flags files that appear legitimate
Automated scanners can produce false positives, particularly with obfuscated but legitimate code in some commercial plugins or themes.
- Before deleting a flagged file, check whether it belongs to a known plugin or theme by searching the file path.
- If the file is part of a plugin, reinstall the plugin from the official source and rescan to confirm the new file is clean.
- If you are unsure, open a support ticket and include the file path and ImunifyAV report.
Further reading on WordPress malware removal
WordPress security is a broad topic, and malware removal is only one part of keeping a site protected. The resources below cover related areas that are worth understanding once your site is clean.
The official WordPress documentation on what to do if your site was hacked covers scanning your local environment and website, and lists both application-based and remote scanners including Wordfence, Sucuri and VirusTotal. Scanning your local machine matters because attackers sometimes harvest FTP and admin credentials via trojans running on the site owner’s computer, not the server itself.
File permissions are a frequently overlooked part of WordPress hardening. Overly permissive permissions on directories and files make it easier for attackers to write or modify files even after a clean-up. WordPress directories should generally be set to 750 and files to 640, with wp-config.php set as restrictively as your server allows. Your hosting environment may handle this automatically, but it is worth verifying after a compromise.
If your site has multiple WordPress installations under the same hosting account, each one needs to go through the same removal and hardening process. Malware can move between installations that share the same file system, so cleaning one site while leaving others untouched can result in reinfection.
For broader guidance on keeping your WordPress site secure day to day, see our blog posts on security plugins for WordPress and how plugins can compromise security. For guidance on disabling plugins when your site is inaccessible, see our guide on how to disable plugins using WordPress Toolkit.
Wrapping up
You have verified your WordPress core files, scanned your account with ImunifyAV, manually reviewed files for signs of compromise, rotated all credentials and removed any unrecognised accounts. Applying the hardening steps in the final section reduces the risk of the same vulnerability being exploited again.
After completing the clean-up, monitor your site over the following days and keep an eye on ImunifyAV for any new detections. If you have not already done so, set up regular backups so you have a clean restore point available. See our guides on backing up WordPress, resetting your WordPress admin password and forcing HTTPS in WordPress for related tasks.
Our WordPress hosting plans include ImunifyAV, WordPress Toolkit and regular backups as standard.

Running a WordPress site?
Get fast, secure and reliable WordPress Hosting with optimised for performance with AccelerateWP.
Get WordPress Hosting
Need multiple accounts?
Create fully isolated individual accounts for your clients and manage them all from one dashboard.
Get Reseller Hosting