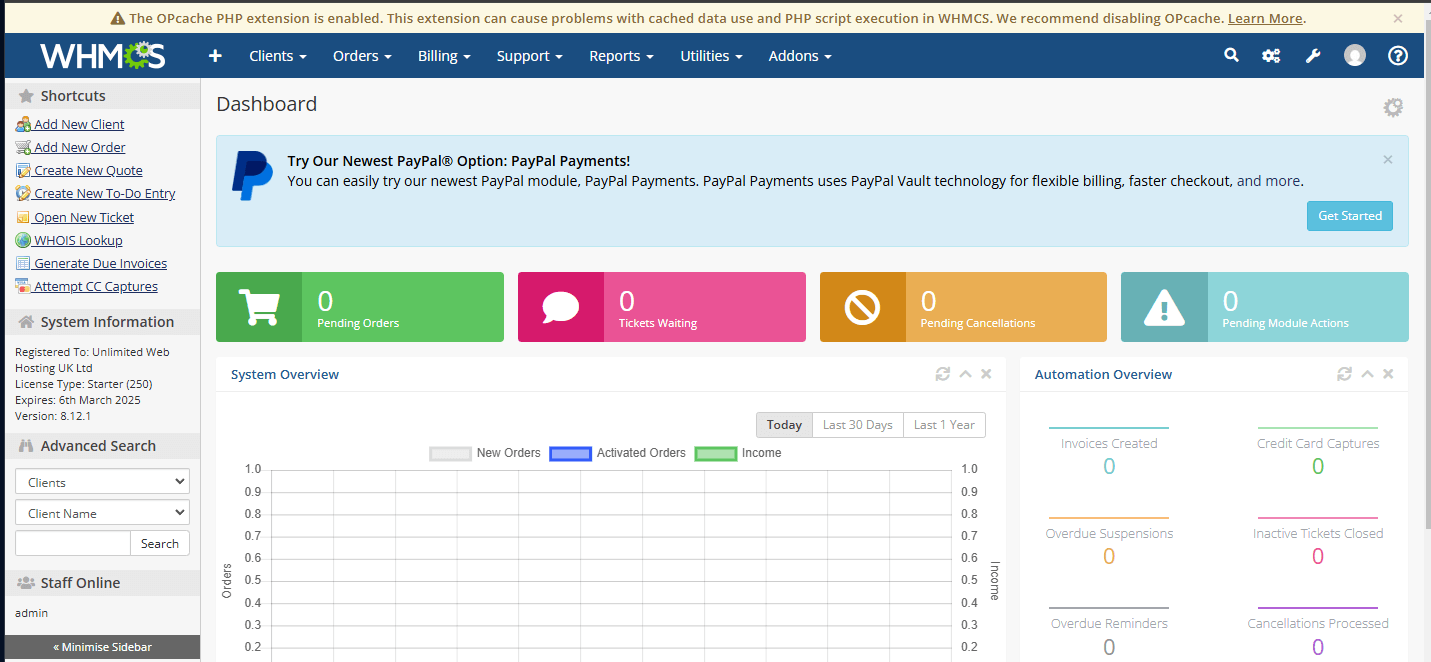
If you’re experiencing issues with your WHMCS installation, it’s possible that OPcache conflicts are the cause. As a reseller web host on a shared service, you don’t have the ability to disable PHP extensions entirely, as this could impact other users on the server.
However, there is a workaround allowing you to disable the cache for specific cPanel accounts or individual WHMCS installations using the rules set in the .htaccess file.
Disabling OPcache via .htaccess
1. Log in to WHM, then access the cPanel account you want to modify. You can also use SSH or FTP to access the account and manipulate the file directly.

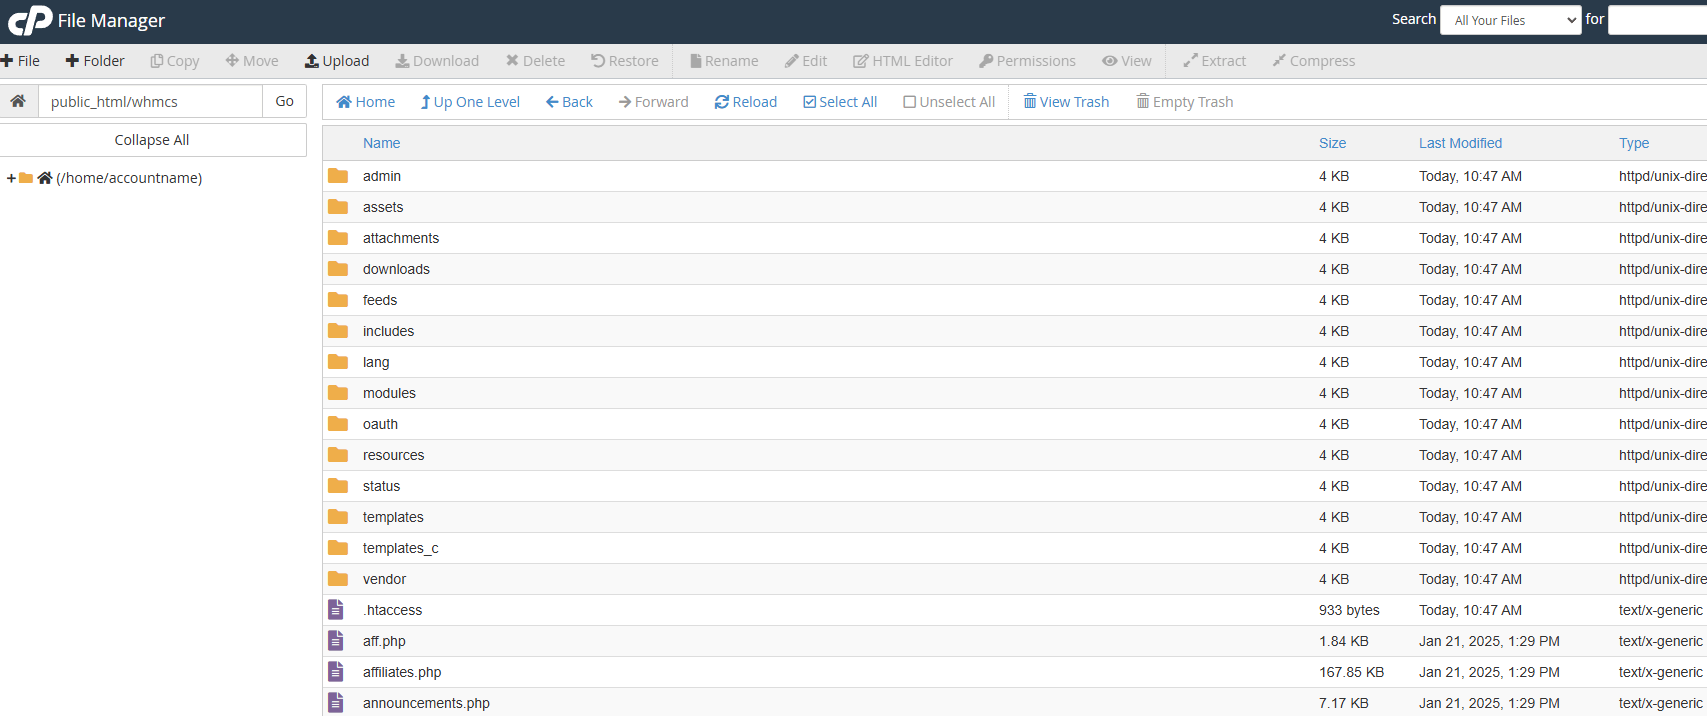
2. Navigate to the root directory of your WHMCS installation. If you recently installed WHMCS, you’ll typically find it in /public_html/whmcs/, though your configuration may differ.
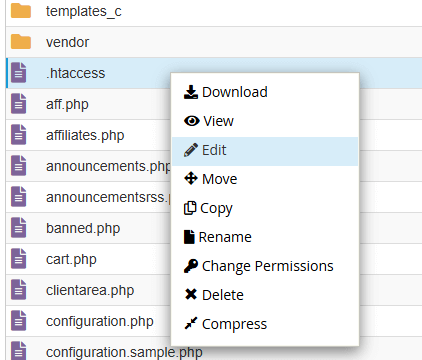
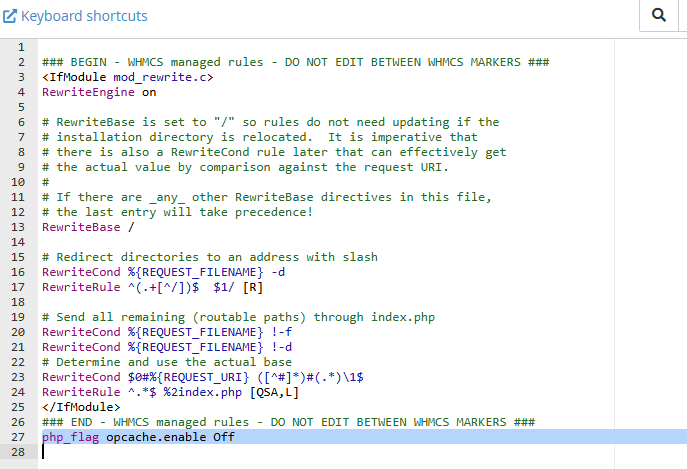
3. Moving on, open or create .htaccess and add the following line to the end of the file.
php_flag opcache.enable Off4. Finally, make sure you save and then you can close your editor.
Verifying the Change
As an additional step you can verify your changes have worked via WHMCS.
1. To start with, log in to your WHMCS admin panel.
2. From here, go to Utilities > System > PHP Info.
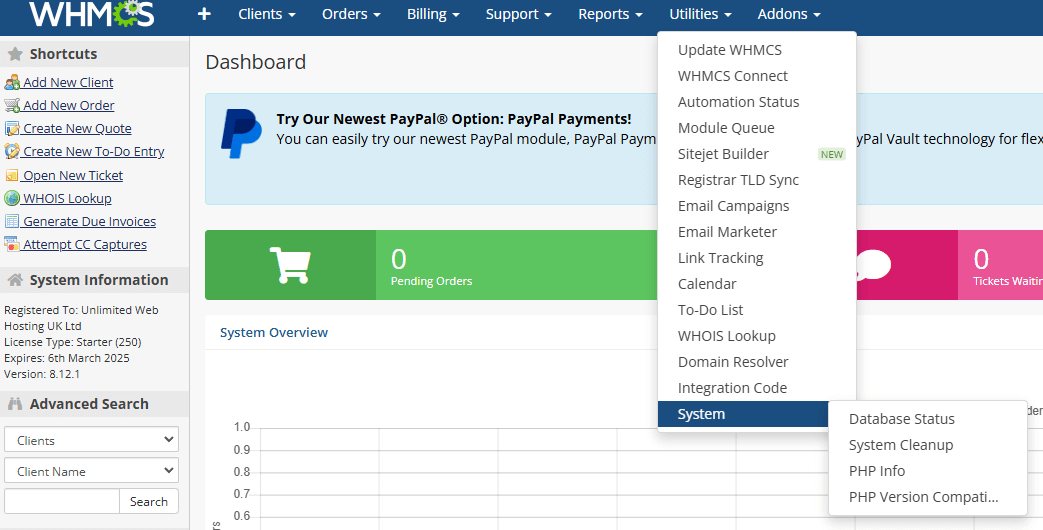
3. You can use the search function to check for opcache.enable and confirm it is set to “off.”
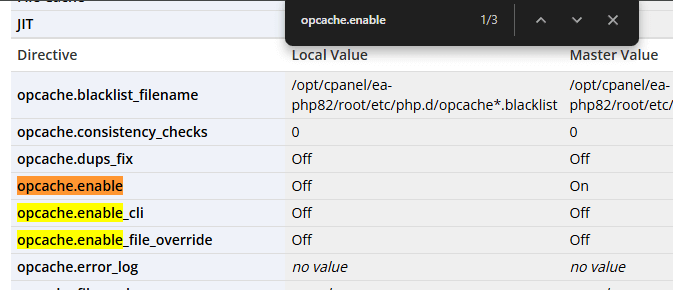
If OPcache still shows as enabled, review the steps to ensure you edited the correct .htaccess file. You can also check your PHP configuration to verify your settings. Note that if you’ve recently changed your PHP version, you may need to change your PHP version back or reapply these settings.
This workaround should resolve OPcache-related issues with WHMCS without requiring changes to server-level PHP extension settings. For more information about managing WHMCS on reseller hosting, see our reseller hosting FAQs.

Need multiple accounts?
Create isolated individual accounts for your clients and manage them all from one dashboard.
Get Reseller Hosting
Need more control?
Upgrade to VPS hosting for scalable resources and root access to your server.
Get VPS Hosting