WHM (Web Host Manager) allows you to create and manage multiple cPanel accounts from a single interface. This control panel sits above cPanel and provides the tools you need to run a reseller hosting business.
You will learn how to access your account list, modify account settings and perform common management tasks like password resets and account suspension. These functions give you complete control over your clients’ hosting accounts.
Before you begin
- You need access to WHM on your reseller hosting account.
- At least one cPanel account must exist to manage.
Understanding WHM and cPanel
WHM creates a separation between your reseller account and your clients’ cPanel accounts. Each cPanel account operates independently with its own login credentials, disk space allocation and resource limits. WHM provides the administrative layer that lets you create these accounts, set their parameters and manage them throughout their lifecycle.
This structure allows you to offer white-label hosting services. Your clients interact only with cPanel while you handle account provisioning, resource allocation and billing through WHM.
Access your account list
The account list displays all cPanel accounts on your reseller hosting platform. You will use this interface to perform most account management tasks.
- Log in to WHM.
Access your WHM control panel athttps://yourdomain.co.uk:2087replacing yourdomain.co.uk with your actual domain name. Our guide on accessing your control panel covers the login process in detail. - Open the account list.
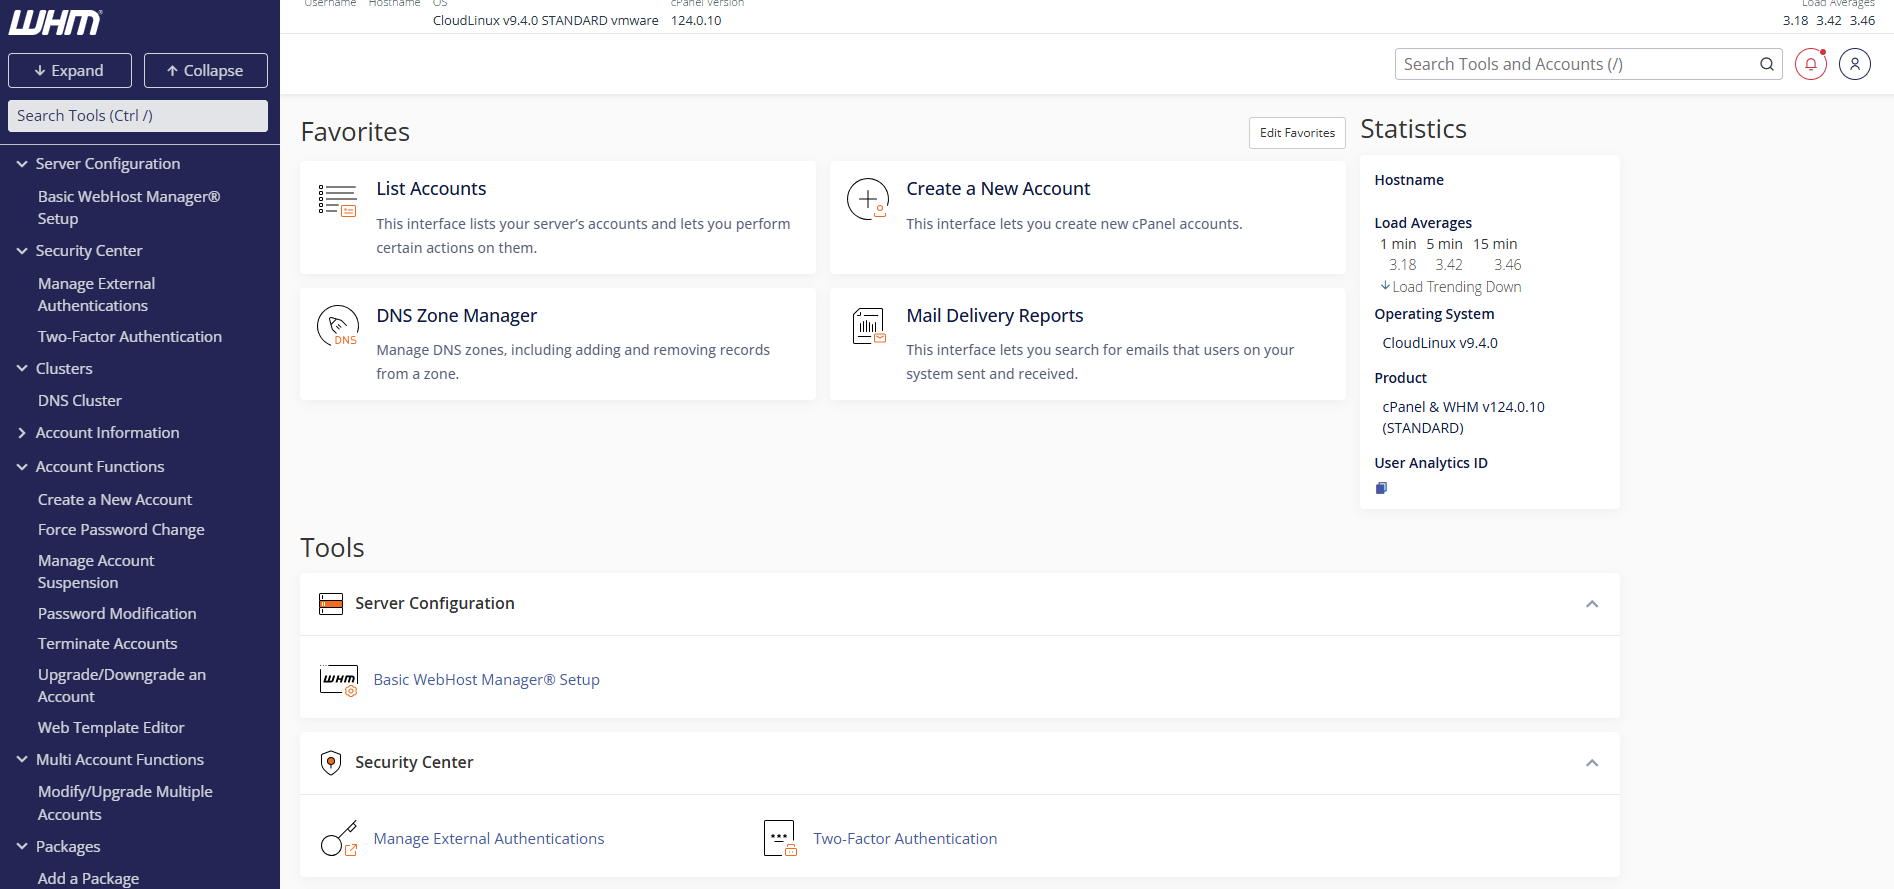
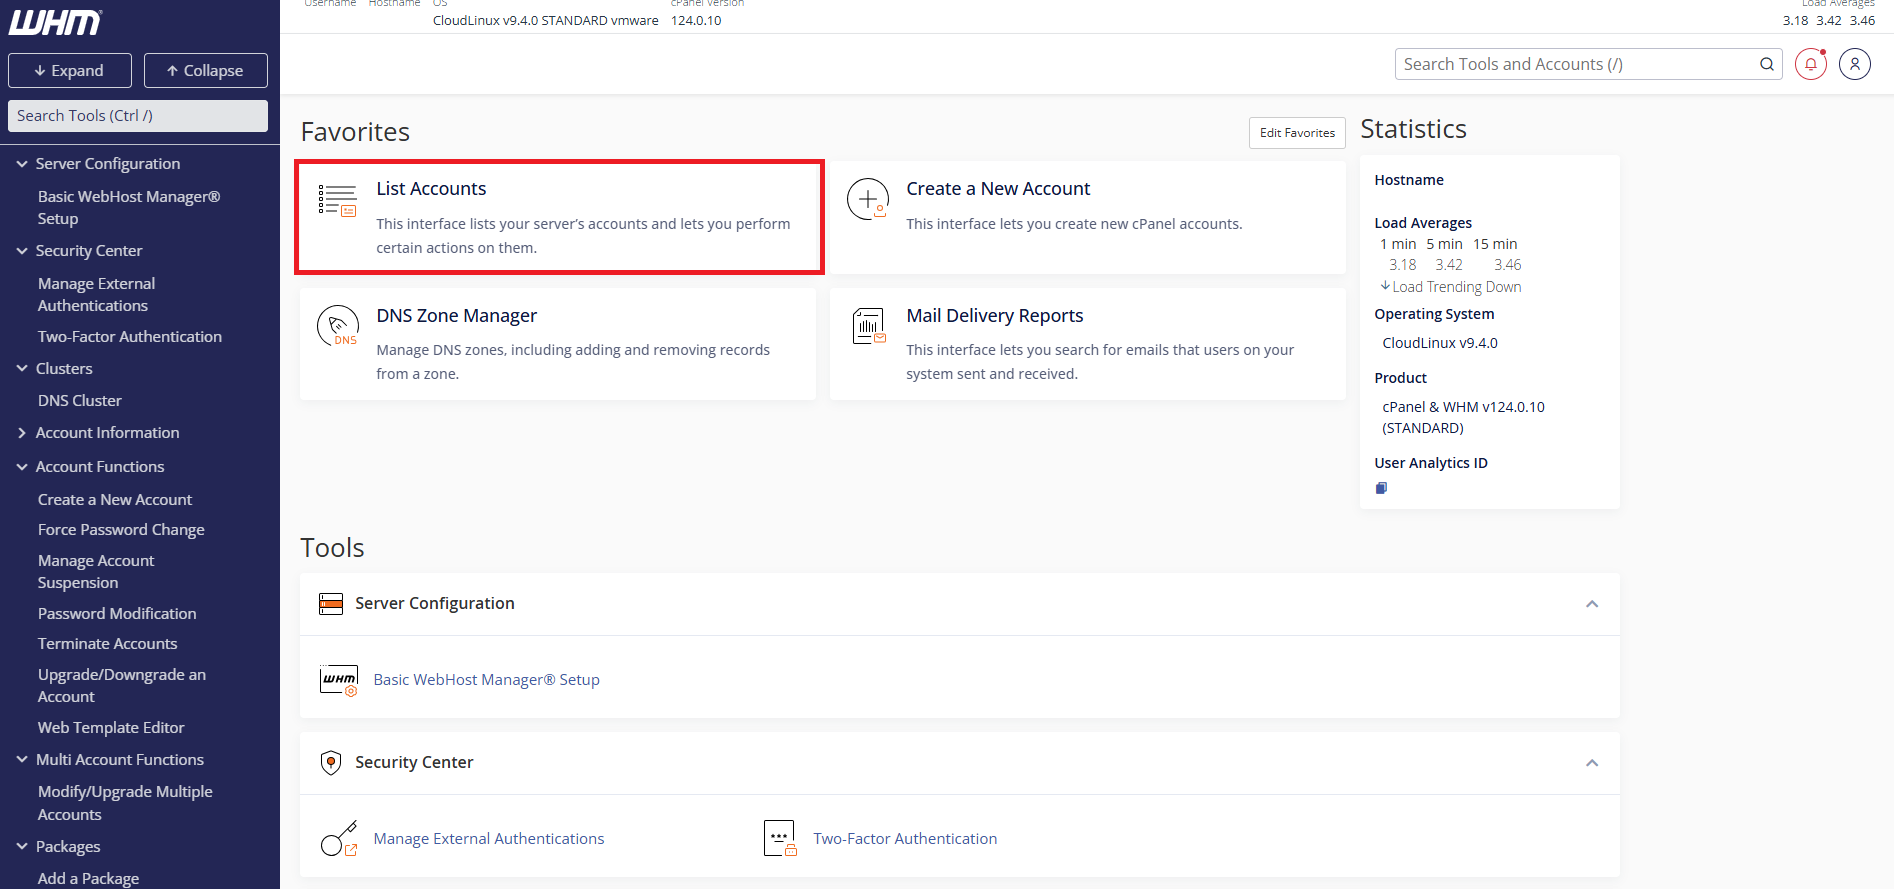
Click List Accounts in the Favourites section on the WHM home page. This displays all cPanel accounts associated with your reseller account.
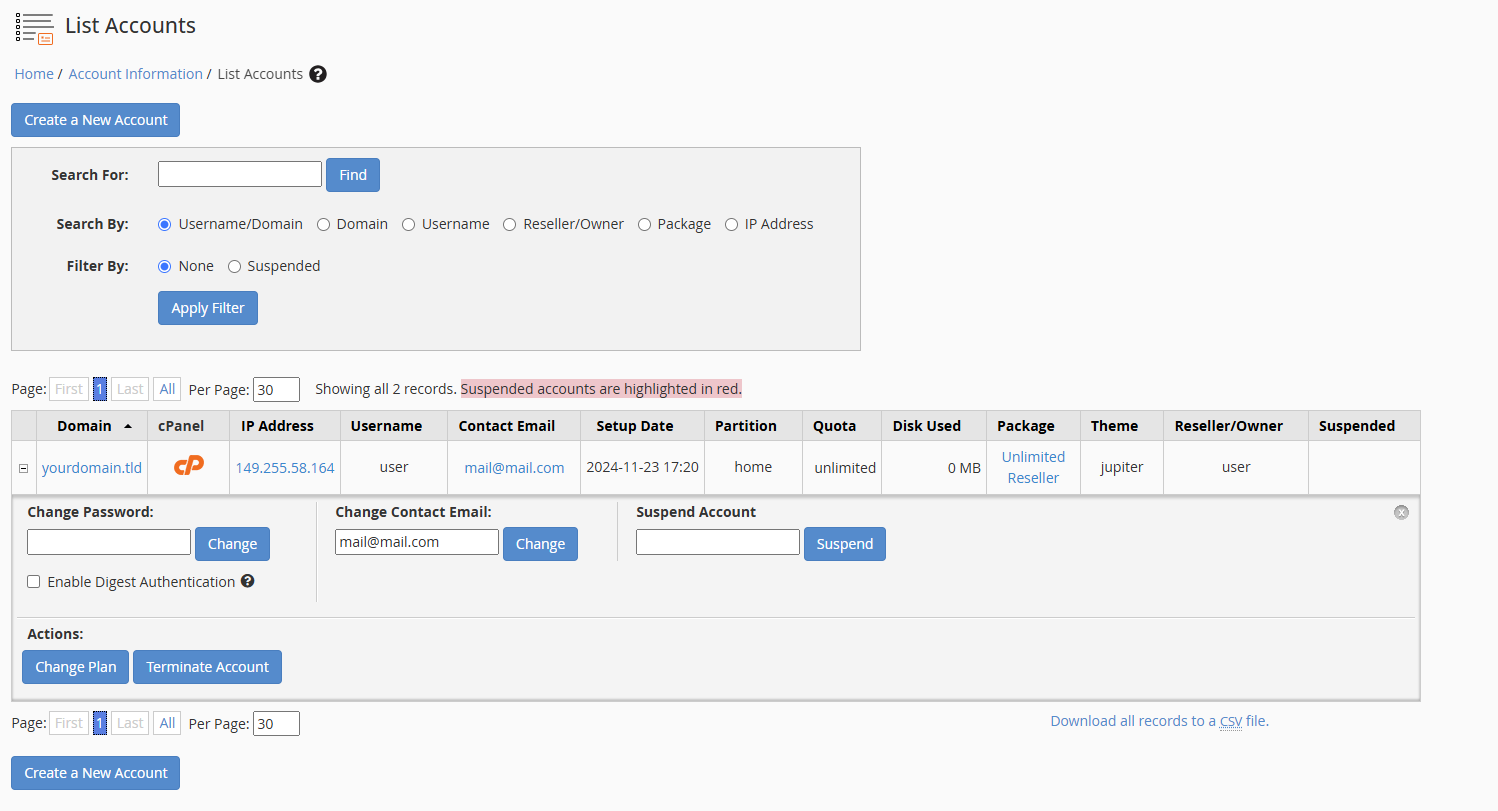
The account list shows each cPanel username, domain name, disk usage and creation date. You can now access management options for any account.
Manage individual accounts
Each account in your list includes a menu of management functions. These options let you modify account settings, control access and perform administrative actions without logging into the client’s cPanel.
- Expand the account menu.
Click the + icon next to any cPanel account in your list. This reveals the available management options for that account.
- Select a management action.
The expanded menu displays several options. Common actions include changing the account password, suspending access or terminating the account entirely.
Change account passwords
Resetting a client’s cPanel password allows them to regain access if they forget their credentials. This action does not affect any website files, databases or email accounts.
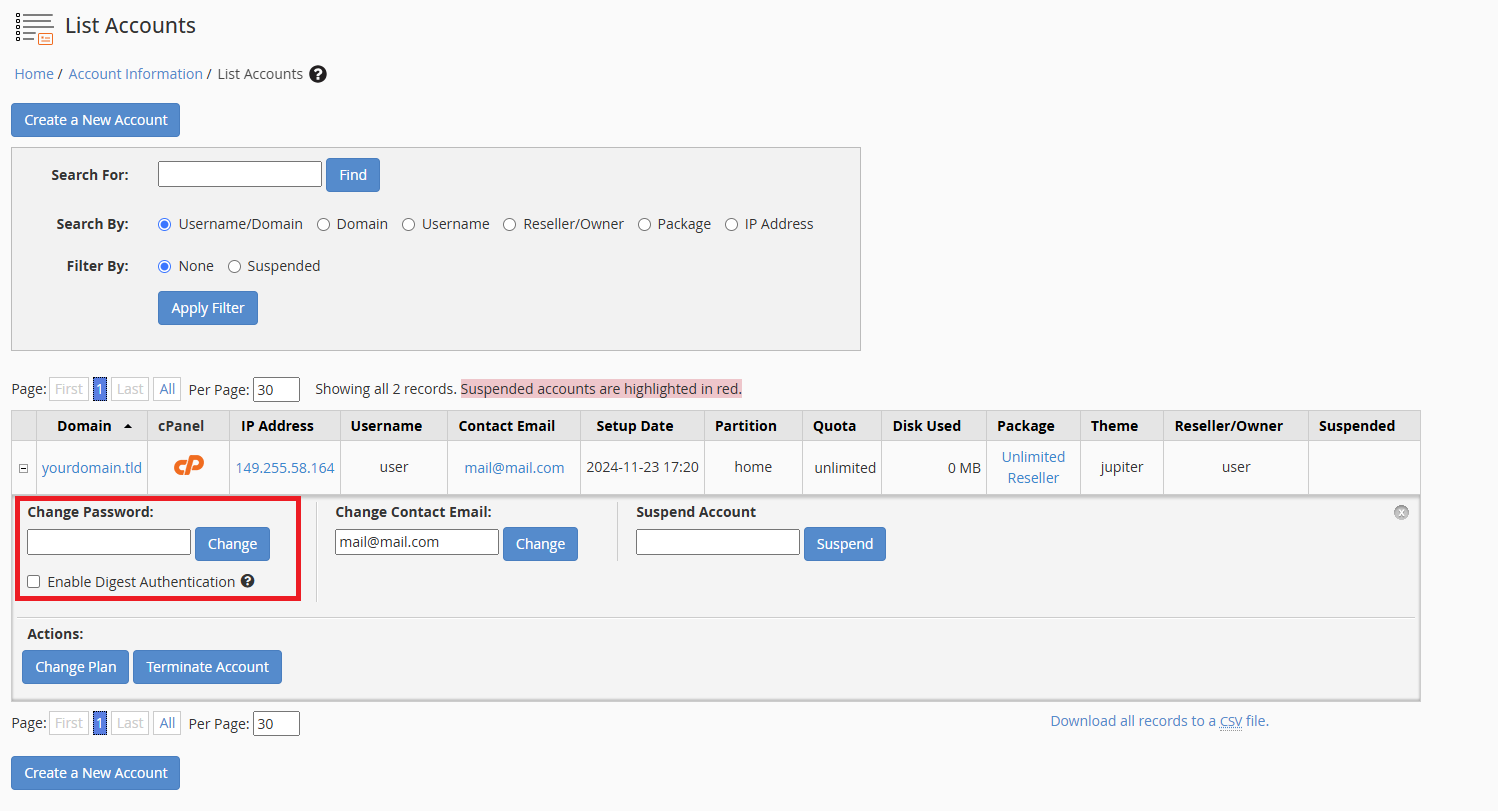
- Click Change Password.
Select this option from the account menu. WHM opens the password change interface. - Enter the new password.
Type a strong password in the New Password field. WHM displays a strength indicator to help you create a secure password. - Save the changes.
Click Change Password to apply the new credentials. The client can now log in to cPanel using this password.
Our guide on resetting client passwords from WHM covers additional password management options.
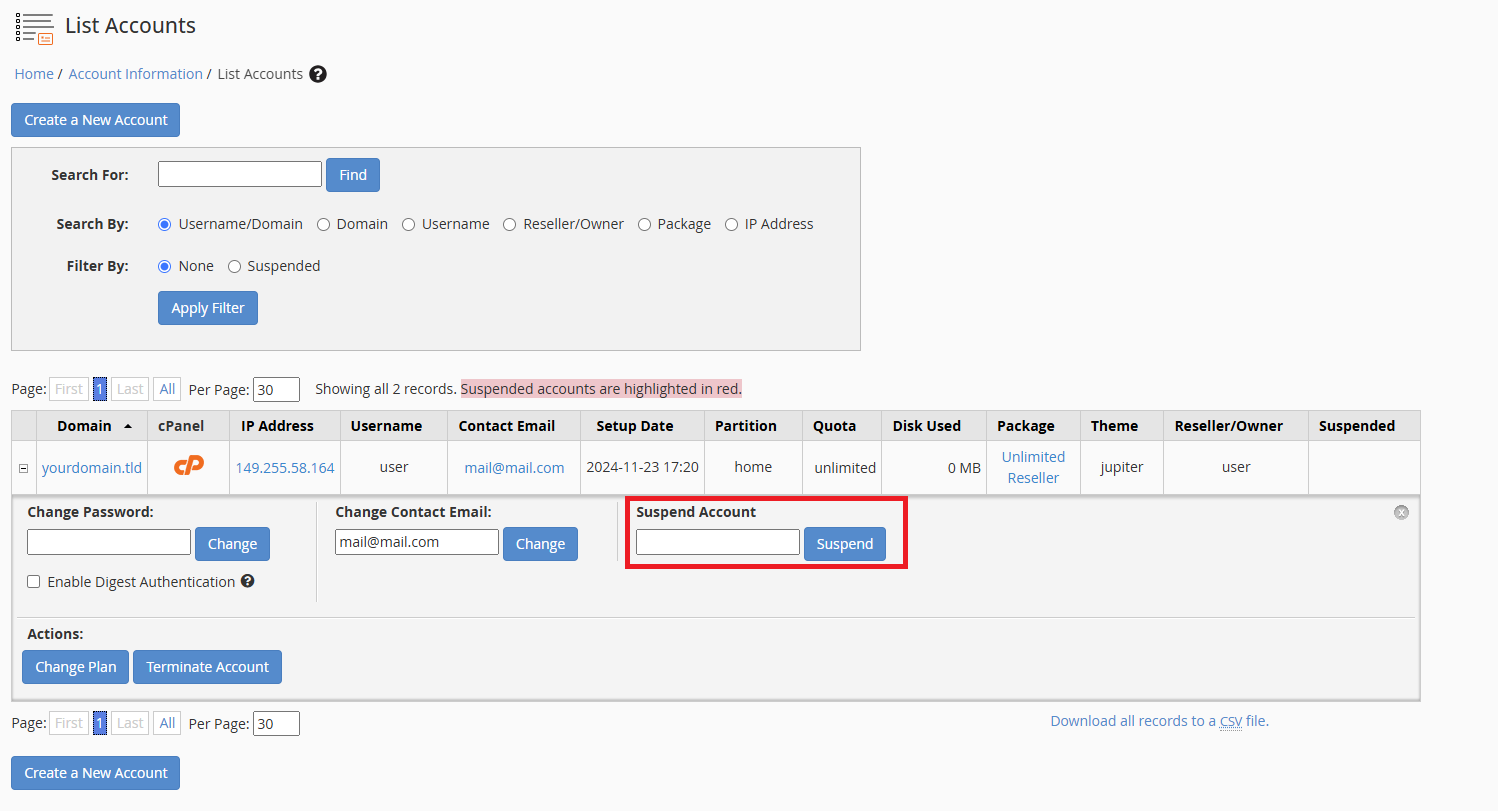
Suspend accounts
Suspending an account prevents the client from accessing cPanel and stops their websites from loading. This action preserves all account data while blocking access, which makes it useful for handling payment issues or policy violations.
- Click Suspend Account.
Select this option from the account menu. WHM displays a confirmation screen. - Add a suspension reason.
Enter a brief explanation in the Reason field. This note appears to the client when they attempt to access their account. - Confirm the suspension.
Click Suspend to apply the restriction. The account immediately becomes inaccessible.
You can unsuspend the account at any time by selecting Unsuspend Account from the same menu. This restores full access immediately.
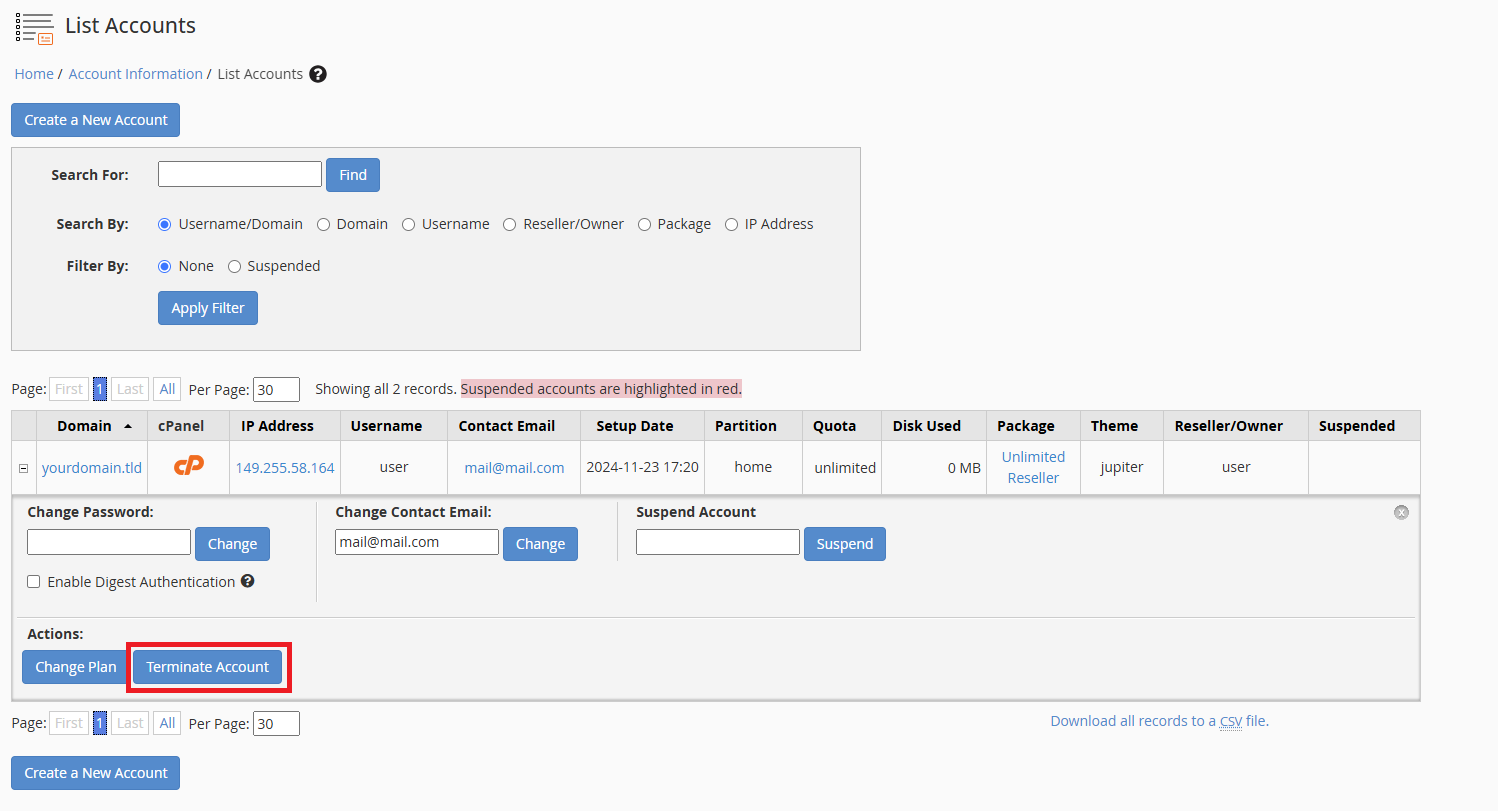
Terminate accounts
Terminating an account permanently deletes all associated data including websites, databases, email accounts and backups. This action cannot be reversed.
- Click Terminate Account.
Select this option from the account menu. WHM displays a warning about data loss. - Review the warning.
Read the confirmation message carefully. WHM lists all data that will be permanently deleted. - Confirm termination.
Type the account username in the confirmation field and click Terminate. WHM removes the account and all its data.
We recommend creating a backup before terminating any account. This gives you a recovery option if the termination was accidental.
Wrapping up
You can now manage cPanel accounts from WHM. You accessed the account list, modified account settings and performed administrative actions like password resets and suspensions. These tools give you complete control over your reseller hosting platform.
Review your account list regularly to monitor disk usage and identify accounts that may need attention. Our reseller hosting platform includes WHM access and unlimited cPanel accounts.

Need multiple accounts?
Create isolated individual accounts for your clients and manage them all from one dashboard.
Get Reseller Hosting
Need more control?
Upgrade to VPS hosting for scalable resources and root access to your server.
Get VPS Hosting