Strapi is an open-source headless CMS built on Node.js that lets you create content APIs and manage structured content from a browser-based admin panel. This guide covers installing Strapi on a CloudPanel VPS, from setting up Node.js through to accessing the admin panel for the first time.
Before you begin
- You need a VPS with CloudPanel installed and root SSH access.
- We recommend using an SSH client such as Terminal (macOS/Linux) or PuTTY (Windows).
- Strapi requires Node.js 18 or 20 (LTS). The steps below install the correct version.
- Port
1337must be open on your VPS firewall. See our guide on opening ports in UFW.
Connect to your VPS via SSH
All installation steps run from the command line, so you need an active SSH session before proceeding. Replace your_server_ip with your VPS IP address.
- Open your SSH client and connect as root.
Run the following command, replacingyour_server_ipwith your actual server IP address:ssh root@your_server_ip
Once you see the shell prompt, you are connected and ready to install dependencies.
Install Node.js and npm
Strapi runs on Node.js. The NodeSource repository provides a reliable way to install a specific LTS version on Debian-based systems, which CloudPanel uses by default.
- Add the NodeSource repository for Node.js 20 LTS.
Run the setup script to register the repository:curl -fsSL https://deb.nodesource.com/setup_20.x | bash - - Install Node.js.
Install the package, which includes npm:apt install -y nodejs - Confirm the installation.
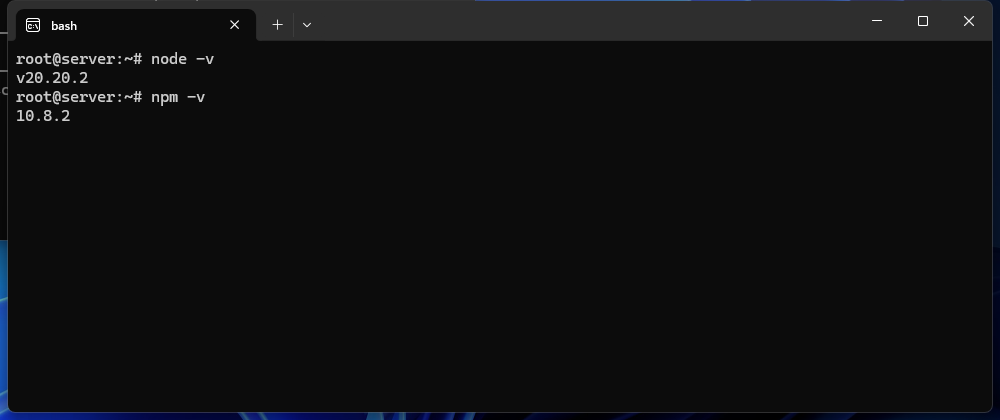
Check that Node.js and npm are available:
Both version numbers should print to the terminal.node -v && npm -v
Create a dedicated Strapi user
Running Strapi as a dedicated system user limits the damage if the application is ever compromised. It also keeps the Strapi environment separate from other services on the server.
- Create the user.
Run the following command and follow the prompts to set a password and optional details:adduser strapi - Switch to the new user.
All remaining steps should run as thestrapiuser:su - strapi
Install Strapi
With Node.js in place and a dedicated user active, you can now create your Strapi project. The create-strapi-app command scaffolds the project and installs all required dependencies automatically.
- Create a project directory.
Create a folder for your Strapi project and move into it:mkdir my-strapi-project && cd my-strapi-project - Run the Strapi installer.
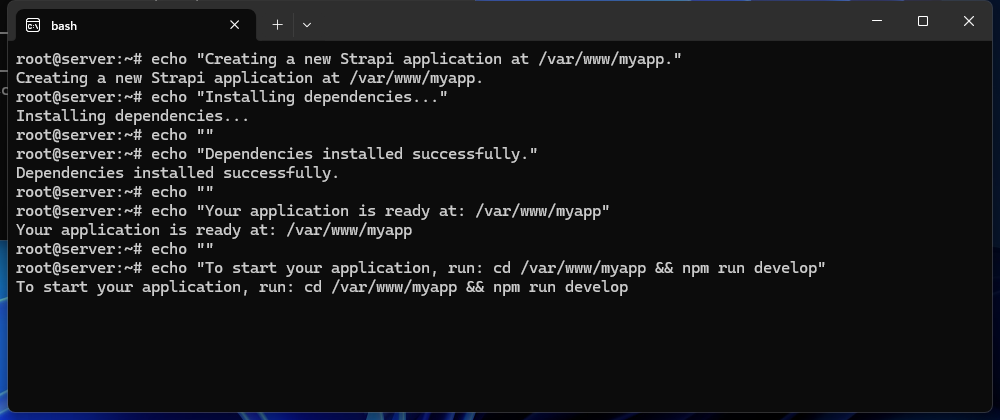
The installer will prompt you to choose a database and other project options. Select the options that match your setup:npx create-strapi-app@latest .
Start Strapi and access the admin panel
Starting Strapi in development mode builds the admin panel and launches the server. You only need to do this once to create your first admin account.
- Start the development server.
From inside your project directory, run:
Wait for the terminal to confirm the server is running on portnpm run develop1337. - Open the admin panel in your browser.
Navigate to the following URL, replacingyour_server_ipwith your VPS IP address:http://your_server_ip:1337/admin - Create your admin account.
Strapi will display a registration form on first access. Fill in your name, email address and a password to create the administrator account.
Once you submit the registration form, you are taken directly to the Strapi dashboard and can start building content types and APIs.
Wrapping up
You have installed Strapi on a CloudPanel VPS, set up a dedicated system user, scaffolded a new project and accessed the admin panel for the first time. Your Strapi instance is ready to manage content and serve APIs.
From here, you may want to configure a process manager such as PM2 to keep Strapi running after you close your SSH session, or set up a reverse proxy through CloudPanel to serve Strapi on a domain name. See our guides on installing Node.js on Linux and managing Node.js versions with NVM for related tasks. You can also review our guide on securing your VPS to harden the server further.

