Running n8n on your own VPS gives you full control over your automation workflows, data and configuration. This guide covers installing n8n globally via npm, setting key environment variables and starting your instance so you can access the editor from a browser.
Before you begin
- You need SSH access to your VPS. See our guide on connecting to your server via SSH.
- Node.js version 20.19 or higher (up to 24.x) must be installed. See our guide on installing Node.js on Linux.
- npm must be available. See our guide on installing npm packages.
- We recommend using a non-root user with sudo privileges for running applications.
Install n8n globally with npm
Installing n8n globally makes the n8n command available system-wide, so you can start and manage your instance from any directory. The global flag tells npm to place the binary in your system’s PATH rather than a local project folder.
- Connect to your VPS via SSH.
Open a terminal and log in to your server. If you need help with this step, see our guide on connecting via SSH. - Confirm your Node.js version.
Run the following command to check that you are running a supported version (20.19 to 24.x):
node --version- Install n8n globally.
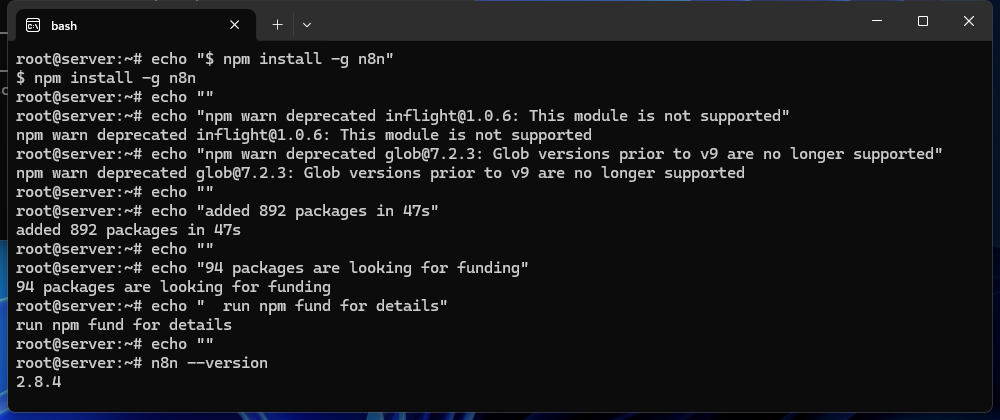
Run the following command to install the latest stable version of n8n:
npm install n8n -gnpm will download and install n8n along with its dependencies. This may take a few minutes depending on your server’s connection speed.
Configure environment variables
Before starting n8n, set the environment variables that control how your instance behaves. These tell n8n which timezone to use for scheduled workflows and, if you are running behind a reverse proxy, what public URL to register for webhooks.
Set your timezone so that schedule-based nodes fire at the correct local time. Replace Europe/London with your own timezone from the tz database list:
export GENERIC_TIMEZONE="Europe/London"If you are running n8n behind a reverse proxy (for example, Nginx with a domain name), set the webhook URL so that n8n registers the correct public-facing address with external services. Replace the example URL with your own domain:
export WEBHOOK_URL=https://n8n.yourdomain.co.uk/
export N8N_PROXY_HOPS=1
To make these variables persist across reboots, add the export lines to your ~/.bashrc or ~/.bash_profile file.
Start n8n
With n8n installed and your environment variables set, you can start the application. n8n listens on port 5678 by default, so make sure that port is open in your firewall before proceeding.
- Open port 5678 in your firewall.
If you use UFW, see our guide on opening ports in UFW. If you use firewalld, see our guide on opening ports in firewalld. - Start n8n.
Run either of the following commands to launch your instance:
n8n start- Access the n8n editor.
Open a browser and navigate tohttp://your-server-ip:5678, replacingyour-server-ipwith your VPS’s public IP address. If you have configured a domain with a reverse proxy, use your domain URL instead.
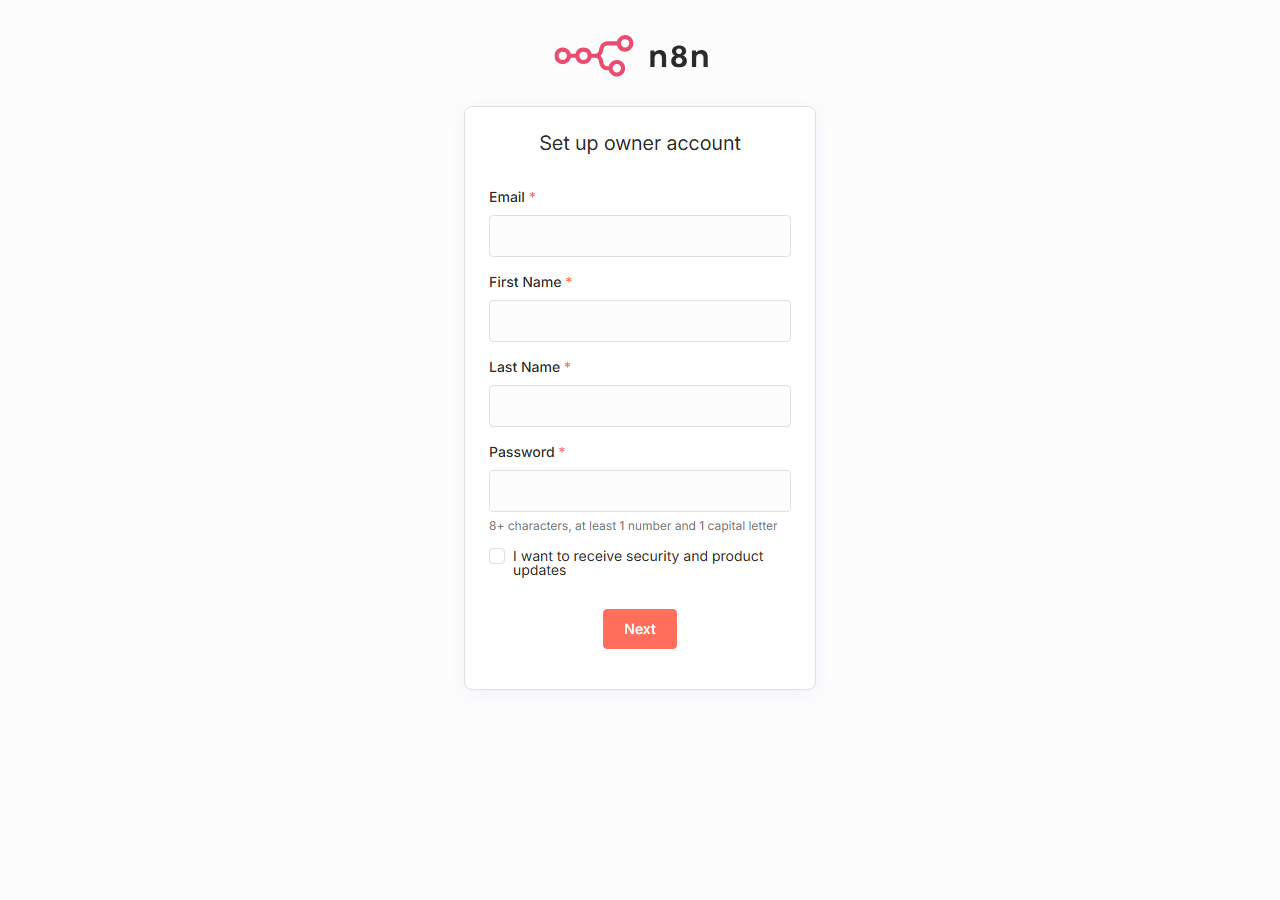
n8n is now running. The first time you access the editor, you will be prompted to create an owner account.
Troubleshooting
n8n command not found after installation
This happens when npm’s global binary directory is not in your system’s PATH. The global bin location varies depending on how Node.js was installed.
- Run
npm bin -gto find the global binary directory. - Add that directory to your PATH by appending
export PATH="$PATH:/path/to/npm/bin"to your~/.bashrcfile, then runsource ~/.bashrc. - If you installed Node.js via nvm, see our guide on managing Node.js versions with nvm to confirm your active version.
Cannot access n8n in the browser
If the editor does not load, the most common cause is a firewall blocking port 5678.
- Confirm n8n is running by checking for a listening process:
ss -tlnp | grep 5678 - Check your firewall rules and confirm port
5678is open for inbound traffic. - If your VPS is behind a network-level firewall or security group, confirm that port
5678is permitted there too.
Webhooks not working behind a reverse proxy
n8n builds its webhook URLs from internal settings, which do not reflect the public address when a reverse proxy is in use. Without the correct configuration, external services cannot reach your webhook endpoints.
- Confirm
WEBHOOK_URLis set to your public HTTPS address and thatN8N_PROXY_HOPS=1is exported before starting n8n. - Confirm your reverse proxy passes the
X-Forwarded-For,X-Forwarded-HostandX-Forwarded-Protoheaders to n8n. - Webhook URLs must use HTTPS for services such as Telegram. Configure TLS termination at your reverse proxy and update
WEBHOOK_URLaccordingly.
Wrapping up
You have installed n8n on your VPS using npm, configured timezone and webhook environment variables, and started the application. Your n8n editor is now accessible from a browser and ready for you to build workflows.
To keep n8n running after you close your SSH session, consider setting it up as a background service using a process manager such as pm2 or systemd . You may also want to place n8n behind a reverse proxy with an SSL certificate – see our guide on installing a free SSL certificate with Certbot to get started.
Our VPS hosting plans give you the root access and resources needed to run self-hosted applications like n8n.

