Need to test your site before switching DNS? Editing your hosts file lets you point a domain to any server you choose, bypassing public DNS records entirely.
Your hosts file maps domain names to IP addresses locally on your machine. It overrides external DNS, which makes it perfect for previewing sites on new servers before going live.
You can also use it to block websites by pointing them to 0.0.0.0 (a loopback address that goes nowhere).
Get your server’s IP address
You’ll need the IP address of the server you’re testing against. Grab it from cPanel or WHM.
In cPanel: Check the General Information pane after logging in. The shared IP address is listed there.
In WHM: The List Accounts page shows the IP address for each cPanel account.
This can come in handy when migrating your website to another host before switching DNS. Similar to setting up a temporary domain.
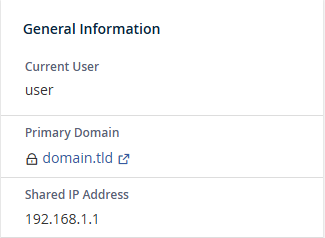
Get your IP from cPanel
After logging into cPanel you can view the shared IP address via the General information pane.
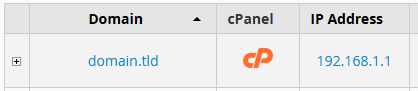
Get IPs from WHM
From the list accounts page you can see the IP address for each cPanel account.
Edit the hosts file in Windows
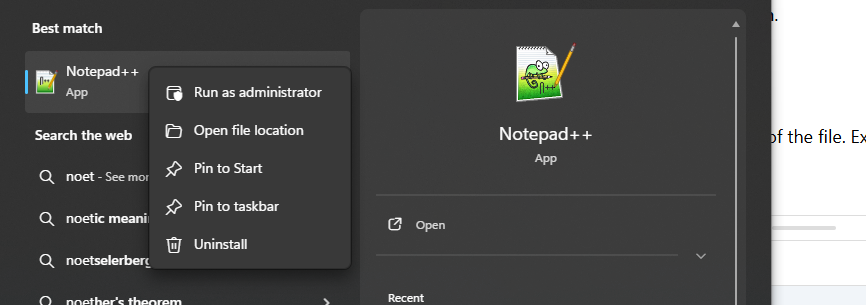
Open Notepad (or Notepad++) as administrator. Right-click it in the Start menu and select “Run as administrator”.
1. From your Windows device, open the start menu and search for notepad, then using a right click run as an administrator.
2. With notepad opened as administrator, click the folder icon and enter the following file path into the address bar.
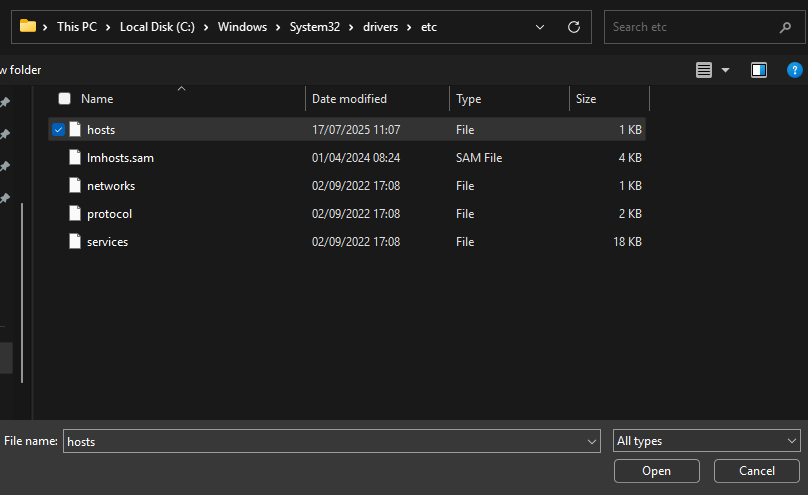
C:\Windows\System32\Drivers\etc
3. Now, from the etc folder click hosts to top open the hosts file.
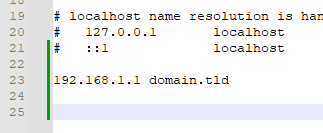
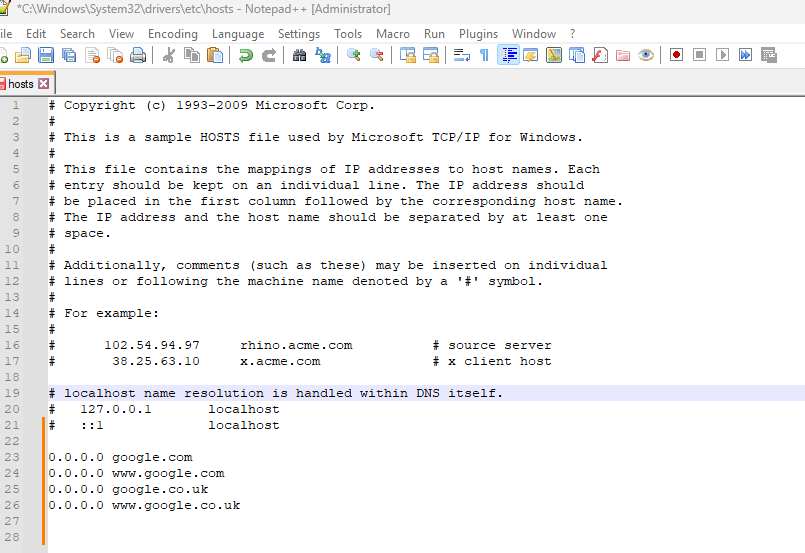
4. With the hosts file open, add specific host entries relating to your site. In the example below we’ve mapped a non existing domain to our hosting.
6. After you’ve made your changes use the file save, or the keybind CTRL+S to save your hosts file changes.
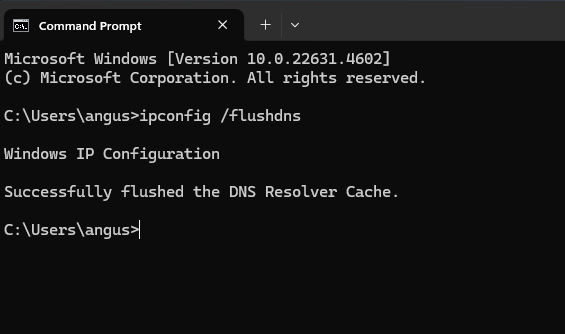
7. Finally, flush the DNS cache on your device by opening a command prompt window and running ipconfig /flushdns. Below is an example output of that command.
Edit the hosts file in macOS
Open Terminal through Spotlight (Command+Space, then type “Terminal”).
Run this command to open the hosts file with nano:
sudo nano /etc/hostsEnter your admin password when prompted.
Add your IP and domain at the bottom:
192.0.2.1 yourdomain.comSave by pressing Ctrl+X, then Y, then Enter.
Flush the DNS cache:
sudo killall -HUP mDNSResponderAlternative method: Use Finder instead. Go to Go > Go to Folder, enter /etc, and open the hosts file with your text editor. Make your changes, save with Command+S, then flush DNS using the terminal command above.
Edit the hosts file in Linux
Open a terminal window. Use Ctrl+Alt+T or click the Terminal app.
Open the hosts file with nano:
sudo nano /etc/hostsAdd or edit your entries, then save with Ctrl+X, Y, and Enter.
Restart the network service. On most distributions:
sudo systemctl restart network-manager

Ready to get started?
Launch your website with our reliable cPanel hosting with unlimited bandwidth and expert support.
Get cPanel Hosting