There are several reasons you might need to take a website offline – scheduled maintenance, a security incident, a rebuild or a permanent closure. The method you choose depends on whether you need temporary or permanent downtime, and whether you still need to access the site yourself during that time.
Four methods are covered below: restricting access by IP address, enabling a maintenance page redirect, changing your DNS records and removing your website files. Each produces a different result, so read through the options before deciding which suits your situation.
Before you begin
- You need access to your cPanel account or an FTP client to edit files.
- We recommend creating a full backup of your website before making any changes.
- If your domain’s DNS is managed externally (for example, through Cloudflare), DNS changes must be made through that provider, not cPanel.
- Know your current public IP address before using the IP restriction method – you can check it at viewmyip.co.uk.
Method 1: Restrict access by IP address
This method blocks all visitors except those connecting from a specific IP address. It is the best option when you need to continue working on the site yourself while keeping it hidden from the public. Your site files remain in place and the server continues to serve the site – only access is restricted.
- Open your
.htaccessfile.
Log in to cPanel and open File Manager. Navigate to your site’s root directory, typically/public_html/. If.htaccessis not visible, click Settings in the top-right corner and tick Show Hidden Files. - Edit the file.
Right-click.htaccessand select Edit. - Add the access restriction rules.
Paste the following block at the top of the file, replacingYOUR.IP.ADDRESS.HEREwith your actual public IP address.
Order deny,allow
Deny from all
Allow from YOUR.IP.ADDRESS.HERE- Add further IP addresses if needed.
To allow additional addresses – for example, a colleague’s IP – add a newAllow fromline for each one. - Save the file.
Click Save Changes and close the editor. Visitors from unlisted IP addresses will now receive a 403 Forbidden response.
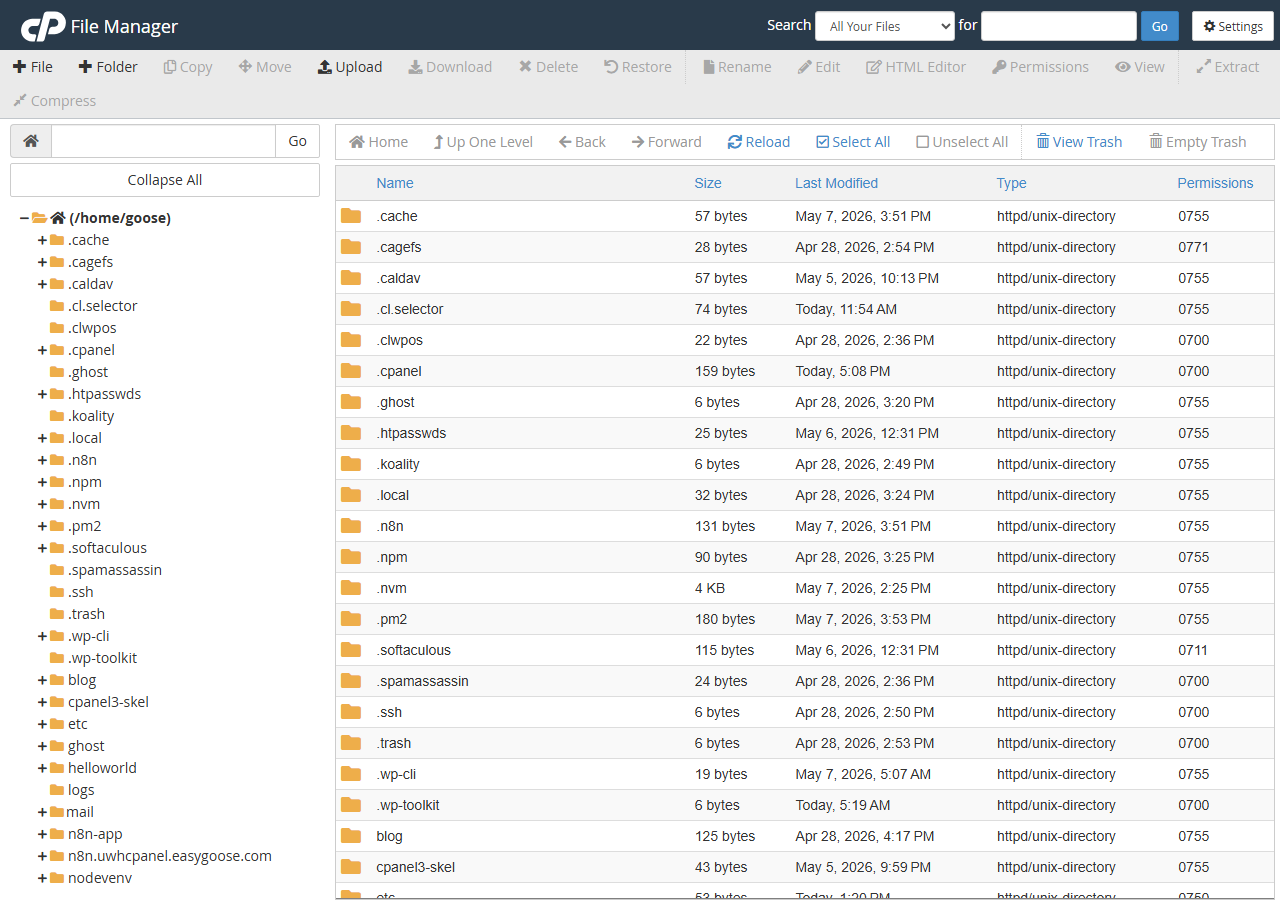
To restore public access, remove the three lines you added and save the file again.
Method 2: Redirect visitors to a maintenance page
A maintenance page redirect keeps your site technically online but sends all visitors to a holding page. This is preferable to a blank error for short-term downtime because it communicates clearly that the site will return. A 307 temporary redirect tells search engines not to update their index.
- Create a maintenance page.
In File Manager, navigate to/public_html/and create a new file namedmaintenance.html. Add a short message for your visitors explaining that the site is temporarily unavailable. - Open your
.htaccessfile.
Right-click.htaccessand select Edit. - Add the redirect rules.
Paste the following block into the file. The condition on the second line prevents an infinite redirect loop by excluding the maintenance page itself from the rule.
RewriteEngine On
RewriteCond %{REQUEST_URI} !^/maintenance.html$
RewriteRule ^(.*)$ /maintenance.html [R=307,L]- Save the file.
Click Save Changes. All visitors will now be redirected to your maintenance page.
When your site is ready to go back online, remove the three RewriteEngine lines from .htaccess and save. You can leave maintenance.html in place for future use.
Method 3: Point your DNS away from the server
Changing your DNS records stops your domain from resolving to your server at all. This takes the site offline at the network level, regardless of what files are on the server. DNS changes take time to propagate – typically between a few minutes and 48 hours – so this method is not suitable when you need an immediate result.
- Log in to your DNS provider.
This is wherever your domain’s nameservers are pointed. If you are using UWH nameservers, log in to cPanel and open Zone Editor. - Locate the A record for your domain.
Find theArecord pointing your domain (and thewwwsubdomain) to your server’s IP address. - Change or remove the A record.
To take the site offline, either delete the A record entirely or change its value to an IP address that does not serve content, such as192.0.2.1(a reserved, non-routable address). Avoid using127.0.0.1as this resolves to localhost on the visitor’s own machine and can produce misleading errors. - Save the change.
Confirm the update. DNS propagation begins immediately but full effect may take up to 48 hours depending on TTL settings and the visitor’s DNS resolver.
To bring the site back online, restore the A record to your server’s original IP address. See our guide on editing your DNS zone for full instructions, and our guide on checking DNS propagation to monitor when the change takes effect.
Method 4: Remove your website files
Removing or relocating your website files from the public directory causes the server to return a 404 error to all visitors. This is the most disruptive option and should only be used when you intend to permanently take the site down or are certain you have a complete backup. Do not use this method for temporary maintenance.
- Back up your files first.
In File Manager, select all files in/public_html/, then click Compress to create an archive. Download the archive to your local machine before proceeding. See our guide on backing up and restoring with JetBackup for a full account-level backup. - Select the files to remove.
In File Manager, navigate to/public_html/and select the files and folders that make up your website. - Delete or move the files.
Click Delete to remove them permanently, or click Move to relocate them to a non-public directory such as/backup_site/at the account root level (outside/public_html/). Moving is safer if there is any chance you will need to restore the site.
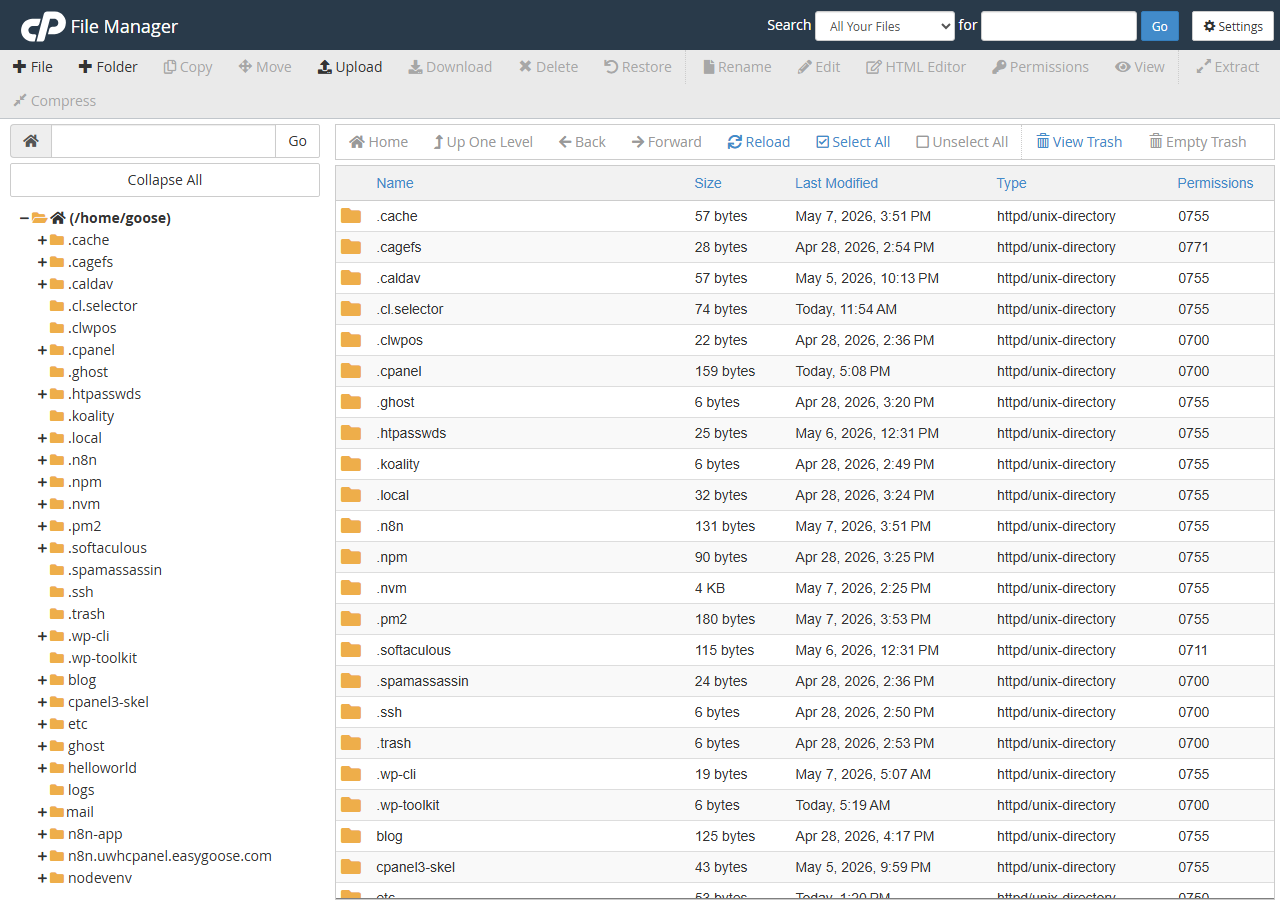
Once the files are removed, visitors will receive a 404 error. If you have a custom 404 page configured, that page will be displayed instead.
Troubleshooting
The .htaccess changes are not taking effect
If visitors can still access your site after editing .htaccess, the file may not have saved correctly, or a caching layer is serving a cached version of the page.
- Confirm the file was saved by reopening it in File Manager and checking the rules are present.
- Check that you edited the correct
.htaccessfile – add-on domains and subdomains may have their own.htaccessin a subdirectory. - If a CDN such as Cloudflare is active, purge the cache from your CDN dashboard. Cached responses are served before the request reaches your server.
- Clear your browser cache and test in a private browsing window to rule out a locally cached response.
The maintenance redirect is looping
An infinite redirect loop occurs when the RewriteCond line is missing or incorrect, causing the maintenance page itself to be redirected.
- Confirm the second line of the block reads exactly
RewriteCond %{REQUEST_URI} !^/maintenance.html$– the!at the start is required. - Check that
maintenance.htmlis in the root of/public_html/and not inside a subdirectory. - If
RewriteEngine Onalready appears earlier in your.htaccessfile, remove the duplicate line from the block you added.
DNS changes are not taking effect
DNS propagation is not instant. If your site still resolves after changing the A record, the change may not have reached all DNS resolvers yet.
- Use our guide on checking DNS propagation to see whether the change has reached global resolvers.
- A lower TTL value on the record before making the change speeds up propagation. If the TTL was already high (3,600 seconds or more), allow up to 48 hours.
- Flush your local DNS cache to rule out a cached result on your own machine. See our guide on flushing your DNS resolver cache.
Wrapping up
You now have four ways to take a website offline: IP-based access restriction, a maintenance page redirect, a DNS-level change and file removal. Each suits a different scenario – IP restriction and maintenance redirects work well for temporary downtime, while DNS changes and file removal are better suited to longer-term or permanent situations.
For related tasks, see our guides on editing your DNS zone, using cPanel File Manager, backing up and restoring files with JetBackup and fixing website error codes.
Did this guide solve your problem?
Still stuck?
Our UK support team answers tickets and live chat every day. Send us the guide you were following and where it stopped working.
Keep learning
Find a guide
Related guides

Hosting that keeps up
cPanel hosting with the tools these guides use, backed by UK support.
Get cPanel Hosting
Keep your site secure
Protect your visitors with SSL certificates – from budget DV to premium EV certificates.
Get SSL Certificate