The LiteSpeed Cache plugin stores copies of your WordPress pages to serve them faster to visitors. After updating content or making design changes, the cached version may prevent visitors from seeing the latest version of your site.
You will purge the cache using the WordPress admin toolbar or the plugin dashboard. Both methods clear cached pages immediately so visitors receive your updated content on their next visit.
Before you begin
- The LiteSpeed Cache plugin must be installed and active on your WordPress site.
- You need access to your WordPress admin area at
yourdomain.co.uk/wp-admin.
Purge all cache using the admin toolbar
The admin toolbar gives you a one-click shortcut to purge your entire cache without opening the plugin settings. Use it immediately after publishing content or changing your site design.
- Log in to WordPress.
Access your WordPress admin area atyourdomain.co.uk/wp-admin. - Hover over the LiteSpeed Cache icon.
In the admin toolbar at the top of the page, hover over the LiteSpeed Cache icon. - Click Purge All.
Select Purge All from the dropdown menu. The entire cache clears immediately and a confirmation notice appears at the top of the page.
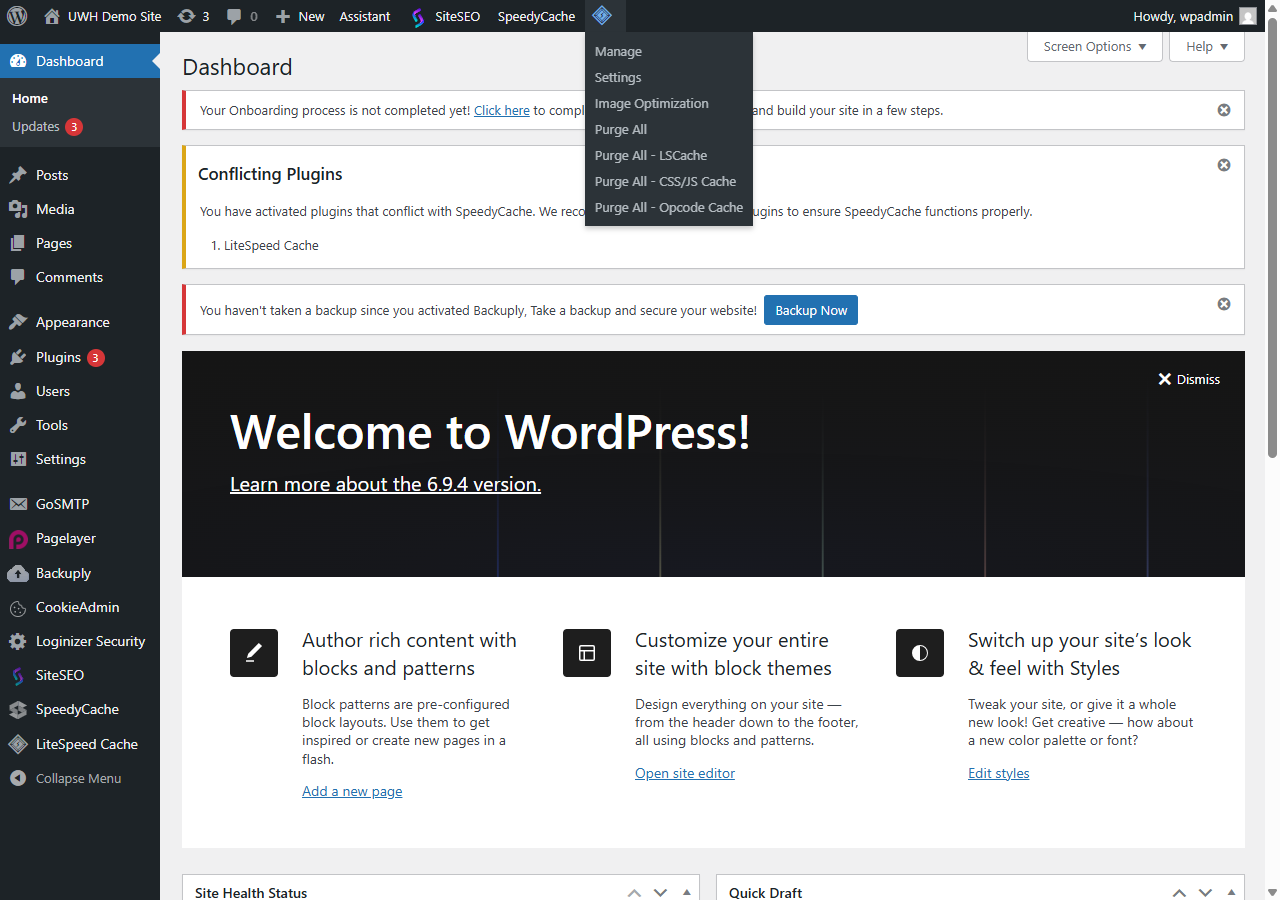
All cached pages are now removed. They will be rebuilt from your live content the next time a visitor loads each page.
Purge cache from the plugin dashboard
The LiteSpeed Cache dashboard provides the same full purge option alongside additional controls for targeting specific cache types.
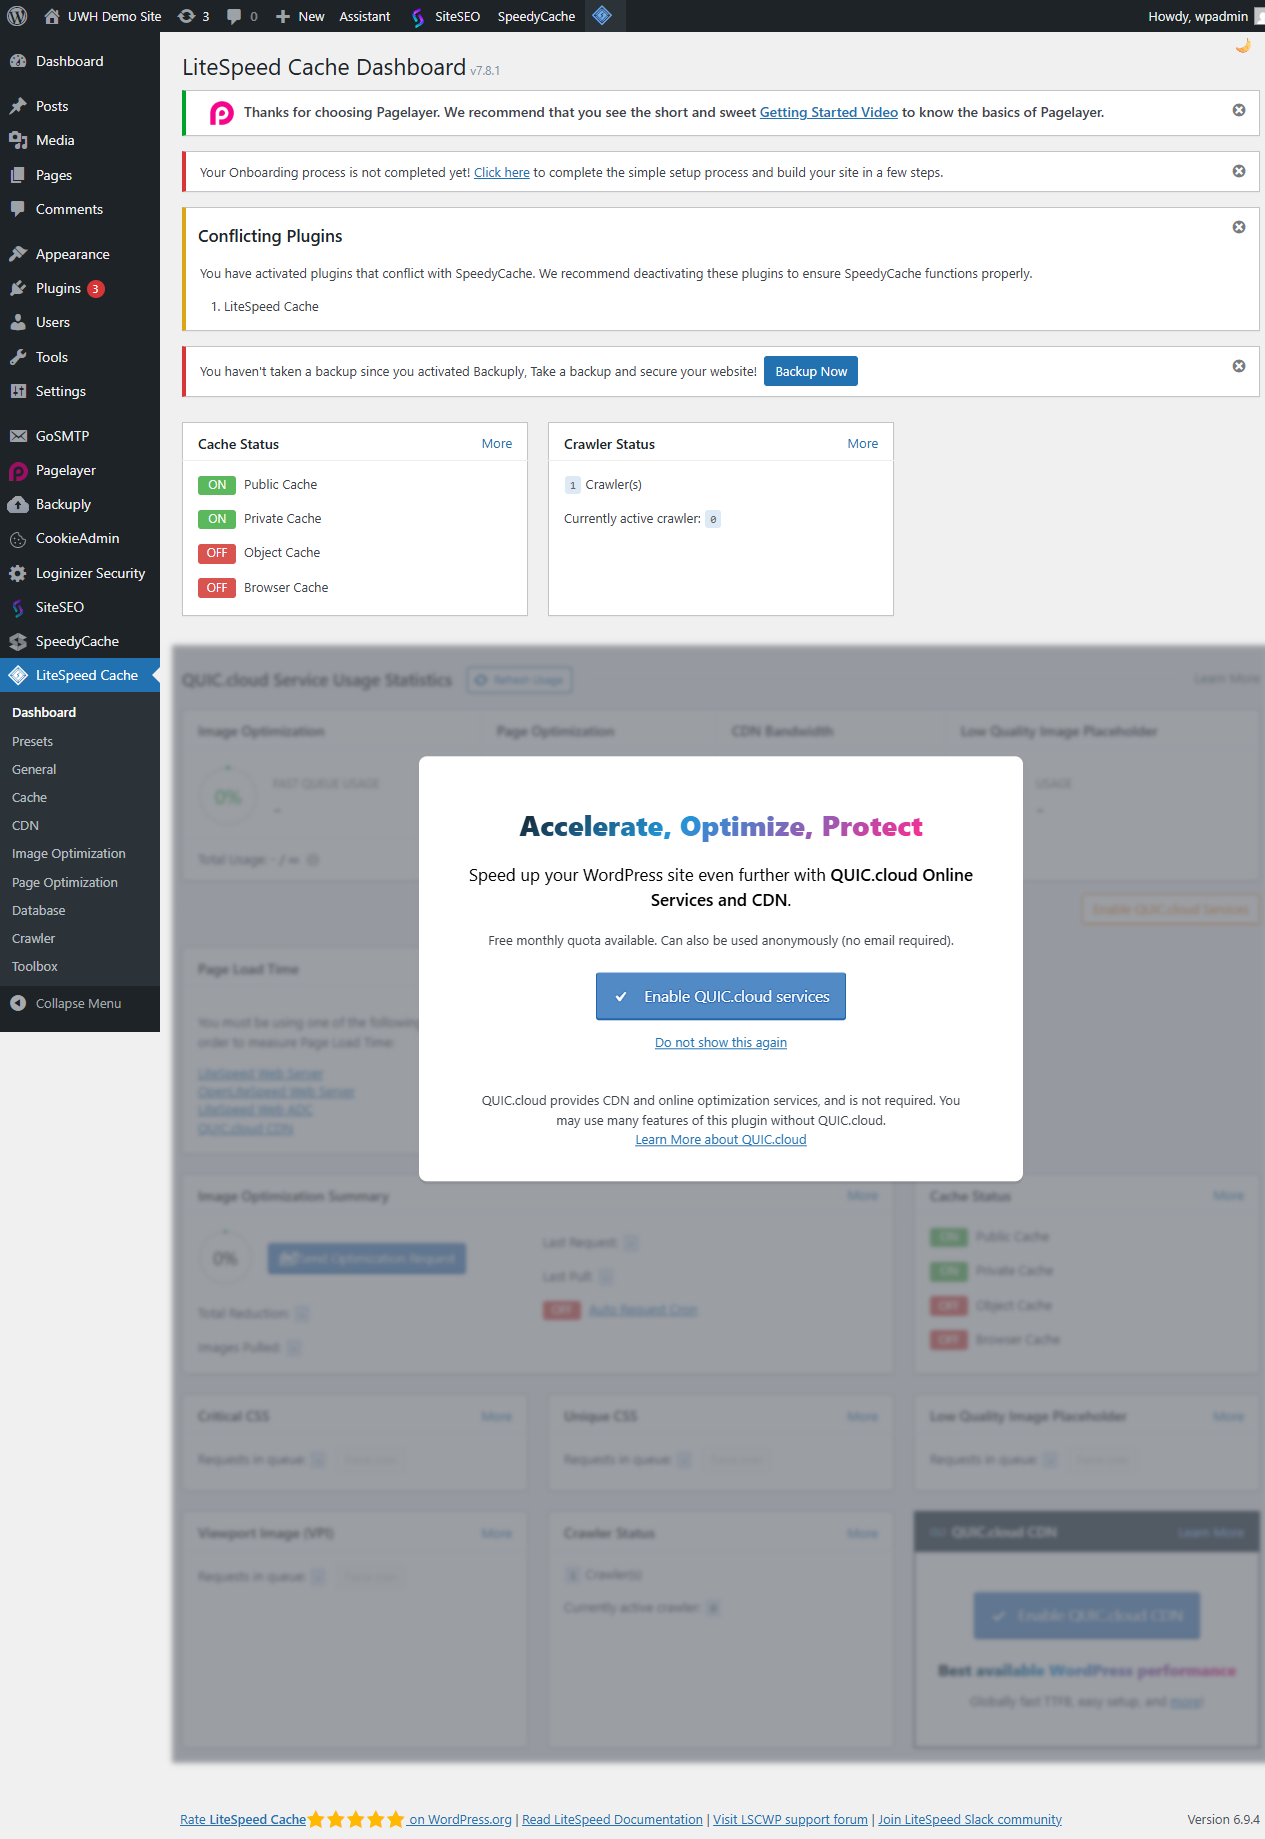
- Open the LiteSpeed Cache dashboard.
In the WordPress left sidebar, click LiteSpeed Cache, then select Dashboard. - Click Purge All.
Click the Purge All button on the dashboard. The cached object count resets to zero.
Clear specific cache types
For more targeted control, go to LiteSpeed Cache > Toolbox > Purge. This section lets you clear individual cache types rather than wiping everything at once:
- CSS/JS Cache – clear compiled stylesheet and script files. Use this after updating your theme or installing a plugin that adds CSS or JavaScript.
- Cache by URL – clear the cache for a single page by entering its full URL. Useful when you have updated one post without changing anything else.
- Private Cache – clear cached content for logged-in users when account or membership data has changed.
Targeted purges are faster to rebuild than a full purge because only the cleared pages regenerate on the next visit.
Verify the cache has cleared
After purging, confirm visitors see your updated content by loading a recently changed page outside your normal browser session.
- Open an incognito window or use a different browser to avoid serving content from your own browser cache.
- Load the page and check that your changes appear.
- If you still see outdated content, clear your local DNS resolver cache and try again.
Wrapping up
You cleared the LiteSpeed Cache on your WordPress site using the admin toolbar shortcut and the plugin dashboard. Visitors now see your most recent content on their next page load.
For routine maintenance, consider enabling automatic cache purging in LiteSpeed Cache > Settings > Purge so cached pages clear automatically whenever you publish or update a post. See our guide on WordPress backups before making significant changes to your site, and explore the AccelerateWP tool for additional performance options available on our WordPress hosting.
Our WordPress hosting plans include built-in performance and caching tools to help your site load faster.