The Transfer Tool in WHM moves cPanel accounts between servers through an SSH connection. It packages account data into a compressed archive, transfers it securely and unpacks it on the destination server.
You will connect two cPanel servers, scan for accounts and initiate the transfer. The tool handles the technical process while you monitor progress for any errors.
Before you begin
- SSH access must be enabled on both servers with either a key pair or password.
- Port 22 (or your custom SSH port) and port 2087 must be open on both servers.
- You need WHM access on the destination server.
- We recommend creating a backup before transferring accounts.
- If you are unsure about server details, find your server hostname before starting.
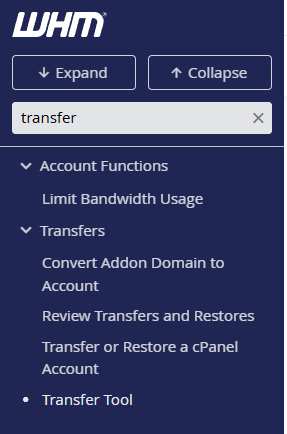
Access the Transfer Tool
You need to open the Transfer Tool in WHM on your destination server. This is where you will configure the connection and initiate the transfer.
- Log in to WHM on the destination server.
Access WHM athttps://yourdomain.co.uk:2087replacing yourdomain.co.uk with your server hostname. If you need help accessing WHM, see our guide on how to access WHM. - Open the Transfer Tool.
Type transfer in the search box at the top left of the dashboard. Click Transfer Tool from the results.
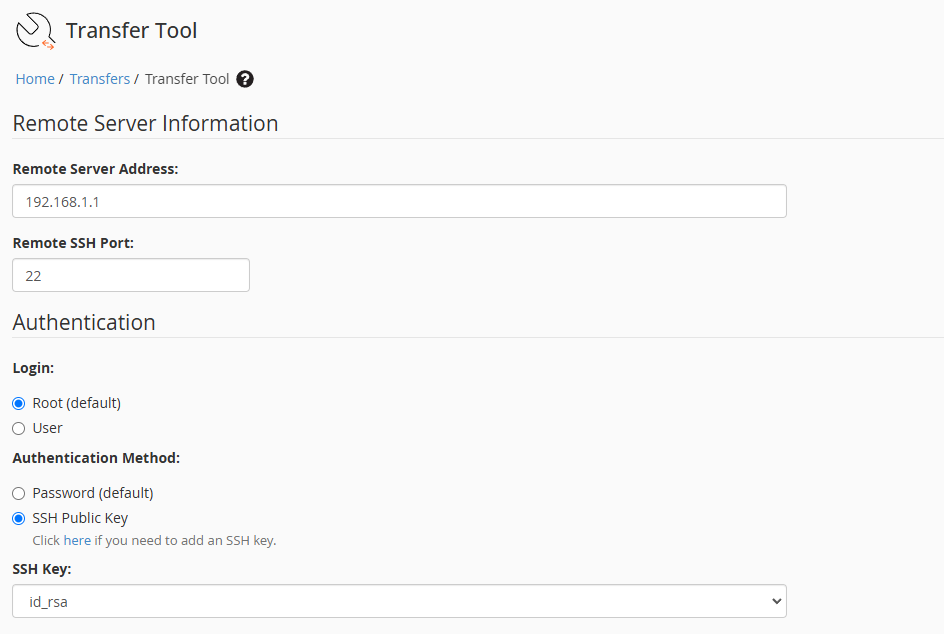
Configure the remote server connection
The Transfer Tool needs connection details for your source server. This allows it to establish an SSH connection and scan for accounts.
- Enter the remote server details.
In the Server Information section, enter the IP address or hostname of your source server. Add the SSH port if it differs from the default port 22. - Select your authentication method.
Choose either Password or Key Pair depending on how SSH is configured on your source server. Enter your password if using password authentication. - Leave restricted restore disabled.
This option is only needed when transferring accounts you do not own. Keep it disabled for standard account transfers.
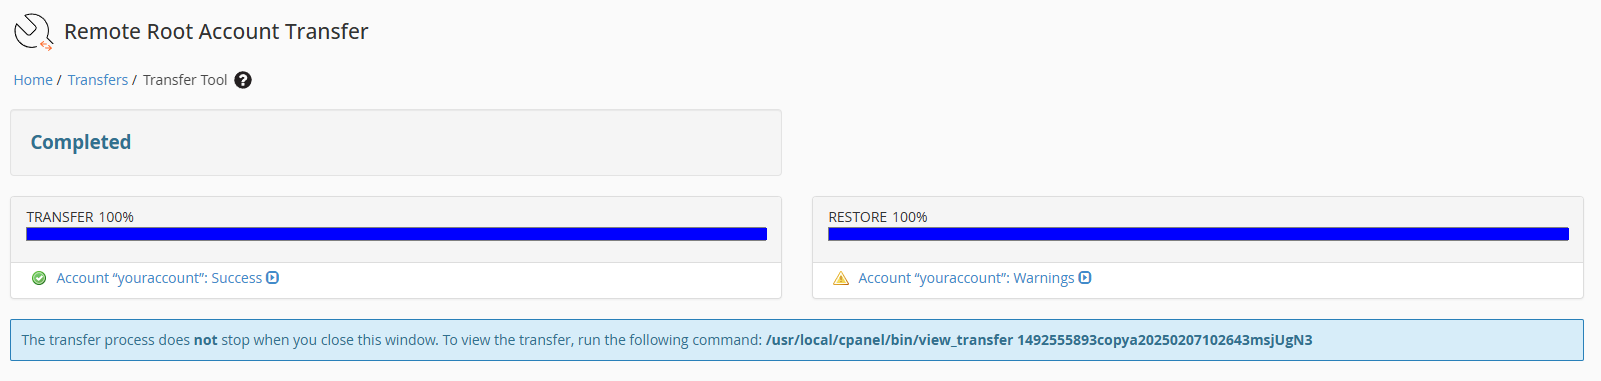
Scan and transfer accounts
After configuring the connection, you will scan the source server for accounts and select which ones to transfer. The tool then handles the migration automatically.
- Scan the remote server.
Click Scan Remote Server. The tool connects to your source server via SSH and lists all available cPanel accounts. This may take a few moments depending on the number of accounts.

- Select accounts to transfer.
Tick the checkbox next to each account you want to migrate. You can select multiple accounts if needed. - Start the transfer.
Click Copy to begin the migration. The tool packages each account, transfers it via SSH and restores it on the destination server.

- Monitor the transfer progress.
Watch for any errors during the transfer or restore process. The tool displays status updates as it works. When complete, your transferred accounts appear in the List Accounts section of WHM.
Wrapping up
Your cPanel accounts are now transferred to the destination server. You connected both servers via SSH, scanned for accounts and completed the migration through WHM’s Transfer Tool.
Check that transferred accounts appear in WHM’s List Accounts section. Test a few websites to confirm they load correctly. If you moved DNS separately, compare your exported DNS zones against what transferred to ensure records match. Our reseller hosting plans include WHM access for managing multiple cPanel accounts.
If you run into any trouble, get in touch and our team will be happy to help.

Need more power?
Get scalable resources with our VPS hosting with root access and optional software.
Get VPS Hosting
Starting something new?
Perfect for websites and small businesses unlimited bandwidth with cPanel hosting.
Get cPanel Hosting