Ghost is a Node.js-based publishing platform that runs well on CloudPanel’s Node.js site management. Rather than a generic installation, CloudPanel handles Nginx, SSL and process management for you, so the Ghost CLI setup is scoped to the database and application layer only.
You will create a Node.js site in CloudPanel, install Ghost CLI, run the Ghost installer with MySQL credentials and configure a startup script so Ghost restarts automatically.
Before you begin
- You need a CloudPanel server with root or sudo access. See our guide on how to install CloudPanel.
- A domain or subdomain must point to your server’s IP address before you start. See our guide on editing your DNS zone.
- You need a MySQL database, database user and password created in CloudPanel for Ghost to use.
- We recommend connecting via SSH as the site user for the steps below.
Create a Node.js site in CloudPanel
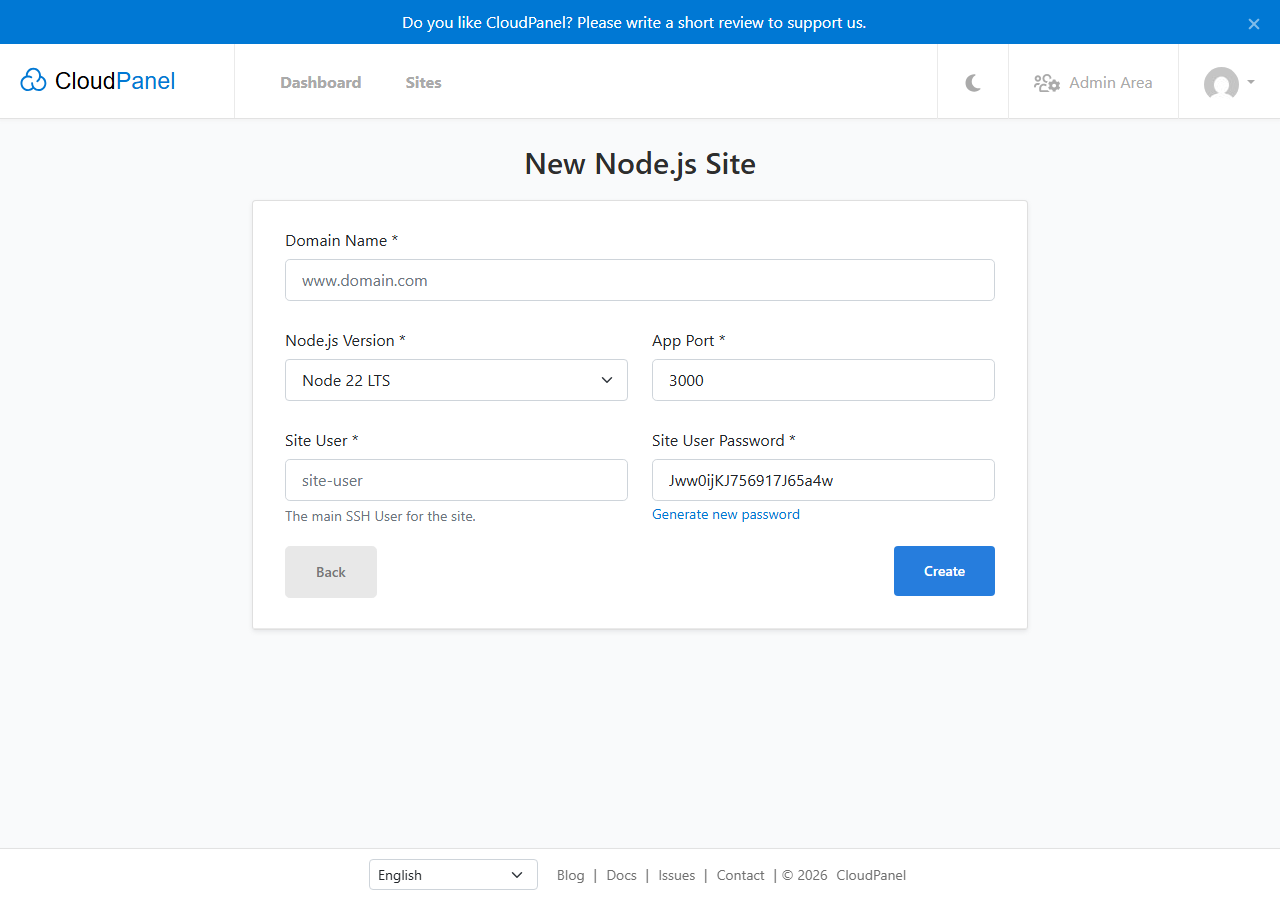
CloudPanel manages your Nginx configuration, SSL certificate and site user automatically when you add a Node.js site. Creating the site first gives Ghost a home directory and a dedicated system user to run under.
- Log in to CloudPanel.
Open your CloudPanel dashboard in a browser and sign in with your admin credentials. - Add a Node.js site.
Navigate to Sites and click Add Site, then select Create a Node.js Site. Alternatively, run the following command as root to create the site from the command line, replacing the values with your own domain, site user and password:
clpctl site:add:nodejs --domainName=www.domain.com --nodejsVersion=18 --appPort=2368 --siteUser='john-doe' --siteUserPassword='!secretPassword!'Port 2368 is Ghost’s default application port. CloudPanel proxies public traffic through Nginx to this port.
Install Ghost CLI and Ghost
Ghost CLI manages installation, updates and process control for Ghost. You install it globally via npm, then run the Ghost installer inside your site’s document root. The flags below tell Ghost not to configure Nginx, SSL or a Linux user, because CloudPanel already handles those.
- Connect to the server as your site user.
SSH in using the site user credentials you set when creating the site:
ssh john-doe@server-ip-address- Install Ghost CLI globally.
Run the following command to install the latest version of Ghost CLI:
npm install ghost-cli@latest -g- Run the Ghost installer.
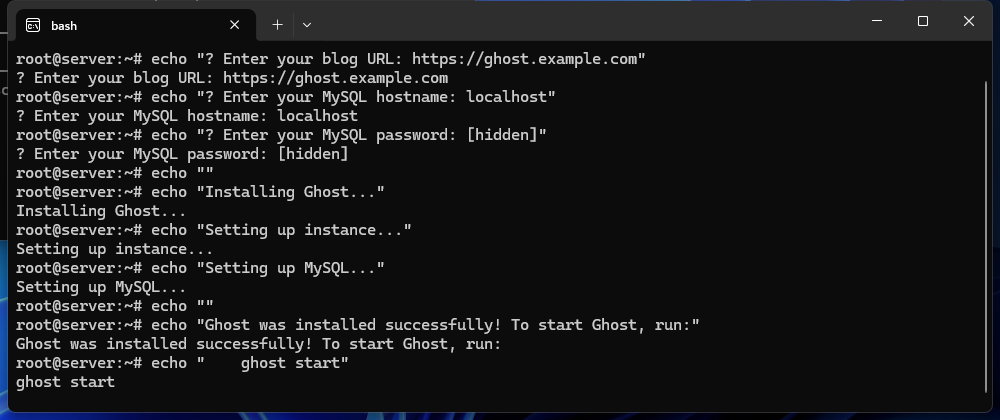
Install Ghost into your site’s document root, replacing the database variables with your actual MySQL credentials and the directory path with your domain:
ghost install --db mysql --port 2368 \
--dbhost 127.0.0.1 \
--dbuser $DATABASE_USER_NAME \
--dbpass $DATABASE_USER_PASSWORD \
--dbname $DATABASE_NAME \
--process local \
--no-setup-linux-user \
--no-setup-ssl \
--no-setup-nginx \
--dir /home/$SITE_USER/htdocs/$DOMAIN/
The --process local flag tells Ghost to manage its own process rather than using systemd. The --no-setup-* flags prevent Ghost CLI from overwriting CloudPanel’s Nginx and SSL configuration.
Configure the startup script
CloudPanel uses a startup script to launch your Node.js application. You need to create this script so Ghost starts automatically when the site user’s environment loads, and so CloudPanel can manage the process.
- Open the startup script in CloudPanel.
In your CloudPanel dashboard, go to Sites, select your Ghost site and open the Node.js Settings tab. Locate the Startup Script field. - Paste the startup script.
Replace the placeholder domain in the script with your actual domain, then save. The script below loads NVM to set the correct Node.js version, starts Ghost and writes output to a log file:
#!/bin/bash
export NVM_DIR="$HOME/.nvm"
[ -s "$NVM_DIR/nvm.sh" ] && \. "$NVM_DIR/nvm.sh"  # This loads nvm
ghost start --dir $HOME/htdocs/ghost.moby.io/ --no-setup-linux-user > $HOME/logs/ghost.log &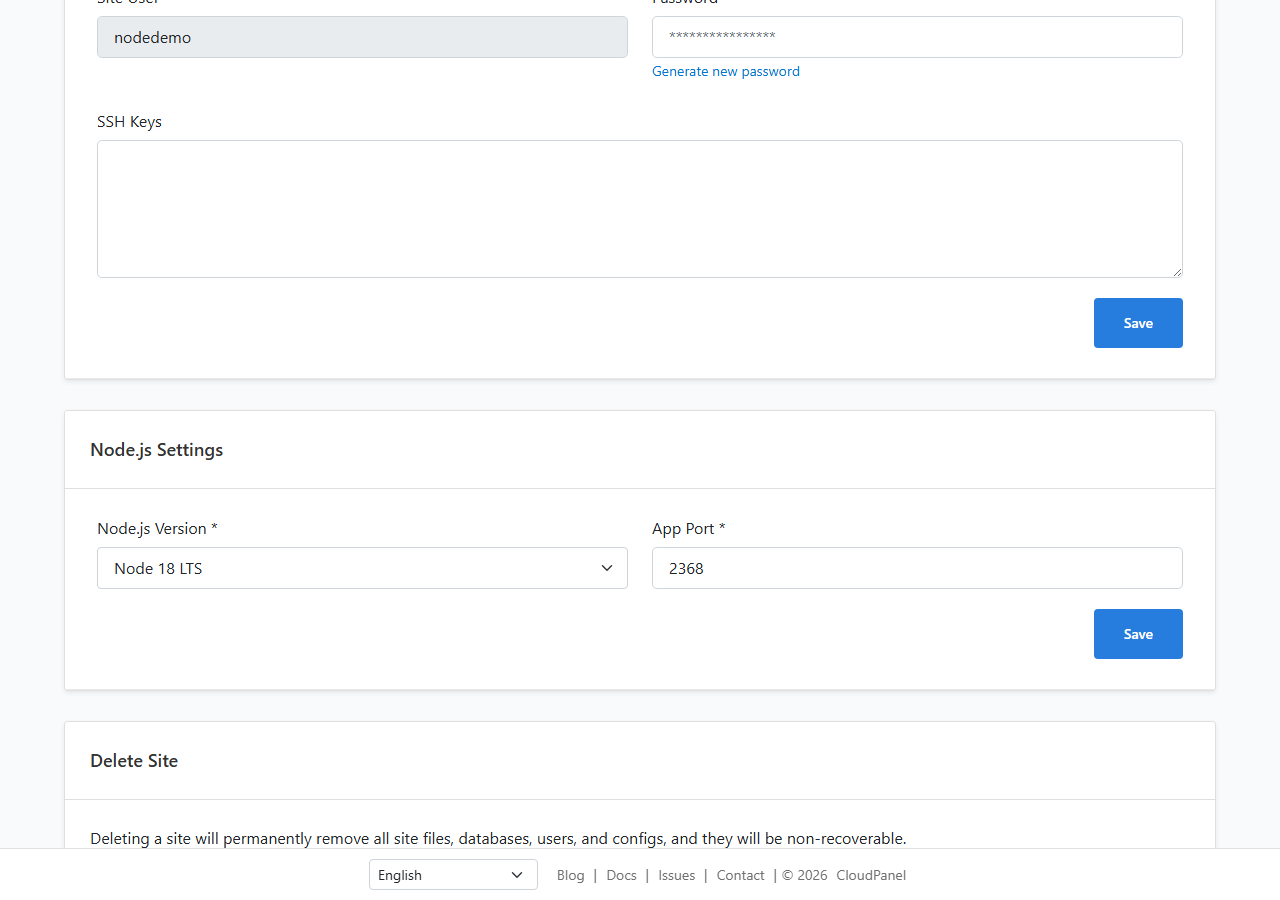
- Start Ghost.
Save the startup script, then click Restart in CloudPanel to launch Ghost. You can also start Ghost manually from your SSH session:
ghost start --dir $HOME/htdocs/$DOMAIN/ --no-setup-linux-userOpen your domain in a browser. You should see the default Ghost homepage, confirming the installation is complete.
Troubleshooting
Ghost does not start
If Ghost fails to start, the most common causes are incorrect database credentials or a port conflict. Check the Ghost log file for error output.
- Review the log at
$HOME/logs/ghost.logfor specific error messages. - Confirm your MySQL database, user and password are correct and that the user has full privileges on the Ghost database.
- Check that port
2368is not already in use by another process. See our guide on checking open ports on Linux.
Site returns a 502 Bad Gateway error
A 502 error means Nginx received no response from Ghost on port 2368. Ghost is either not running or listening on a different port.
- Confirm Ghost is running by checking the log file or running
ghost ls --dir $HOME/htdocs/$DOMAIN/from your SSH session. - Verify the app port in CloudPanel’s Node.js Settings matches the
--portvalue you used during installation (2368). - Restart Ghost using the Restart button in CloudPanel or by running
ghost restart --dir $HOME/htdocs/$DOMAIN/.
Node.js version errors during installation
Ghost requires a specific range of Node.js versions. If Ghost CLI reports a version incompatibility, your active Node.js version may not match what Ghost supports.
- Check the active version with
node -v. Ghost currently supports Node.js 18.x LTS. - Use NVM to switch versions if needed. See our guide on managing Node.js versions with NVM.
Wrapping up
You have installed Ghost on CloudPanel by creating a Node.js site, installing Ghost CLI, running the Ghost installer with MySQL and configuring a startup script. Your Ghost site is now live and managed through CloudPanel’s Nginx proxy.
To complete your setup, log in to your Ghost admin panel at https://yourdomain.com/ghost to create your first user and configure your publication settings. For related reading, see our guides on installing Node.js on Linux, managing Node.js versions with NVM and installing a free SSL certificate.
If you need a server to host Ghost, our VPS hosting plans give you the root access and Node.js support required to run CloudPanel and Ghost.
Plans and tools mentioned in this guide
Did this guide solve your problem?
Still stuck?
Our UK support team answers tickets and live chat every day. Send us the guide you were following and where it stopped working.
Keep learning
Find a guide
Related guides

Need more power?
Get scalable resources with our VPS hosting with root access and optional software.
Get VPS Hosting
Starting something new?
Perfect for websites and small businesses unlimited bandwidth with cPanel hosting.
Get cPanel Hosting